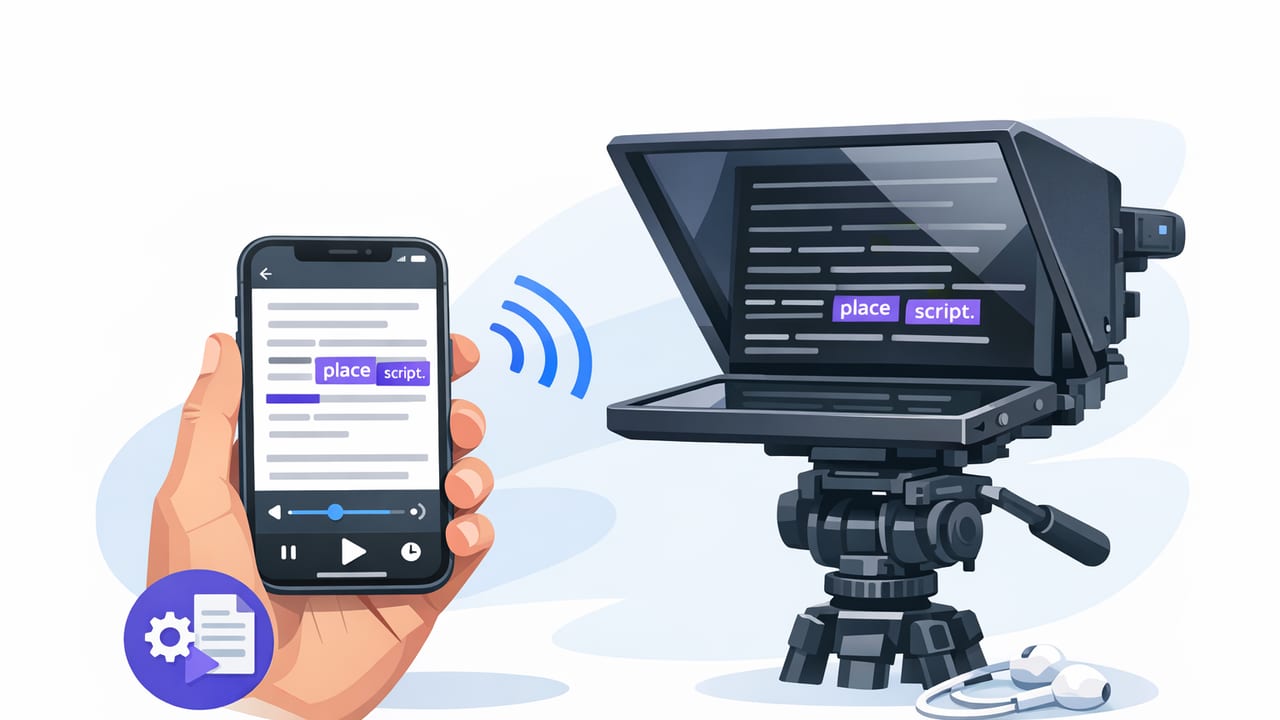
Reading a script on camera is one of the fastest ways to publish consistently—but it’s also one of the easiest ways to look stiff, lose your place, or glance off-screen. A teleprompter with word highlighting iPhone creators can rely on solves a surprisingly specific problem: your eyes and brain need a clear “now” marker so you can keep flow while staying close to the lens.
This guide breaks down how word highlighting works, how to set it up for natural delivery, and how to integrate it into a script-to-video workflow (recording, audio, captions, and exports) without turning your setup into a production project.
Why word highlighting matters (more than scroll speed)
Classic teleprompters rely on constant scrolling. That’s fine—until you:
- pause for emphasis and the script keeps moving,
- improvise a line and then can’t find your place,
- look down/away to re-locate the sentence,
- record in shorter takes and re-start mid-paragraph.
Word highlighting (sometimes paired with voice-follow or “follow me” tracking) keeps your position obvious at a glance: your next word is visually distinct. The benefit isn’t only speed—it’s reduced cognitive load. You spend less mental energy “reading the interface” and more on delivery: tone, pacing, and eye contact.
When you know exactly where you are in the sentence, you can act the line instead of hunt for it.
How word highlighting teleprompters work on iPhone
Most iPhone teleprompters implement word highlighting in one (or a blend) of these ways:
- Fixed-speed scrolling + highlighted word: the text moves at a set pace and a highlight indicates the “current” word.
- Timed scrolling: you set a duration (e.g., 90 seconds). The app auto-paces the script; highlighting shows progress.
- Voice-follow tracking: the teleprompter listens as you speak and advances/highlights accordingly, letting you pause naturally.
On iPhone, word highlighting is especially useful because the screen is relatively small compared to a studio prompter. The highlight makes your “anchor point” obvious, which reduces darting eye movements that viewers notice.
Choosing the right mode: voice-follow vs fixed-speed vs timed
The best mode depends on what you’re filming (talking head, tutorials, ads, short-form hooks) and how consistent your pace is. Use this quick comparison.
| Mode | Best for | Pros | Watch-outs |
|---|---|---|---|
| Voice-follow (word tracking) | Natural speaking, pauses, improvised emphasis | Feels most conversational; easy retakes mid-paragraph | Needs clean audio; strong accents or noisy rooms may reduce accuracy |
| Fixed-speed | Highly rehearsed scripts, consistent pacing | Predictable; simple setup | Pauses can desync you; you may rush to “catch up” |
| Timed | Content with strict length (e.g., 60–90 sec) | Great for platform limits; helps control runtime | You still need to perform to the clock; may feel tight without practice |
Set up your iPhone teleprompter for eye contact
Even with perfect highlighting, setup decides whether your delivery looks like you’re reading. These steps help your eyes stay close to the lens.
1) Put the text as close to the camera as possible
On-screen teleprompters place text near the camera cutout; hardware teleprompter rigs reflect the text in front of the lens. Either way, your goal is the same: minimize eye travel. If your eyes move far left/right or up/down, viewers notice immediately.
2) Use larger text, fewer lines
Small fonts increase saccades (tiny jumps your eyes make while reading), which can look like darting. Start with:
- Font size: large enough that you can read without squinting at arm’s length
- Line spacing: slightly increased to separate lines
- Margins: keep text in a narrow column near the lens area
3) Tune highlight style for instant recognition
Word highlighting is only helpful if it’s immediately obvious. Choose a highlight color that contrasts with your background (dark mode often works well in dim rooms). Avoid subtle gray-on-gray combinations.
4) Mirror and orientation checks (if using a physical rig)
If you’re using a reflective teleprompter, confirm your app supports mirroring so the reflection reads correctly. Do a 5-second test recording to verify the text orientation before your full take.
Script formatting that reads naturally on camera
Most “teleprompter problems” are actually script problems. The more your script resembles spoken language, the less you’ll sound like you’re reading. Use these formatting rules.
Write for breath and emphasis
- Keep sentences short (often 8–14 words).
- Use contractions (“you’re,” “it’s”) if that matches your voice.
- Add intentional pauses with line breaks.
Use slashes and caps sparingly
Simple markers can help you nail pacing without overloading the page.
Today we’re fixing the #1 reason videos feel awkward.

Pause.

Stop trying to remember your script.
Read it — but keep eye contact.

And yes, word highlighting helps a lot.
If you use emphasis, prefer italics in your writing (or parentheses) over ALL CAPS everywhere, which can make reading choppy.
Front-load clarity for short-form
For reels/shorts, put the “what you’ll get” in the first 1–2 lines. Word highlighting is most valuable in fast hooks, where losing your place can derail the take.
Dialing in pacing: a simple calibration method
If you’re not using voice-follow, you’ll need a repeatable way to set speed or timing. Here’s a quick method that works for most creators:
- Record a 20–30 second rehearsal reading your script naturally.
- Count the words you spoke (many editors show word count; you can also paste into a word counter).
- Compute your speaking rate (words per minute).
words_per_minute = (words_spoken / seconds_spoken) * 60Many talking-head creators land around 130–170 WPM depending on style. Set fixed-speed or timed scrolling so the highlight stays comfortably ahead of your voice (not behind it).
Audio and environment: make highlighting + tracking more reliable
If your teleprompter uses voice-follow word tracking, audio quality isn’t just for the final video—it affects tracking stability. Improve reliability with:
- External mic (wired lav or wireless) when possible
- Quiet room: reduce fans, traffic noise, and echo
- Consistent distance: keep mic placement steady between takes
Even for fixed-speed modes, clean audio helps you speak confidently, which makes your reading look less “performed.”
From script to subtitles: a creator-friendly workflow
Word highlighting helps you deliver the script; subtitles help viewers consume it. A practical iPhone workflow looks like this:
- Finalize script (short lines, conversational phrasing).
- Record with teleprompter overlay (4K if you plan to crop; otherwise 1080p is often fine).
- Trim mistakes (remove restarts; keep pauses intentional).
- Generate subtitles (ideally on-device for speed and privacy).
- Resize/export for the platform (9:16, 1:1, 16:9) and check safe areas.
If privacy is part of your workflow (client scripts, internal updates, medical/financial content), prioritize tools that can generate captions offline and keep scripts on-device.
Common mistakes (and how to fix them)
“My eyes still look like I’m reading.”
- Move text closer to the lens (narrower column, higher placement).
- Increase font size so you read with fewer eye movements.
- Reformat into shorter lines so you’re not scanning long sentences.
“I keep losing my place.”
- Increase highlight contrast and size.
- Turn on line focus (if available) or reduce on-screen text density.
- Use voice-follow mode, or add more paragraph breaks for landmarks.
“My pace sounds rushed.”
- Slow the scroll by 10–15% and add intentional pause lines.
- Practice reading to camera twice without recording to settle your rhythm.
- Underline (mentally) 3–5 key words per section; slow down on those words.
“The tracking jumps or drifts.”
- Improve mic quality and reduce background noise.
- Speak slightly more distinctly (especially sentence starts).
- Break long paragraphs into shorter blocks to reduce correction time.
A quick pre-record checklist
- Camera: lens cleaned, framing set, exposure locked if needed
- Teleprompter: highlight visible, text near lens, correct mirroring
- Script: short lines, spoken language, clear section breaks
- Audio: mic levels tested, room quiet, distance consistent
- Delivery: 1 warm-up read to find natural pacing
FAQ: word highlighting on iPhone teleprompters
Does word highlighting guarantee better eye contact?
It helps, but placement matters more. Highlighting reduces “where am I?” panic; positioning the text near the lens reduces visible eye travel.
Is voice-follow always better than fixed-speed?
For conversational delivery, often yes. But fixed-speed can be excellent for rehearsed scripts, and timed mode is great when you must hit a precise duration.
Should I record in 4K if I’m using a teleprompter on iPhone?
If you plan to crop (turning 16:9 into 9:16, or punching in for cuts), 4K gives you more flexibility. If storage and speed matter more, 1080p is usually fine for social.
Putting it all together
A teleprompter with word highlighting on iPhone isn’t just a nice visual effect—it’s a practical tool that improves continuity, pacing, and on-camera confidence. Combine strong script formatting, lens-adjacent text placement, and the right scrolling mode, and you’ll spend less time re-recording lines and more time publishing.
If you’re looking for an iPhone teleprompter that pairs word highlighting with recording, on-device subtitles, and a privacy-first workflow, an app like CueCam is designed around that all-in-one creator process.
