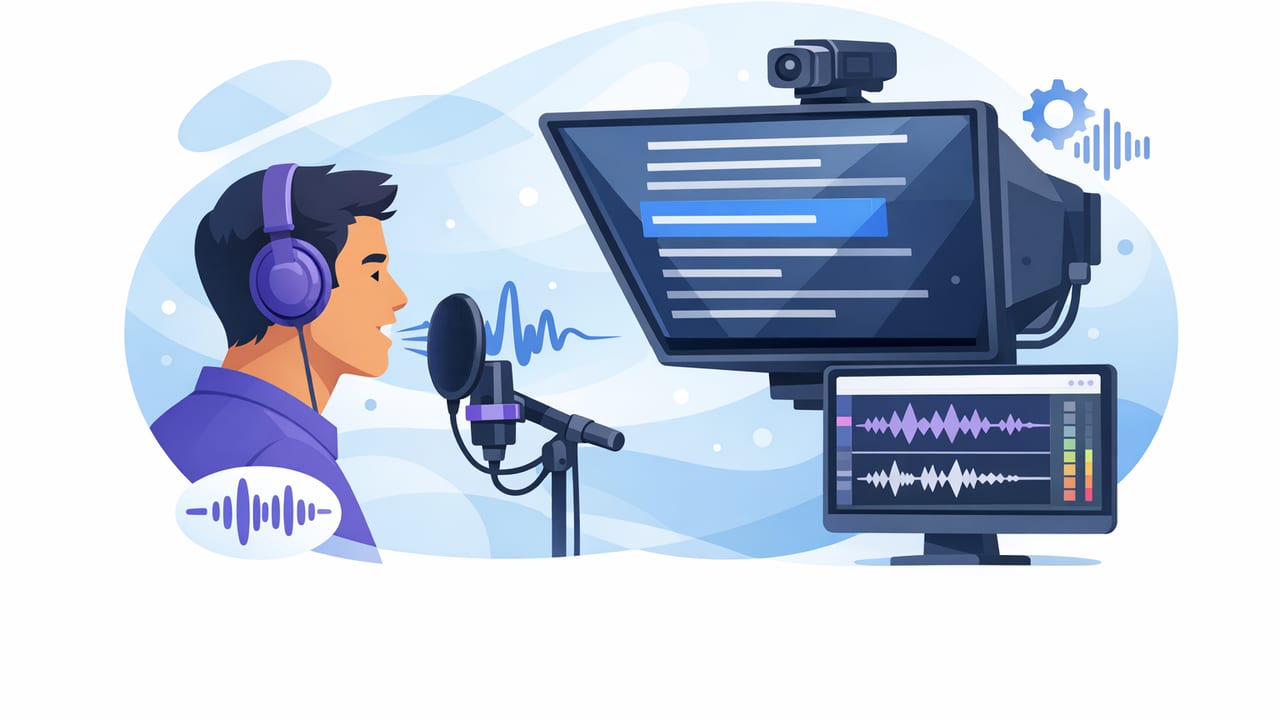
A voice following teleprompter is one of the simplest ways to make scripted videos feel unscripted. Instead of racing to keep up with fixed scrolling (or awkwardly pausing to find your place), the text advances as you speak. Done well, it improves eye contact, reduces retakes, and keeps your delivery conversational—especially in a fast creator workflow where you’re scripting, filming, and publishing from one device.
This guide explains how voice-following works, when it beats fixed-speed scrolling, how to set it up for reliable tracking on an iPhone teleprompter workflow, and how to troubleshoot common issues like lag, skipping, or “stuck” scrolling. You’ll also get practical script formatting tips and a pre-record checklist to consistently capture clean takes in 4K with minimal editing.
What is a voice following teleprompter (and why it feels more natural)
A voice following teleprompter uses on-device speech recognition to estimate where you are in your script and automatically scroll the text to match your pace. The goal isn’t perfect word-for-word matching; it’s rhythm matching: keeping the next line visible so you can maintain a steady gaze near the camera lens.
Compared with fixed-speed scrolling, voice following is usually better when:
- You tend to speed up or slow down depending on emphasis
- You pause for breath, comedic timing, or to show a product
- You want fewer “reset” moments mid-take
- You’re filming talking-head content for TikTok, Reels, Shorts, or YouTube
Key idea: Voice-following teleprompting is less about reading faster and more about removing friction between your script and your delivery.
Voice following vs fixed speed vs timed scrolling
Most teleprompter apps offer three core modes: voice following, fixed-speed, and timed. Each has a “best use” scenario. Use this quick comparison to choose the right mode per shoot.
| Mode | Best for | Pros | Common pitfalls |
|---|---|---|---|
| Voice following | Talking-head, tutorials, product explainers | Adapts to pauses and emphasis; fewer retakes | Needs clean audio; can drift with noisy rooms |
| Fixed speed | Short memorized segments, rehearsed ads | Predictable pacing; works in noisy locations | Forces you to match the scroll; awkward if you pause |
| Timed | Voiceovers, presentations, strict durations | Hits exact runtimes; easier for multi-take continuity | Less flexible; requires you to rehearse timing |
How to set up a reliable voice following teleprompter on iPhone
Voice-following accuracy depends on two things: audio clarity and script structure. You don’t need a studio—just a few predictable settings.
1) Prioritize clean audio (even for “camera-only” videos)
The teleprompter’s tracking listens to your voice, so treat audio like a tracking sensor. If possible:
- Use an external mic (wired lav, wireless lav, or compact shotgun).
- Reduce room echo (soft furnishings, curtains, rugs).
- Turn off loud fans/AC when tracking matters.
- Stand a consistent distance from the mic (don’t drift mid-take).
If you must record in a noisy place, consider switching to fixed-speed scrolling for that take, then return to voice following for controlled setups.
2) Place the text as close to the lens as possible
Eye contact is mostly about angle. Even a small offset reads as “looking off-screen.” Keep the scrolling text near the camera cutout or preview window so your gaze stays tight. On iPhone, this is especially important for front-camera talking head where the lens is close to the screen edge.
3) Calibrate sensitivity and buffer (if available)
Different apps name these settings differently, but you’re usually adjusting:
- Follow sensitivity: how aggressively the scroll responds to your voice
- Scroll smoothing: how “floaty” vs “snappy” the movement feels
- Lookahead buffer: how many lines stay visible ahead of your current word
For most creators, a slightly smoother, less sensitive setup reads best on camera because it reduces micro-jitters in the text position.
Script formatting that makes voice-following work better
Speech recognition performs better when your script matches how you actually talk. That means writing for breath, emphasis, and natural phrasing—not for perfect grammar.
Write in short, speakable lines
Long sentences encourage speed-reading and make it harder for a voice following teleprompter to keep you “locked” to the right place. Break ideas into short lines and micro-paragraphs.
Bad (hard to track, hard to say):
Today I’m going to show you the three biggest mistakes people make when filming on iPhone and how to fix them quickly without buying extra gear.

Better (trackable, punchy):
Today, I’ll show you 3 common iPhone filming mistakes.
And how to fix each one fast.
No extra gear needed.
Use stage directions that you won’t read out loud
Add cues for yourself, but format them so you don’t accidentally speak them. Many creators use brackets and caps.
[PAUSE]
[SHOW SCREEN RECORDING]
[SMILE]
[INSERT B-ROLL HERE]
Spell out numbers and tricky words
If your script includes “4K/60fps,” brand names, or unusual terms, consider writing them the way you’ll say them. That improves tracking and reduces stumbles.
- Write: “four K at sixty frames per second”
- Write: “one hundred and twenty” instead of “120”
Mark emphasis (so you don’t rush)
Voice following helps with pacing, but it can’t fix monotone delivery. Use bold or italics for emphasis points and intentional pauses.
Recording workflow: from script to polished video
A practical script-to-video flow on iPhone usually looks like this:
- Draft the script (aim for one idea per paragraph)
- Format for teleprompter (short lines, cues, emphasis)
- Choose orientation (vertical for short-form, horizontal for long-form)
- Record with voice-following teleprompter enabled
- Trim and tighten (remove dead air, keep momentum)
- Add subtitles (preferably on-device for speed and privacy)
- Export presets for TikTok/IG/YouTube to avoid rework
If you’re filming at high quality (for example, 4K recording), stable framing matters more because viewers notice micro-shakes. Use a small tripod, a grip, or stabilization features if your camera app supports them.
Subtitles: the fastest “quality multiplier” for scripted videos
Scripted videos pair perfectly with subtitles because your words are already structured. If your workflow supports it, choose on-device subtitles so you can generate captions without uploading audio to a server—useful for client work, internal videos, or creators who care about on-device privacy.
Caption tips that improve retention:
- Keep lines short (1–2 lines max).
- Prefer sentence case over ALL CAPS for readability.
- Highlight keywords sparingly (one emphasis per sentence).
- Match subtitles to your spoken words, not your draft text.
Troubleshooting: common voice-following problems (and fixes)
Problem: The text scrolls too fast or “runs away”
- Lower follow sensitivity or increase smoothing.
- Reduce background noise (it can trigger false “speech”).
- Speak slightly closer to the mic and more consistently.
Problem: The scroll lags behind your speech
- Increase sensitivity or reduce smoothing.
- Check that the mic input is the one you expect (especially with Bluetooth).
- Avoid whispering—clear enunciation improves recognition.
Problem: It loses its place after you paraphrase
- Voice following works best when you stay close to the script. If you like to improvise, write “improv zones” into the script.
- Add anchor phrases—unique wording at the start of each section so the tracker can re-lock.
Problem: It struggles with names, jargon, or another language
- Spell phonetically, or rewrite the phrase in a speakable way.
- Split complex terms across lines.
- If supported, switch recognition language to match what you’re speaking.
Pre-record checklist (copy/paste)
- Lens: wiped clean
- Framing: eye-line near top third; text near lens
- Audio: external mic connected; levels tested
- Lighting: face evenly lit; background not brighter than subject
- Mode: voice following teleprompter enabled (or fixed-speed if noisy)
- Script: short lines, cues in brackets, numbers spelled out
- Exports: preset for platform (vertical/horizontal, bitrate)
When voice following is the wrong tool (and what to do instead)
Voice following is excellent for most creator talk-to-camera videos, but it’s not ideal when:
- You’re filming in a loud environment (events, streets, gyms)
- You need strict timing (broadcast-style reads, exact 30 seconds)
- You’re doing heavy improvisation and only loosely referencing notes
In those cases, switch to fixed-speed (predictable in noise) or timed scrolling (perfect duration), or use a short bullet list and deliver from memory.
Putting it all together
A great voice following teleprompter setup isn’t complicated: clean audio, lens-adjacent text, and a script written for speech. Once those three pieces are in place, you’ll spend less energy “operating” the teleprompter and more energy performing—leading to fewer takes, better eye contact, and a smoother script-to-video workflow on iPhone.
If you’re looking for an iPhone teleprompter that combines voice-following with pro recording, built-in editing, and offline subtitles with a privacy-first approach, you can explore CueCam.
