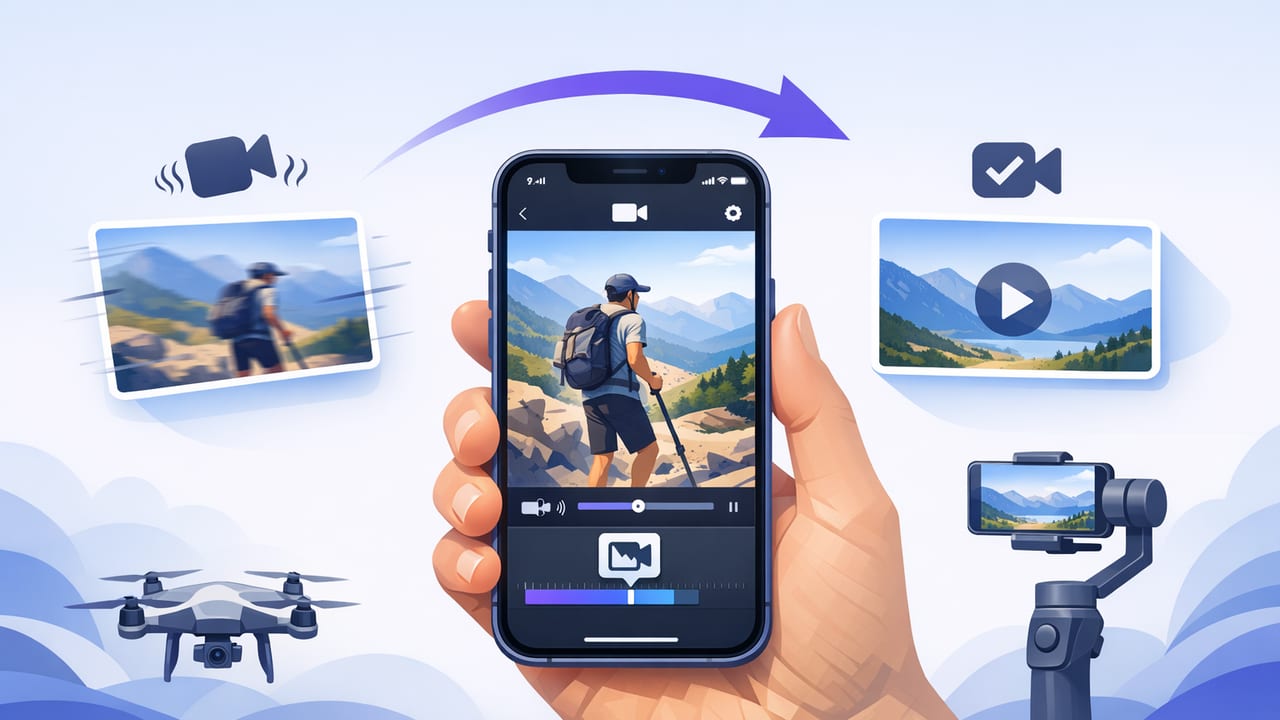
Shaky footage is one of the fastest ways to make an otherwise great script feel “unpolished.” The good news: getting stable, professional-looking video on an iPhone is mostly about choosing the right stabilization method for the shot, setting your camera up correctly, and avoiding a few common mistakes.
This guide breaks down practical stabilization options (hardware and software), the tradeoffs you should expect, and a creator-friendly workflow for scripted talking-head videos—especially when you’re reading a script and want consistent framing and eye-line.
Why stabilization matters for scripted creator videos
Stabilization isn’t only about reducing motion. It also helps with:
- Viewer comfort: micro-jitters can feel tiring, especially on short-form platforms where people watch fast.
- Perceived quality: stable shots look more “intentional,” even with simple lighting.
- Editing flexibility: stable footage crops and reframes better for vertical, square, and horizontal exports.
- Retention: if your content is educational or scripted, stability keeps attention on the message.
Know the stabilization types (and what they cost you)
On iPhone, stabilization usually comes from a mix of optics, software, and technique. Here’s how they differ in real-world creator use.
| Method | How it works | Pros | Cons / tradeoffs | Best for |
|---|---|---|---|---|
| Tripod / solid mount | Physical stability eliminates most motion | Sharp, consistent framing; no “warping” | Less dynamic; needs setup space | Talking head, tutorials, interviews |
| Optical stabilization (OIS) | Lens/sensor shifts to counter small movements | Natural look; helps in low light | Limited against walking motion | Handheld standing shots, gentle movement |
| Electronic stabilization (EIS) | Software stabilizes by cropping and smoothing frames | Good for handheld; easy “set and forget” | Crops image; can add wobble/blur in tough motion | Handheld B-roll, quick creator clips |
| Action Mode | More aggressive stabilization for big movement | Excellent for running/walking | More crop; often needs brighter light | Walking vlogs, energetic movement |
| Gimbal | Motorized stabilization keeps phone level | Very smooth motion; cinematic moves | Extra gear; balance and setup time | Product shots, moving B-roll, location shoots |
| Post stabilization | Edit software stabilizes after recording | Rescues footage; adjustable strength | Big crop; can cause “rubber” edges | Emergency fixes, minor shakes |
Pick the right approach for your most common shots
1) Scripted talking head (most creators)
If you’re filming a scripted piece to camera, the most stable and highest-quality approach is still simple: mount the phone on a tripod, lock exposure/focus, and let the shot stay steady. You’ll usually get sharper text on-screen, cleaner facial detail, and fewer stabilization artifacts (like wobbly edges).
2) Handheld “one-take” delivery
For handheld delivery—common for casual Reels/TikToks—use a camera mode that applies stabilization, and keep your body movement minimal. Handheld stability is less about your hands and more about your whole posture.
3) Walking and talking
Walking introduces a rhythmic vertical bounce that OIS/EIS can struggle with. Consider Action Mode (if available), or use a gimbal. If you must go handheld, shorten your stride and keep elbows tucked in.
Camera settings that impact stabilization more than you think
Resolution and frame rate
Higher resolution can mean more detail, but stabilization and low-light performance can change depending on the mode.
- 4K at 30fps: a balanced choice for talking head and most B-roll.
- 4K at 60fps: better for motion and crispness, but needs more light and storage.
- 1080p: often easier for stabilization and low light; good when speed matters.
Shutter speed (motion blur vs. “jittery sharp”)
Even stabilized footage can look “jittery” if shutter speed is too fast (each frame is razor-sharp, so movement feels harsher). A more natural motion blur often looks smoother.
Rule of thumb: use a shutter speed around double your frame rate (e.g., 1/60 for 30fps, 1/120 for 60fps) when you can control it.
Lens choice and distance
Ultrawide lenses can exaggerate movement near the edges, while tighter lenses magnify shake. For talking head, a “standard” wide lens at a comfortable distance often looks the most natural. If you crop in later, you’ll amplify any shake—another reason to start with a stable setup.
Technique: the low-effort habits that eliminate micro-shake
- Tuck your elbows into your torso and hold the phone with two hands.
- Use a hand strap or grip if you shoot handheld often; it reduces micro-movements.
- Lean on your environment: a wall, a table edge, a door frame—anything solid helps.
- Move your feet, not your wrists: when reframing, reposition your body rather than “panning” with your hands.
- Don’t overcorrect: tiny continuous corrections create jitter. Hold, pause, then adjust.
Stabilization and teleprompter-style recording: what changes
When you’re reading a script, your priorities shift:
- Eye-line consistency: big framing shifts are more noticeable because the viewer is watching your eyes.
- Predictable pacing: you’ll likely do fewer cuts, so any shake is visible for longer.
- Repeatability: you want a setup you can recreate quickly for series content.
For this kind of workflow, a tripod (or a very stable mount) is usually the best “stabilization feature” you can buy. If you must go handheld, keep the phone slightly farther away and frame looser, so stabilization crop and minor motion won’t ruin the composition.
A practical workflow: stable scripted video from setup to export
Step 1: Lock your camera position
Mount your iPhone at eye level. If you’re seated, match the camera height to your eyes (not your forehead). This reduces the need for reframing mid-take.
Step 2: Light first, then stabilization
Stabilization works best when the camera has enough light to keep ISO lower and shutter speed reasonable. If the room is dim, software stabilization may introduce blur or “wobble.” Even a simple window light plus a small fill light can make stabilization look cleaner.
Step 3: Choose a stable framing “safe zone” for exports
If you plan to export to multiple aspect ratios, leave extra headroom and side space. This reduces the need to crop aggressively later, which can amplify shake.
Step 4: Record with minimal background motion
Busy backgrounds can make small camera shake more obvious (the whole scene “slides”). A simpler background helps stabilization look more natural—and makes subtitles easier to read.
Step 5: Edit lightly; stabilize only if needed
Over-stabilizing in post is a common mistake. It can create a “floaty” look and warped edges. If you must stabilize, apply the smallest amount that removes the distraction, then crop intentionally.
Quick checklist you can reuse
Stable Scripted iPhone Take

[ ] Phone on tripod/mount (eye level)
[ ] Lens cleaned
[ ] 4K/30 (or 4K/60 if well-lit)
[ ] Exposure/focus locked if possible
[ ] Simple background, minimal movement
[ ] Audio checked (external mic if available)
[ ] Leave extra space for crops (9:16, 1:1, 16:9)
[ ] Record 10 seconds, review for wobble/blur, then shoot
How to evaluate a “video stabilization iPhone app” (without guesswork)
If you’re choosing a video stabilization iPhone app (or a camera app with stabilization features), evaluate it like a creator, not like a spec sheet reader. Look for:
- Stabilization transparency: does it tell you what mode is active and what it changes (crop, resolution limits, etc.)?
- Consistent framing: does stabilization cause drifting or sudden re-centering?
- Artifact control: watch for wobbly straight lines at the frame edges and background “jello.”
- Workflow tools: can you trim quickly, resize for platforms, and avoid round-tripping between multiple apps?
- Privacy: if you’re using scripts or client content, prefer tools that can work on-device.
Common stabilization mistakes (and fast fixes)
Mistake: Stabilization + heavy cropping in edit
Fix: frame wider during recording. If you need a tight shot, move the phone closer instead of cropping later.
Mistake: Shooting in low light and expecting software to save it
Fix: add light. Stabilization can’t replace clean exposure.
Mistake: Panning too fast
Fix: slow pans dramatically, or cut between angles. Fast pans tend to trigger stabilization artifacts and motion blur.
Mistake: Over-relying on post stabilization
Fix: stabilize at the source: tripod first, technique second, software third.
Putting it all together
Stable iPhone video is less about a single magic setting and more about stacking small advantages: a solid mount, enough light, sensible frame rate, and minimal movement. When you nail those, stabilization becomes an invisible helper instead of an obvious effect.
If your workflow includes reading scripts while staying natural on camera, using a teleprompter-style recorder that also supports pro recording and on-device tools can make the whole process faster—apps like CueCam are designed around that kind of creator workflow.
