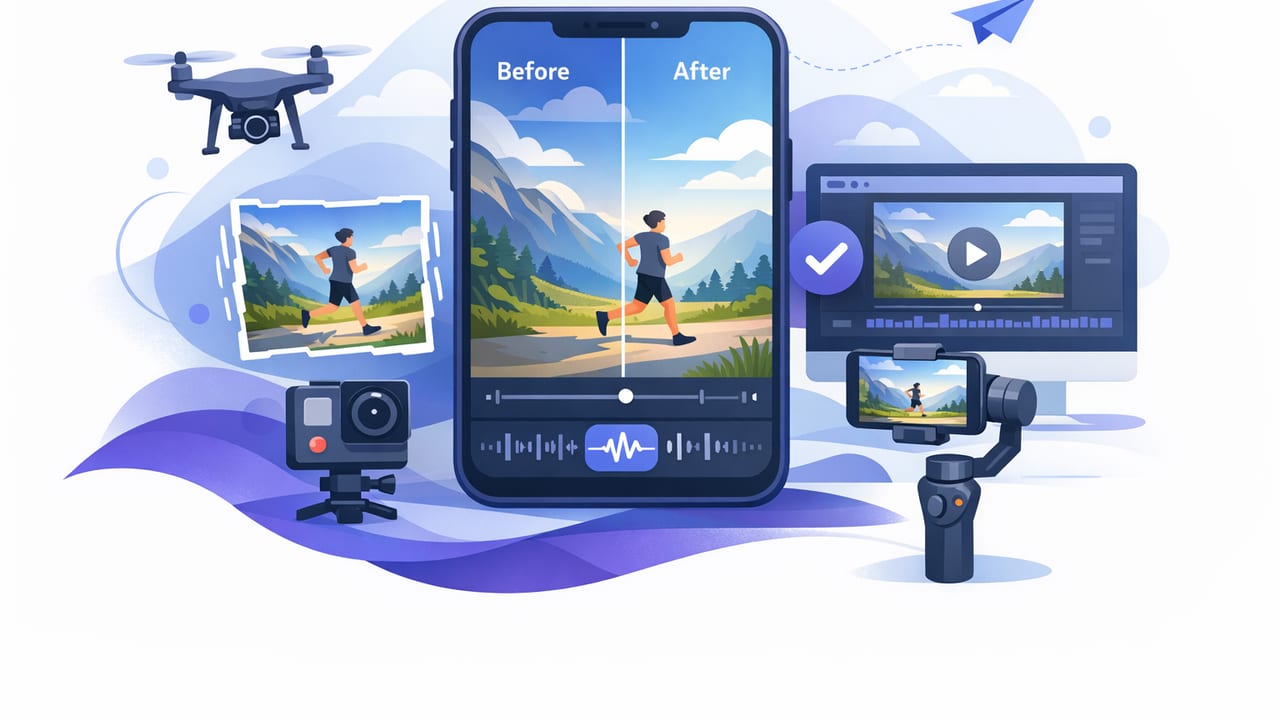
Shaky video is one of the fastest ways to make otherwise great content feel “amateur”—especially on talking-head clips, walk-and-talks, tutorials, and product demos. The good news: you don’t need a full camera rig to improve stability. With the right shooting habits, a few iPhone settings, and a video stabilization app (or stabilization tools inside your editing workflow), you can get noticeably smoother footage without sacrificing speed.
This guide breaks down practical stabilization methods for iPhone creators, when to use each one, and how to build a repeatable workflow that keeps your shots steady and your turnaround time fast.
Why iPhone video still gets shaky (even with “stabilization”)
Modern iPhones combine optical and electronic stabilization, but shake still shows up for a few common reasons:
- Walking motion adds vertical bounce and micro-rotations.
- Low light forces slower shutter speeds, making motion blur more obvious.
- Telephoto/zoom magnifies tiny hand movements.
- One-handed framing increases wobble, especially in vertical video.
- Post-crop exports (reframing after filming) can make jitter look worse.
Stabilization is most effective when you combine capture stability (how you film) with post stability (how you process). A stabilization tool can’t fully fix severe motion blur, so the best results come from making capture as steady as possible.
Stabilization options compared (what to use when)
There’s no single “best” approach. Use this quick comparison to pick the right solution for your shoot.
| Method | Best for | Pros | Trade-offs |
|---|---|---|---|
| Two-hand handheld + body bracing | Talking head, quick clips | Fast, no gear | Limited for walking shots |
| Tripod / tabletop stand | Education, reviews, interviews | Rock-solid, repeatable framing | Less dynamic movement |
| Gimbal | Walk-and-talk, b-roll, events | Smooth motion, professional feel | Setup time, charging, bulk |
| Action mode / high-stability capture | Fast movement, vlogging | Excellent stabilization in-camera | Crop + sometimes lower low-light performance |
| Post stabilization (editor or video stabilization app) | Fixing mild-to-moderate shake | Works after filming, flexible | Can crop image; may introduce warping if pushed too hard |
Step 1: Get steadier footage at capture (fast wins)
Use the “human tripod” stance
For handheld shots, treat your body like a stabilizer:
- Two hands on the phone. Keep elbows tucked to your ribs.
- Widen your stance and bend knees slightly (less bounce).
- Exhale slowly as you start recording (reduces micro-jitters).
- Rotate from your hips for pans instead of twisting wrists.
Prefer 1x lens over heavy digital zoom
Digital zoom amplifies shake and reduces detail. If you need a tighter frame, move closer or use a tripod so the zoomed framing stays stable.
Lock exposure and focus when it matters
Constant refocusing can look like jitter. If your scene lighting is stable, lock your focus/exposure on your subject so the image doesn’t “breathe” mid-take.
Stabilization loves light
In low light, phones often lower shutter speed, making motion blur worse. Add a small key light or face a window. Cleaner frames give post stabilization far more to work with.
Step 2: Choose the right recording mode for movement
If your iPhone offers a high-stability capture mode (often designed for action), use it when you’re walking, climbing stairs, or filming from a moving platform. It typically crops in to give stabilization room to move the frame around.
For calmer shots (talking head, tabletop, product demo), standard 4K recording with good bracing or a tripod can look sharper than action-focused modes because there’s less crop and more detail retained.
Rule of thumb: If the camera is moving a lot, stabilize in-camera. If the camera is mostly steady and you want maximum detail, stabilize your body/rig and keep the image clean.
Step 3: Stabilize in post (how a video stabilization app helps)
A video stabilization app (or stabilization tool inside your editor) analyzes motion between frames and counteracts it by shifting, rotating, and sometimes warping the image. This is ideal when:
- You already filmed the clip and noticed mild shake.
- You’re combining multiple clips and want consistent “smoothness.”
- You’re reframing vertical/horizontal and want to reduce visible jitter.
What to look for in stabilization tools
- Adjustable strength (low/medium/high). Stronger isn’t always better.
- Rolling shutter reduction (helps “jello” wobble on fast pans).
- Preview + comparison so you can see if warping appears.
- Export control (resolution, frame rate, platform presets).
- On-device processing if privacy matters and you prefer not to upload footage.
How much stabilization is too much?
Over-stabilizing can create rubbery edges, warped lines, or a “floating” look where the background swims. Use the lowest setting that removes distracting shake. If your tool has a crop slider, don’t be afraid to give it a little extra room—subtle crop often looks more natural than aggressive warping.
A practical iPhone stabilization workflow (repeatable and fast)
Use this workflow for creator content like tutorials, talking-head videos, and social clips:
- Plan the shot type: static, handheld, or walking.
- Capture stable: two hands + bracing, or tripod/gimbal.
- Record a 3-second “settle” at the start and end of each clip (gives stabilization more clean frames).
- Edit your selects first (trim before stabilizing so you don’t process unused footage).
- Apply stabilization only to clips that need it.
- Re-check edges for warping and cropping.
- Export to your platform format (vertical for short-form, etc.).
Stabilization + subtitles + script reading: avoid common “wobble multipliers”
Stabilization issues often show up when creators combine several moving parts: filming yourself, reading a script, keeping eye contact, and adding captions. A few tips prevent stability from collapsing under workflow pressure:
Keep your framing consistent while reading
If you’re reading a script on-screen while filming, it’s easy to unconsciously shift your grip or posture. Set your stance first, then start recording. If possible, use a small stand so your hands don’t introduce shake during longer takes.
Don’t “fix it in post” if blur is the real problem
Post stabilization can counter camera movement, but it can’t restore detail lost to motion blur. If your footage looks smeary, add light and re-shoot or reduce movement (tripod, gimbal, or shorter takes).
Stabilize before heavy reframing
If you plan to crop a horizontal clip into vertical, stabilize first (or at least check stabilization after reframing). Heavy crops can make micro-jitter far more visible.
Quick troubleshooting: common stabilization problems
Problem: “Jello” wobble on pans
Fix: Pan slower, avoid sudden direction changes, and try a stabilization tool that includes rolling shutter compensation. If you must pan quickly, use wider lens framing (less wobble) and keep lines (door frames, shelves) near center rather than edges.
Problem: Stabilization causes warping at the edges
Fix: Reduce stabilization strength and allow a slightly larger crop. Also trim out the first second of a clip if you started moving right after pressing record.
Problem: Walking shot still bouncy
Fix: Switch to a gimbal or an action-focused capture mode, and use a “heel-to-toe” walk with bent knees. Post stabilization can help, but it won’t fully remove vertical bounce if every step is a jolt.
Problem: Stabilized clip looks soft
Fix: Stabilization often crops and resamples frames. Shoot at higher resolution (e.g., 4K) when possible so you have detail to spare, and avoid stacking multiple passes of stabilization.
Checklist: the fastest way to smoother iPhone video
- Light the scene (less blur, easier stabilization).
- Use two hands + bracing for handheld clips.
- Avoid digital zoom unless you’re stabilized on a stand.
- Record “settle time” at the start/end of takes.
- Trim first, stabilize second to save time.
- Keep stabilization subtle to avoid warping.
- Export correctly for the platform so the final encode doesn’t emphasize jitter.
Putting it all together
The best stabilization results come from a simple principle: reduce shake while filming, then use post stabilization to polish. When you capture clean frames (good light, stable grip, minimal zoom), a stabilization tool can remove the remaining distractions without making your video look artificial.
If your workflow also includes reading scripts on-camera, recording in high resolution, and generating subtitles on-device, consider using an iPhone teleprompter/editor that keeps those steps together—some creators use apps like CueCam to streamline script-to-video production while keeping footage and text on the phone.
