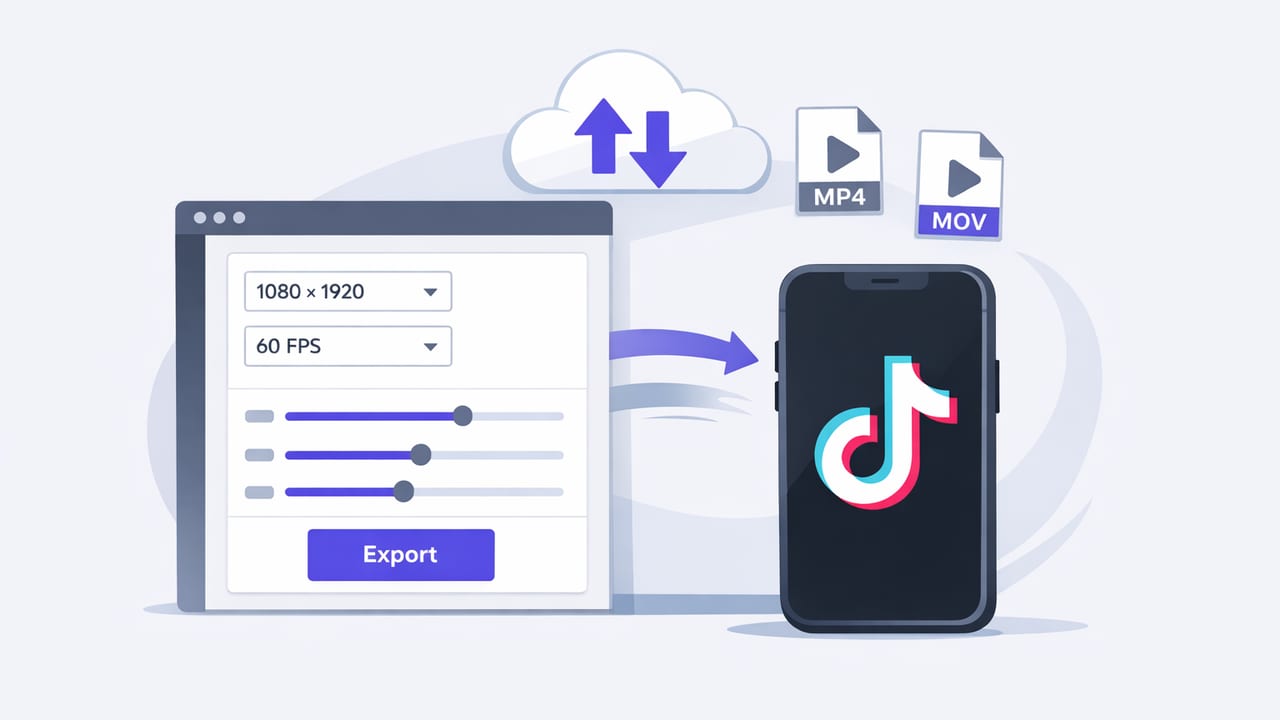
Nothing is more frustrating than recording a sharp, well-lit video—then watching it turn soft, noisy, or out-of-sync after export and upload. A consistent TikTok export preset solves that by turning “export” into a repeatable step in your creator workflow: same frame size, same frame rate, predictable file size, and captions that stay readable.
This guide breaks down an iPhone-friendly preset you can reuse for most talking-head, tutorial, and product-style videos. You’ll learn which settings matter (and which are myths), how to avoid common quality loss, and how to tailor your export for subtitles, platform safe zones, and music.
What a “TikTok export preset” actually means
A TikTok export preset is simply a saved combination of output choices that consistently produces upload-ready video. It typically includes:
- Canvas: 9:16 vertical size (and when to use 1080p vs 4K)
- Frame rate: match your recording (30 vs 60)
- Bitrate / quality: enough detail without bloating the file
- Codec: usually H.264 for compatibility
- Audio: clean voice level and sample rate
- Captions: legible size, safe placement, and burn-in vs separate
On iPhone, you won’t always see every technical knob in every editor. But you can still build a reliable preset by controlling what you can: resolution, fps, compression quality, audio level, and caption placement.
The baseline TikTok export preset (recommended)
If you want one preset that works for most creators, start here:
- Aspect ratio: 9:16 (vertical)
- Resolution: 1080×1920 (Full HD)
- Frame rate: 30 fps (or match your footage)
- Codec: H.264 (high compatibility)
- Bitrate: 10–16 Mbps for 1080p (use “High” quality if bitrate isn’t shown)
- Audio: AAC, 48 kHz, 256–320 kbps (or “High”)
- Color: SDR (avoid HDR unless you know your pipeline is HDR-safe)
Why this works: TikTok often re-encodes uploads. Starting with clean 1080p and a healthy bitrate gives the app more detail to work with, while keeping file sizes manageable and export times fast.
1080p vs 4K: which export wins on TikTok?
Many iPhones can record 4K/60. That doesn’t automatically mean you should export 4K for TikTok.
Choose 1080×1920 when:
- You want faster exports and uploads
- Your editor struggles with 4K timelines
- You’re making daily content and need a dependable workflow
Choose 2160×3840 (vertical 4K) when:
- You heavily crop/zoom and want extra detail headroom
- You add lots of text overlays and want them razor-sharp
- Your storage and upload speeds can handle bigger files
Reality check: TikTok display and delivery often favor 1080p. 4K can still help before compression (especially if you crop), but it’s not a guaranteed “quality hack.”
Frame rate: the #1 setting people mismatch
Export frame rate should usually match your recording frame rate.
- Recorded 30 fps → Export 30 fps
- Recorded 60 fps → Export 60 fps (especially for movement, demos, sports, or handheld shots)
Mismatching can cause motion to look odd or less smooth. If you recorded 60 fps but your editor exports 30 fps, it may blend frames or drop them—sometimes fine for talking-head, but risky for fast motion.
Bitrate and compression: how to avoid “muddy” video
On iPhone editors, bitrate might be hidden behind labels like Low / Medium / High. As a rule:
- Use High for final export
- Avoid re-exporting multiple times (each encode loses detail)
- Keep your edits in one app when possible
If you can set bitrate explicitly, these ranges are a practical starting point:
- 1080p: 10–16 Mbps (talking head), 16–24 Mbps (busy scenes, lots of detail)
- 4K: 35–60 Mbps depending on motion and noise
Tip: Video noise (low light grain) destroys compression efficiency. Better lighting often improves “TikTok quality” more than any export setting.
Captions: subtitle styling that survives TikTok UI
Subtitles are part of the export preset—not an afterthought. The goal is captions that are readable on small screens and not blocked by TikTok buttons.
Safe placement guidelines (practical)
- Keep captions above the bottom UI: aim for the lower third, but not at the very bottom.
- Leave room on the right side: TikTok’s icons stack there.
- Use a solid background or outline: white text with a subtle black shadow/outline is reliable.
Burn-in vs platform captions
- Burned-in captions (exported into the video): consistent look everywhere, great for cross-posting.
- Platform captions (added inside TikTok): editable and searchable, but styling/control varies.
If you cross-post to Reels/Shorts, burned-in captions can keep your brand consistent. If you prioritize TikTok’s native features, add them in-app.
Audio preset: clean voice that doesn’t clip
TikTok is unforgiving with harsh, distorted audio. Your export preset should include a simple audio standard:
- Normalize voice so it’s consistently audible across clips
- Avoid clipping: keep peaks below 0 dB; a safe target is around -1 dB peak
- Use light compression if you vary distance from the mic
If your editor offers “Clean audio” or noise reduction, use it gently—too much can create watery artifacts. Strong noise reduction is a last resort; better mic placement wins.
Preset comparison table (TikTok vs Reels vs Shorts)
| Platform | Aspect | Export Resolution | FPS | Suggested Bitrate (1080p) |
|---|---|---|---|---|
| TikTok | 9:16 | 1080×1920 | 30 (or match) | 10–16 Mbps |
| Instagram Reels | 9:16 | 1080×1920 | 30 | 10–16 Mbps |
| YouTube Shorts | 9:16 | 1080×1920 (or 4K if source is 4K) | 30 or 60 | 12–20 Mbps |
These aren’t hard rules; they’re stable defaults. The key is consistency: keep your pipeline predictable so you can troubleshoot quickly.
Step-by-step: build your TikTok export preset on iPhone
- Start with the right project canvas: create a 9:16 vertical timeline (avoid resizing later).
- Import your best source: use the original camera file, not a file that was already exported from another app.
- Edit once, export once: do trimming, captions, and resizing in one pass when possible.
- Select export resolution: choose 1080×1920 for the default preset.
- Match the frame rate: set 30 fps (or 60 fps if you recorded in 60).
- Choose high quality: pick “High”/“Best” quality to reduce compression artifacts.
- Check audio: listen on phone speakers and headphones; fix harshness before export.
- Save as a preset: if your editor supports it, save these settings as “TikTok 1080p.”
Quick troubleshooting: why TikTok makes your video look worse
1) Your export is already compressed
If you exported once, then edited again and exported again, you’ve compounded compression. Go back to the original recording and redo a single clean export.
2) Low light noise is eating your bitrate
Noisy footage looks “blocky” after upload. Add light, use a brighter key, and avoid underexposure.
3) HDR → SDR conversion issues
HDR clips can look washed out or oddly contrasted when exported incorrectly. For a stable workflow, keep your pipeline SDR unless you specifically manage HDR end-to-end.
4) You’re using heavy sharpening filters
Sharpening creates edges that compress poorly and can shimmer after upload. Prefer subtle sharpening, if any.
Optional: a desktop-grade preset (for creators who also use FFmpeg)
If you sometimes finish on a computer, this FFmpeg command is a practical reference for a TikTok-style 1080×1920 export. It’s not required for iPhone workflows, but it shows the technical shape of a solid preset:
ffmpeg -i input.mp4 \
  -vf "scale=1080:1920:force_original_aspect_ratio=decrease,pad=1080:1920:(ow-iw)/2:(oh-ih)/2" \
  -r 30 -c:v libx264 -profile:v high -level 4.1 -pix_fmt yuv420p \
  -b:v 12M -maxrate 16M -bufsize 24M \
  -c:a aac -b:a 256k -ar 48000 \
  output_tiktok_1080p.mp4
Even if you never run this, it highlights the main ideas: correct canvas, stable fps, modern H.264 settings, and sensible bitrate.
Pre-upload checklist (60 seconds)
- Text safe zones: captions not blocked by UI
- First frame: clean opening shot (no accidental blur)
- Audio: voice is clear on phone speakers
- No extra watermarks: avoid re-post artifacts if cross-posting
- File source: exported from original footage (not forwarded through messaging apps)
Putting it all together: a repeatable creator workflow
The best TikTok export preset is the one you can reuse without thinking: record clean footage, keep edits minimal, place captions safely, export 1080×1920 at the same fps you shot, and choose high quality. Once this is consistent, you can experiment (4K, different caption styles, cinematic color) without breaking your baseline.
If your workflow also includes reading scripts while keeping natural eye contact, an iPhone teleprompter + editor app like CueCam can help you record, caption, and export in one place—while keeping files on-device for privacy.
