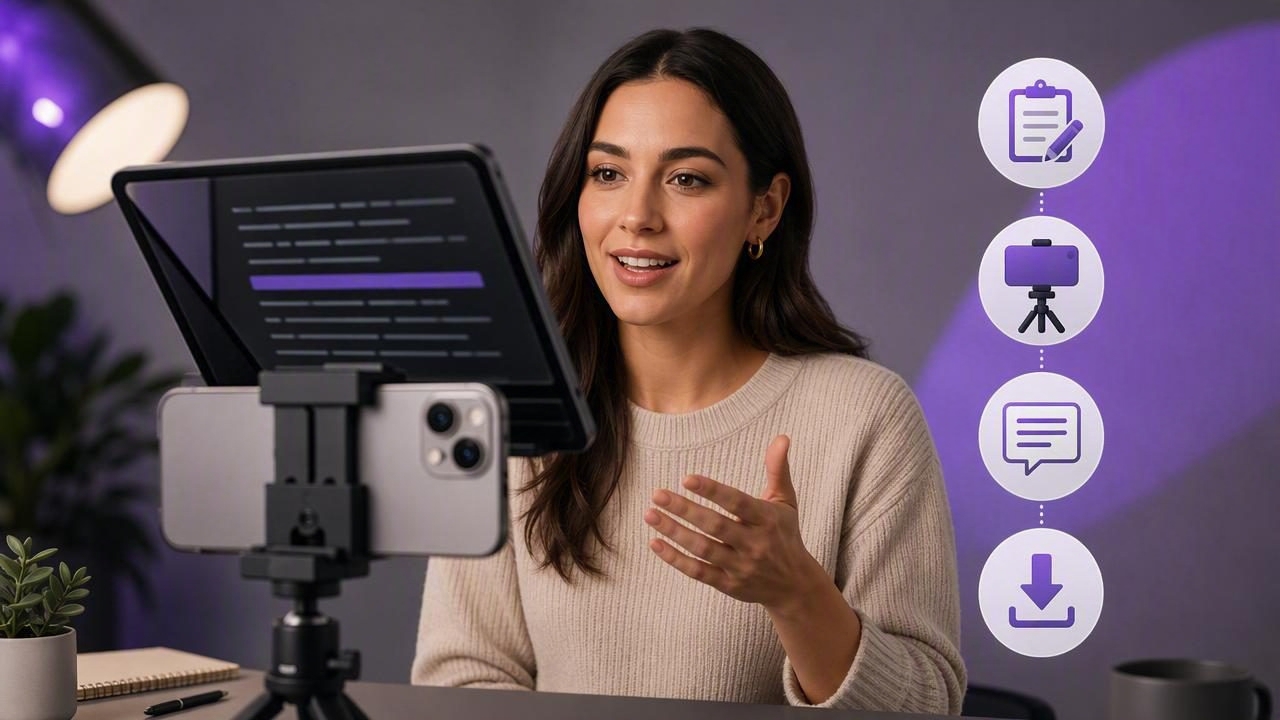
Teleprompter video recording helps creators turn a prepared script into a confident, camera-ready video without memorizing every line. Whether you create product tutorials, online lessons, short-form social posts, sales videos, or YouTube explainers, a teleprompter can make your delivery clearer and your production process more repeatable.
The key is not simply reading text from a screen. Effective teleprompter recording combines a conversational script, an eye-contact-friendly setup, clean audio, stable footage, and a streamlined editing process. With an iPhone, that entire workflow can happen in one compact device.
This guide explains how to plan, record, caption, and export teleprompter videos that look natural rather than overly rehearsed.
Why Use a Teleprompter for Video Recording?
Recording from a script gives you more control over your message. Instead of stopping repeatedly to remember the next point, you can maintain momentum and deliver a consistent version of the same information each time.
A teleprompter is especially useful when accuracy matters. For example, creators may need to mention technical features, legal disclaimers, pricing details, names, statistics, or a carefully worded call to action. Reading those details reduces mistakes and limits the amount of editing needed afterward.
- More reliable messaging: Keep every key point in the final cut.
- Faster production: Spend less time restarting takes or memorizing scripts.
- Better eye contact: Positioning text near the camera lens helps viewers feel directly addressed.
- Consistent delivery: Useful for teams, courses, recurring series, and branded content.
- Less editing: A clear script can reduce rambling, filler words, and missing information.
For many creators, the largest benefit is confidence. You can focus on tone, pacing, and expression while knowing the next line is ready when you need it.
Start With a Script Written for Speech
Not every written document works as a video script. Blog-style paragraphs, presentation notes, and technical copy often sound stiff when read aloud. For natural teleprompter video recording, write the way you would explain the topic to one person.
Use Short, Speakable Sentences
Long sentences are harder to read smoothly and can cause you to lose your place. Keep most sentences focused on one idea. Use contractions such as “you’ll,” “we’re,” and “it’s” when they suit your voice. Replace jargon where a simpler phrase will do.
It also helps to place natural pauses directly into the script. Paragraph breaks, ellipses, and short lines give you room to breathe and make the delivery sound less mechanical.
Write for the ear, not just for the eye. If a line feels awkward to say out loud, rewrite it before recording.
Build a Simple Video Structure
A dependable structure makes scripts easier to follow and easier for viewers to understand:
- Hook: State the problem, outcome, or reason to keep watching.
- Context: Briefly explain why the topic matters.
- Main points: Deliver two to five useful steps, insights, or examples.
- Call to action: Tell viewers what to do next.
For short-form videos, write the hook first. A strong opening such as “Here’s why your scripted videos still sound natural” gives the viewer a reason to stay through the explanation.
Set Up Your iPhone for Professional-Looking Footage
An iPhone can produce excellent video, but the best settings depend on where the finished video will be used. Before you begin teleprompter video recording, choose your orientation, resolution, frame rate, and audio source.
| Recording Element | Recommended Starting Point | Why It Matters |
|---|---|---|
| Orientation | Vertical for Reels, TikTok, and Shorts; horizontal for many YouTube videos | Reduces reframing and cropping later |
| Resolution | 4K when storage and editing needs allow | Provides detail and more room to crop |
| Frame rate | 24 or 30 fps for most talking-head content | Creates a natural, manageable recording workflow |
| Camera position | Lens at or slightly above eye level | Creates a more flattering and direct look |
| Audio | External microphone when possible | Improves clarity more than most visual upgrades |
Use a tripod or stable mount rather than holding the phone by hand. Stable framing makes a video feel more intentional and lets you concentrate on delivery. If you record handheld content, enable stabilization where available and avoid walking while reading a script.
Prioritize Lighting and Audio
Good lighting makes a teleprompter setup more forgiving. Face a window for soft daylight, or place a key light in front of you and slightly to one side. Avoid standing with a bright window behind you, as the camera may expose for the background and leave your face too dark.
For audio, move closer to the microphone than you think you need to. A small wired or wireless external mic can reduce room echo, background noise, and inconsistent volume. Record a ten-second test before every session, then listen with headphones.
Choose the Right Teleprompter Scrolling Method
The scrolling mode you choose affects how natural your delivery feels. The best option depends on the type of video, your speaking pace, and how closely you need to follow the wording.
Fixed-Speed Scrolling
Fixed-speed mode moves the script at a set pace. It works well when you have practiced the script and know your speaking rhythm. Start slower than you expect. A scroll speed that feels slightly slow is easier to manage than one that forces you to rush.
Timed Scrolling
Timed scrolling matches the script to a planned video duration. This can be useful for ads, lessons, announcements, or content with a strict runtime. It works best after a rehearsal because your actual speaking speed needs to match the timing.
Voice-Following Tracking
Voice-following tracking advances text based on what you say. This is helpful for creators who pause, improvise, or vary their pace between takes. Instead of trying to keep up with moving text, you can focus on sounding conversational.
Whichever method you use, keep the text large enough to read comfortably and positioned as close to the camera lens as possible. The farther your eyes travel from the lens, the more obvious it becomes that you are reading.
How to Sound Natural While Reading a Script
Using a teleprompter does not have to make a video feel scripted. The goal is to treat the script as a guide for a conversation, not a speech you must perform perfectly.
- Read in thought groups: Focus on one idea at a time rather than individual words.
- Pause on purpose: Short pauses make important points easier to understand and edit.
- Use your normal gestures: Controlled hand movement adds energy and authenticity.
- Allow slight variation: It is fine to change a word if a more natural phrase comes to mind.
- Smile before recording: Your expression and vocal tone often improve immediately.
Do not restart a take because of every small mistake. Pause, repeat the sentence cleanly, and continue. Those pauses create clear edit points. For a short video, recording two or three full takes is often faster than trying to perfect one take line by line.
Add Subtitles for More Accessible Videos
Subtitles are a practical part of modern creator workflow, not just an optional design feature. Many viewers watch videos with sound off, while others benefit from captions for clarity, language support, or accessibility.
Generate subtitles after selecting your best take. Then review them carefully, especially for names, industry terms, and numbers. Automatic transcription saves time, but a quick edit protects accuracy.
Keep captions easy to read by using high contrast, a clear font, and short line lengths. Avoid placing subtitles too low in a vertical frame, where app interface elements may cover them. For short-form content, captions placed in the lower-middle area are often more visible.
Export for the Platform Without Losing Quality
Before exporting, check the target platform’s preferred aspect ratio and confirm that captions, graphics, and key text stay inside safe areas. A video that looks good in your camera roll can be cropped unexpectedly when uploaded.
- Vertical social video: Use a 9:16 canvas for TikTok, Instagram Reels, and YouTube Shorts.
- Standard YouTube video: Use a 16:9 horizontal canvas.
- Feed posts: Consider square or 4:5 layouts when the platform and campaign call for them.
If you recorded in 4K, you may have more flexibility to crop or resize while retaining a sharp final image. Still, export only at the quality needed for your destination. Oversized files take longer to process and upload without always creating a visible benefit.
A Repeatable Teleprompter Recording Checklist
Use this pre-recording checklist to make the process faster each time:
- Read the script aloud once and simplify awkward lines.
- Set the phone orientation and framing for the destination platform.
- Mount the iPhone at eye level and clean the camera lens.
- Check lighting, background, and exposure.
- Connect and test your microphone.
- Set text size, text position, and scrolling mode.
- Record a short test and review audio, focus, and eye contact.
- Capture multiple takes, then trim, caption, and export.
Make Script-to-Video Easier
The best teleprompter video recording workflow is the one you can repeat without friction. Keep reusable script templates, save preferred camera settings, and use a consistent setup for lighting and audio. Over time, this reduces preparation time and helps your on-camera delivery become more relaxed.
For creators who want a single iPhone-based workflow for script reading, 4K recording, on-device subtitles, and editing, CueCam is one option designed to keep those steps together while keeping scripts and videos on the device.
