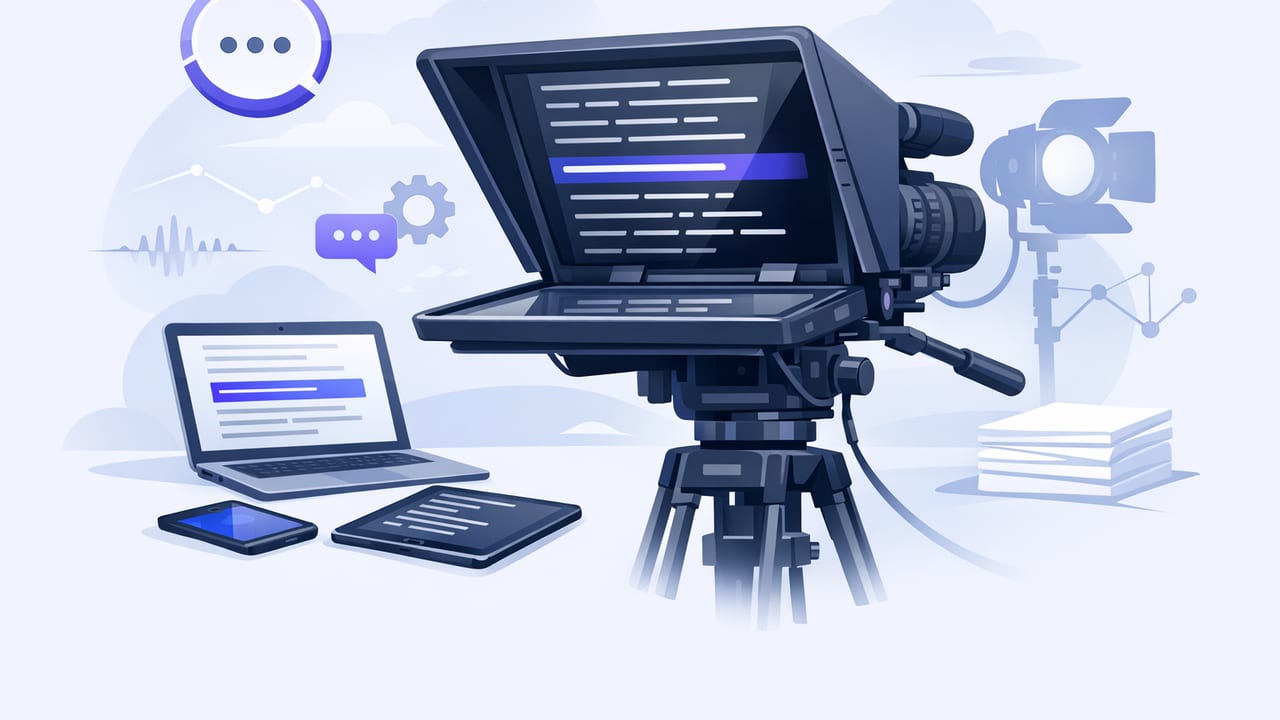
A teleprompter can instantly improve your iPhone videos—but only if your script and pacing are designed for spoken delivery. Many creators paste an article into a teleprompter, hit record, and end up sounding flat, rushing lines, or constantly restarting. The fix isn’t “be more confident.” It’s building a teleprompter-ready workflow: write for the ear, format for the eye, and choose a scrolling method that fits your style.
This guide walks through a practical, repeatable process to prepare teleprompter scripts for iPhone recording—so you maintain eye contact, sound natural, and finish takes faster.
Why teleprompter videos often sound “read” (and how to prevent it)
The biggest giveaway that someone is reading is not the teleprompter itself—it’s how the text is written and paced. On-camera speech needs:
- Shorter sentences than writing meant for reading
- Clear beat points (where you pause, emphasize, or change energy)
- Breathing room for natural cadence
- Visual cues so your eyes don’t scan ahead and “race” your voice
When those elements are missing, you’ll either speed up to “keep up” with the text or slow down and lose energy. A well-prepped teleprompter script solves both.
Step 1: Write for speech, not for reading
Before formatting anything, rewrite your script in a voice that matches your audience and platform. A useful rule: if you wouldn’t say it to a friend, you probably shouldn’t say it on camera.
Use the “one breath” sentence test
Read each sentence out loud. If you can’t say it comfortably in one breath, split it. Spoken sentences that run long are the #1 cause of teleprompter pacing issues.
Prefer concrete verbs and simple transitions
Replace abstract filler with direct phrasing:
- “In order to” → “To”
- “It is important to note that” → remove entirely
- “Utilize” → “Use”
- “As a result of this” → “So”
Add intentional “spoken” markers
Add light conversational cues that help you sound like you’re thinking, not reciting:
- Micro-pauses: “Here’s the key point—”
- Framing: “Let me show you what I mean.”
- Signposts: “First… Next… Finally…”
Tip: If a line feels awkward, don’t rehearse it harder. Rewrite it until it sounds like something you’d naturally say.
Step 2: Format your teleprompter script for quick scanning
Great teleprompter delivery is more about your eyes than your mouth. The goal is to reduce eye movement and cognitive load so your gaze stays close to the lens.
Formatting rules that make delivery easier
- One idea per line. Break lines where you would naturally pause.
- Double-space tricky sections. Dense text increases stumbles.
- Use bold for emphasis words you want to hit.
- Use ALL CAPS sparingly for reminders (like “SMILE” or “PAUSE”).
- Write numbers how you say them (e.g., “twenty” instead of “20” if you tend to trip).
A simple teleprompter-friendly template
Try formatting a paragraph like this:
HOOK:
If your teleprompter videos sound “read,”
it’s usually the script—not your confidence.

PROMISE:
In the next 2 minutes,
I’ll show you three fixes
that make your delivery sound natural.

STEP 1:
Shorten sentences.
One breath per line.
This structure adds built-in pacing and makes it harder to rush.
Step 3: Choose the right teleprompter scrolling mode
Teleprompter apps typically offer three main modes. The “best” option depends on whether you want precision, flexibility, or a performance that feels spontaneous.
| Mode | Best for | Strength | Watch out for |
|---|---|---|---|
| Voice-following (voice tracking) | Conversational delivery, creators who improvise | Scroll matches your pace in real time | Very noisy rooms can reduce accuracy |
| Fixed-speed scrolling | Short scripts, consistent cadence, repeatable takes | Simple and predictable | Forces you to match the speed even if you stumble |
| Timed scrolling | Hard time limits (ads, reels, tutorials) | Great for hitting a target duration | Requires accurate word count and rehearsal |
How to pick quickly
- If you want to sound most natural: voice-following.
- If you want the easiest setup: fixed-speed.
- If you must hit 30s/60s exactly: timed.
Step 4: Set your pace using words-per-minute (WPM)
Pacing becomes easier when you treat it like a measurable setting. Typical ranges:
- 130–150 WPM: calm, instructional, “explainer” tone
- 150–170 WPM: upbeat creator style, short-form friendly
- 170–190 WPM: high-energy (hard to sustain naturally)
If you’re using timed scrolling, estimate duration with this:
estimated_seconds = (word_count / WPM) * 60Example: a 180-word script at 150 WPM is about 72 seconds. If you consistently run long, don’t just speed up—trim.
Where creators lose time without noticing
- Long intros before the point
- Over-explaining obvious steps
- Repeating the same benefit in different words
- Too many examples in one take
Step 5: Rehearse in a way that reduces retakes
Rehearsal isn’t memorizing. It’s identifying where you stumble and adjusting the text so it’s easy to say.
A 3-pass rehearsal method
- Pass 1 (dry run): Read through once and highlight any line you trip over.
- Pass 2 (rewrite): Simplify those lines. Shorten, re-order, or swap words.
- Pass 3 (performance): Record a quick test clip and listen back for monotone pacing.
If your delivery feels flat, it’s usually missing pauses. Add explicit beats like (pause) or separate lines to force breathing room.
Step 6: Record on iPhone with eye contact and clean audio
The teleprompter is only half the setup. Your recording choices affect how “pro” the result looks and sounds.
Camera and framing essentials
- Lens choice: Use the rear camera when possible for best quality; frame at eye level.
- Eye line: Keep the scrolling text close to the lens position to reduce visible eye movement.
- Light: Face a window or soft key light; avoid overhead-only lighting.
- Stability: Use a tripod; stabilization helps, but steady framing is still key.
Audio checklist (more important than 4K)
- Use an external mic when you can (wired, wireless, or USB-C/Lightning interface)
- Record in a quiet room with soft furnishings to reduce echo
- Keep the mic at a consistent distance
Rule of thumb: Viewers will tolerate average video. They won’t tolerate hard-to-understand audio.
Step 7: Make editing faster with “script-aware” recording habits
You can save a lot of time in post by recording with edits in mind:
- Pause 1 second before you start speaking and after you finish (gives you clean cut points).
- Clap once if you mess up, then restart the sentence. The clap spike makes errors easy to find.
- Record in sections for longer videos. It’s easier to nail three 40-second parts than one 2-minute monologue.
Subtitles: the easiest retention boost you can add
Subtitles help viewers follow along in noisy environments, improve comprehension, and often increase watch time—especially on short-form platforms. A few best practices:
- Edit for accuracy: Fix names, product terms, and industry jargon.
- Keep lines short: Aim for one thought per subtitle line.
- Match pacing: If subtitles lag behind speech, reduce long sentences in the script next time.
For creators who care about privacy, on-device subtitle generation can be a plus: your recordings and scripts don’t need to leave your phone to get captions.
Common teleprompter mistakes (and quick fixes)
- Mistake: You keep rushing.
Fix: Add more line breaks, slow the scroll, and insert explicit pauses. - Mistake: Your eyes dart side-to-side.
Fix: Increase font size, reduce line width, and keep text closer to the lens. - Mistake: You sound monotone.
Fix: Bold 3–5 emphasis words per minute and vary sentence length. - Mistake: You keep restarting.
Fix: Use the “clap + restart the sentence” method and edit later.
A simple pre-record checklist
- Script rewritten for speech (short sentences, clear beats)
- Teleprompter formatting: one idea per line, emphasis marked
- Scrolling mode chosen (voice-following, fixed-speed, or timed)
- Pace verified (WPM or timed run)
- Lighting and framing set
- Mic tested and room noise checked
- Test clip recorded and reviewed
Putting it together: a repeatable creator workflow
The most efficient teleprompter workflow is the one you can repeat under real constraints: limited time, imperfect rooms, and multiple platforms. When you treat scripting, formatting, and pacing as part of production—not an afterthought—you’ll get cleaner takes, faster edits, and a more natural on-camera presence.
If you’re looking for an iPhone teleprompter that supports voice-following, pro recording, and on-device privacy features in a single workflow, you can explore CueCam as one option.
