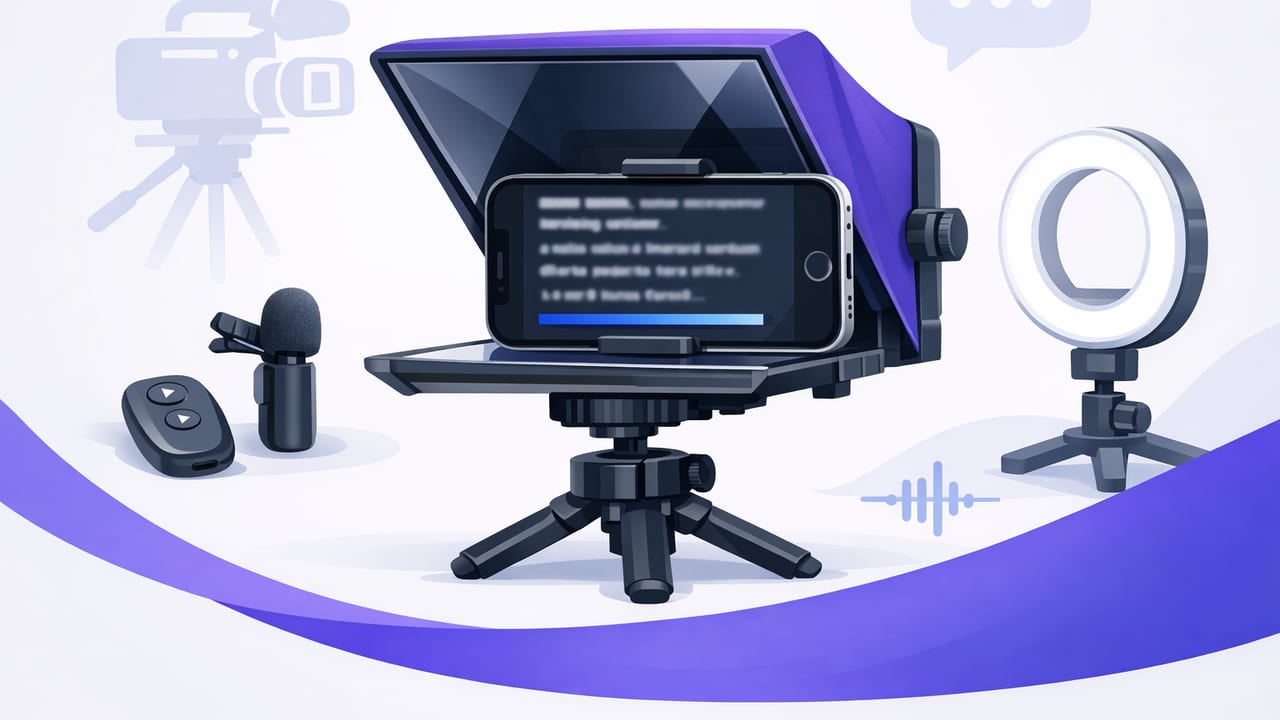
A teleprompter for iPhone can turn “I need 20 takes” into “done in two,” without sacrificing eye contact or sounding robotic. The key isn’t just the app—it’s how you set up your phone, script, pacing, and audio so your delivery feels like a conversation.
This guide walks through a practical, repeatable iPhone teleprompter workflow for talking-head videos, tutorials, announcements, course lessons, and client updates. You’ll learn how to choose the right scrolling mode, format scripts for natural speech, dial in camera and audio settings, and finish with subtitles and exports that match each platform.
What “natural” scripted video actually requires
Viewers forgive a lot, but they notice three things instantly:
- Eye line (are you looking at the lens or slightly off?)
- Pacing (does it sound read, rushed, or overly formal?)
- Audio clarity (bad audio screams “amateur”)
A good teleprompter setup solves eye line. A good workflow solves pacing and audio—so your script feels spoken, not “performed.”
Step 1: Build a simple iPhone teleprompter setup
You can record great results with minimal gear. Prioritize stability and lens alignment.
Minimum setup (works for most creators)
- iPhone (rear camera preferred for quality; front camera for convenience)
- Tripod with a phone mount
- Light source (window light or a small key light)
- Mic (wired lav, wireless mic, or compact shotgun)
Best practice: align the text close to the lens
The closer the scrolling text is to the camera lens, the more your gaze reads as direct eye contact. If your teleprompter overlay sits far below the lens, viewers will see you “reading down.” If it’s just below or beside the lens, the gaze difference becomes nearly invisible.
Rule of thumb: if your eyes move more than a few millimeters left/right/up/down while reading, reposition the text box closer to the lens or increase font size to reduce scanning.
Step 2: Choose the right scrolling mode (and why it matters)
Most iPhone teleprompter apps provide multiple scroll behaviors. Pick based on your content type and how consistently you speak.
| Mode | Best for | Pros | Watch-outs |
|---|---|---|---|
| Voice-following | Creators who pause, riff, or emphasize | Adapts to your pace; fewer restarts | Needs clean audio input; test mic levels first |
| Fixed-speed | Short scripts, consistent cadence | Simple; predictable timing | If you speed up/slow down, you can lose your place |
| Timed scrolling | Presentations, announcements, strict duration | Matches a target runtime (e.g., 60 seconds) | Requires script editing to fit the time window |
Recommendation: If you’re filming educational content or anything conversational, start with voice-following. If you’re filming short, punchy social clips, timed can help you hit platform-friendly lengths.
Step 3: Format your script so it sounds like you
Many “teleprompter problems” are actually script problems. Write for speech, not for reading.
Use this spoken-video script checklist
- Short sentences (aim for 8–14 words)
- One idea per line to reduce eye movement
- Contractions (you’re, it’s, we’ll) to sound natural
- Stage directions in brackets (pause, smile, show B-roll)
- Built-in breaths with blank lines between sections
Example: rewrite stiff copy into natural delivery
Stiff: “In today’s video, I will be discussing three methods by which you can improve your on-camera presence.”
Natural: “In this video, I’ll show you three quick ways to look more confident on camera.”
A reusable teleprompter script template
[HOOK]
Say the result in one sentence.

[WHY IT MATTERS]
One short story or problem your viewer has.

[STEPS]
Step 1: ...
Step 2: ...
Step 3: ...

[WRAP]
Recap in one line.
Call to action (subscribe / download / comment).
As you rehearse, edit the script to match the words you naturally say. If you keep stumbling on a phrase, change the phrase—don’t force it.
Step 4: Dial in recording settings for clean, consistent takes
Teleprompter videos are usually “talking head,” which means viewers focus on your face and voice. Consistency matters more than cinematic complexity.
Camera basics
- Use the rear camera if possible for better quality (especially in lower light).
- Lock exposure and focus to prevent brightness pumping mid-sentence.
- Frame for your platform: vertical for Reels/TikTok, horizontal for YouTube, square for some ads.
- 4K vs 1080p: choose 4K if you plan to crop/reframe; 1080p is fine for many socials and saves storage.
Audio basics (don’t skip this)
- Get the mic close: a lav mic 6–8 inches from your mouth beats any “room mic.”
- Control echo: soft furnishings help; avoid empty rooms.
- Monitor levels: distortion ruins a great take faster than a missed word.
Step 5: Reduce mistakes with a “two-pass” recording method
Instead of chasing a perfect single take, use a workflow that makes errors cheap.
- Pass 1 (structure take): record the full script without stopping unless you completely lose your place.
- Pass 2 (pickup lines): re-record only the lines you want to improve (intro, transitions, key claims).
This approach keeps your energy up and makes editing faster. You’ll also sound more natural because you’re not “resetting” emotionally after every small stumble.
Step 6: Add subtitles without slowing down your workflow
Subtitles improve retention and accessibility—and many viewers watch with sound off. For a fast workflow:
- Generate captions from your recorded audio.
- Scan for names/brands and fix the few words that matter.
- Choose a consistent style (font size, safe margins, highlight color) and reuse it.
On-device subtitles and privacy
If you work with client material, internal updates, or unpublished launches, consider tools that can generate subtitles on-device (no upload required). That keeps scripts and video files on your phone and reduces risk when handling sensitive content.
Step 7: Export for each platform (without re-editing everything)
Creators waste time exporting the same video five different ways. Build a small preset checklist:
- Vertical (9:16): TikTok, Reels, Shorts
- Horizontal (16:9): YouTube, many courses
- Square (1:1): some feeds and ad placements
Keep your subject centered and leave room for UI overlays (captions, platform buttons). If you film in 4K, you can often crop to multiple formats from one master recording.
Troubleshooting: common iPhone teleprompter issues (and fixes)
You look like you’re reading
- Fix: increase font size and reduce line length so your eyes move less.
- Fix: add more line breaks; one sentence per line.
- Fix: position text closer to the lens.
You keep losing your place
- Fix: use voice-following mode or slow the scroll speed.
- Fix: bold key words (sparingly) so your eyes can re-anchor quickly.
Your delivery sounds flat
- Fix: mark emphasis words in italics and add “(pause)” cues.
- Fix: record standing up for more energy and better breath support.
Editing takes too long
- Fix: clap once before pickup lines to create an obvious spike in the audio waveform.
- Fix: keep a consistent intro and reuse it; don’t reinvent every opening.
A fast pre-record checklist (copy/paste)
- Phone charged + enough storage
- Lens cleaned
- Tripod stable + framing checked
- Key light positioned (no harsh overhead shadows)
- Mic connected + quick test recording
- Teleprompter text near lens + font size comfortable
- Scrolling mode selected (voice/fixed/timed)
- Script formatted: short lines, pauses, emphasis
Putting it all together: a realistic 20-minute workflow
- 2 min: set tripod, light, and mic
- 3 min: paste script, add line breaks, mark pauses
- 2 min: select scroll mode and do a 10-second test
- 8 min: record structure take + a few pickup lines
- 5 min: trim, add captions, export in the right format
Once you’ve done this a few times, your biggest time-saver will be script formatting. A well-formatted script reduces eye movement, mistakes, and re-records—so everything else speeds up automatically.
Final note on choosing an iPhone teleprompter tool
Look for an app that supports the scrolling mode you prefer (especially voice-following if you’re conversational), records in high quality (including 4K if you need it), works well with external microphones, and offers an efficient path from script to video to subtitles—ideally with privacy-friendly, on-device processing. If you’re comparing options, CueCam is one example that combines teleprompter reading, pro recording, and offline subtitles in a single iPhone workflow.
