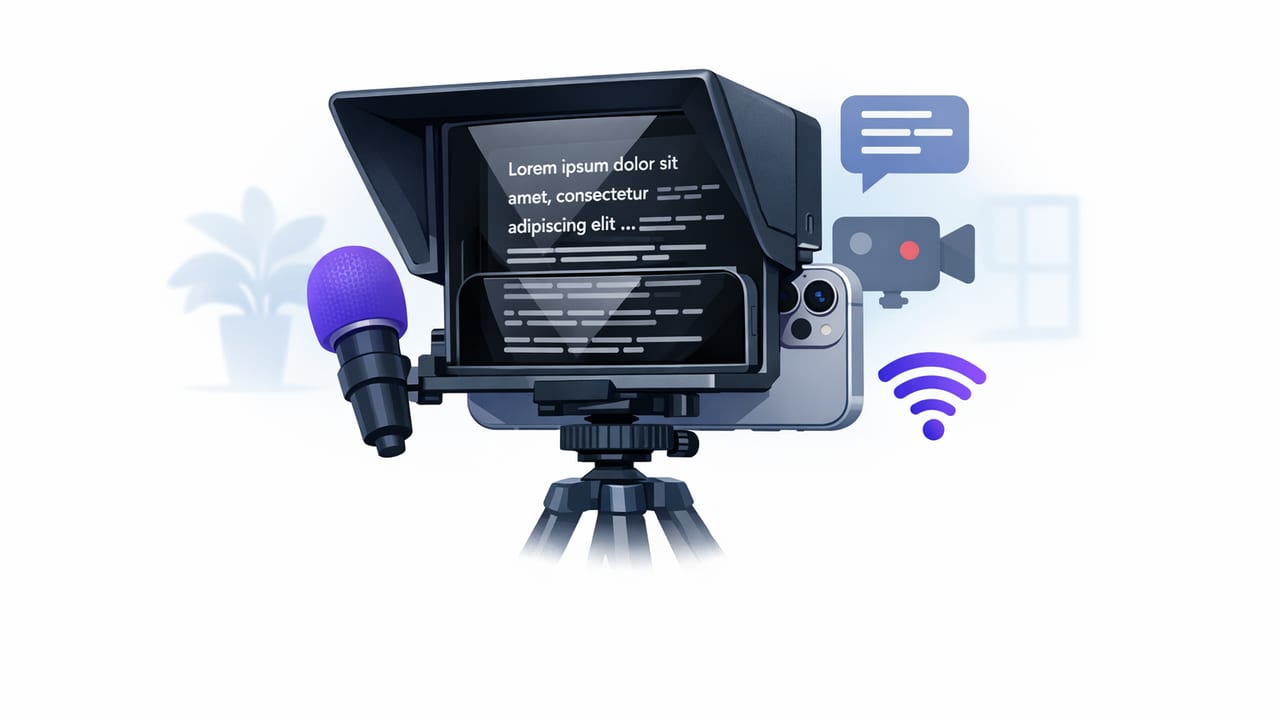
A good teleprompter for iPhone does one job incredibly well: it lets you read a script while still looking like you are speaking directly to the viewer. The result is faster recording, fewer retakes, and more consistent messaging across short-form clips, tutorials, product demos, and talking-head YouTube videos.
This guide is a practical, creator-focused checklist for getting a natural delivery. You will learn how to set up your iPhone, choose the right scrolling mode, format scripts for spoken delivery, capture clean audio, and generate subtitles efficiently (including privacy-friendly on-device options).
Why a teleprompter on iPhone changes your recording workflow
Most creators can improvise, but improvisation often creates:
- More edits (rambling, repeated takes, jump cuts)
- More cognitive load (remembering points while monitoring framing and audio)
- Less eye contact (glancing at notes breaks trust on camera)
Using a teleprompter for iPhone turns your process into a repeatable pipeline: script → read smoothly → record once → caption → export.
Step 1: Choose the right teleprompter scrolling mode
Teleprompter apps generally offer a few scrolling styles. Picking the right one matters as much as the script.
| Mode | Best for | Watch out for |
|---|---|---|
| Voice-following (word tracking) | Natural pacing, conversational delivery, minimal rehearsal | Needs reasonably clean audio; loud environments can reduce accuracy |
| Fixed-speed scrolling | Short scripts, consistent pacing, rehearsed reads | Speed mismatches cause rushing or awkward pauses |
| Timed scrolling | Ads, VO to music, strict runtime (15s/30s/60s) | Requires timing passes to hit beats comfortably |
If you are new, start with voice-following. If you are producing multiple takes with identical timing (for A/B hooks or localization), timed scrolling becomes valuable.
Step 2: Set your physical setup for confident eye contact
You can have the best script in the world and still look “off” if your camera and reading position fight each other. Use this checklist to keep your gaze believable.
Phone position and framing
- Eye-level lens: raise the iPhone so the lens sits at or slightly above your eye line.
- Distance: for a natural talking-head, aim for about an arm’s length to reduce perspective distortion.
- Lens choice: use the rear camera when possible for higher quality; use the front camera when you need quick setup.
Where to place the text
- Keep text close to the lens so your eyes do not “scan” across the screen.
- Use larger font rather than moving your eyes further away to read.
- Short line length helps your gaze stay centered.
Rule of thumb: if you can see your pupils moving left-to-right in playback, reduce line length and increase font size.
Step 3: Script formatting that sounds human (not “read”)
A teleprompter script is not an essay. It is a performance document. Your goal is to make the script easy to speak with breath, emphasis, and believable pauses.
Format for spoken rhythm
- One idea per line (break long sentences).
- Use contractions (you’re, it’s, don’t) to sound natural.
- Write as you speak (simple words, active voice).
- Mark emphasis with bold or caps sparingly.
- Add intentional pauses for editing points and breath.
Example: teleprompter-friendly script markup
[HOOK]
If your videos feel “stiff,” it’s usually not your camera.
It’s your pacing.

(beat)
Here’s the fix:
Use shorter lines.
Breathe between ideas.
And keep your eyes near the lens.

[CTA]
Try it on your next 30-second script.
You’ll need fewer retakes.
The bracket labels help you navigate quickly if you re-record only the hook or the call-to-action.
Step 4: Recording settings that make your footage look professional
Many creators focus on the teleprompter and forget the camera fundamentals. A strong teleprompter for iPhone workflow works best when the footage is clean from the start.
Resolution and frame rate
- 4K is useful if you crop for vertical formats or punch in during edits.
- 60fps can look smoother for movement, but talking-head videos often look great at 30fps.
- Pick one look and keep it consistent across your channel for a more “branded” feel.
Stabilization and support
- Use a tripod for the most stable framing.
- If handheld, enable stabilization (in-app or system) and keep your elbows tucked in.
Lighting basics (fast, not fussy)
- Face a window for soft, flattering light.
- If you use a ring light, keep it slightly above eye level to avoid harsh shadows.
- Separate from the background when possible (stand 3–6 feet away) for depth.
Step 5: Audio setup that actually matches “pro” video
Viewers will tolerate average video; they will not tolerate bad audio. If your teleprompter app supports external microphones, use them.
Quick audio upgrades
- Lavalier mic: best for talking-head; consistent levels even if you turn your head slightly.
- Shotgun mic: great on a desk stand, pointed at your mouth, out of frame.
- Monitor levels: avoid clipping; leave headroom (peaks below 0 dB).
Room sound fixes
- Turn off fans and AC when possible.
- Record in a smaller room with soft materials (curtains, rugs).
- Do a 10-second test, listen back on headphones, then record the full take.
Step 6: A repeatable “one-take” teleprompter workflow
Here is a simple process you can reuse for almost any scripted video.
- Write the script with short lines and clear beats.
- Paste into your iPhone teleprompter and set font size so your eyes barely move.
- Choose a scrolling mode (voice-following for most creators; timed for strict runtimes).
- Lock your shot: eye-level camera, clean background, stable support.
- Record a 10-second test: check focus, exposure, and audio.
- Record the full take: if you stumble, pause, repeat the line, and keep going (you can trim later).
- Trim and resize for the platform (9:16 for Reels/TikTok, 16:9 for YouTube, 1:1 for some feeds).
- Add subtitles and correct proper nouns.
- Export with platform-friendly settings and keep a master copy.
Step 7: Subtitles that are fast, accurate, and privacy-friendly
Subtitles are no longer optional for short-form. They improve watch time, comprehension, and accessibility. The main decision is where captions are generated.
On-device vs cloud subtitles
- On-device subtitles: faster turnaround in low-connectivity situations and stronger privacy (audio and video can stay on your phone).
- Cloud subtitles: can be accurate, but typically require uploads, accounts, or internet access.
If you work with sensitive scripts (client work, internal comms, or pre-launch announcements), prioritize on-device processing and apps that do not require sign-up.
Subtitle styling tips (for retention)
- Keep lines short (avoid covering your face or key visuals).
- Use high contrast (light text with dark outline or background).
- Highlight keywords sparingly to guide attention.
- Burn-in captions for short-form; keep an SRT file for YouTube workflows.
Troubleshooting: common teleprompter problems (and fixes)
You still look like you are reading
- Increase font size and reduce line length.
- Move the text closer to the camera lens area.
- Rehearse once focusing on meaning, not words.
Your pacing feels rushed
- Add pauses (marked beats) after key sentences.
- Switch from fixed-speed to voice-following mode.
- Remove filler sentences; tighter scripts feel calmer.
Captions are inaccurate
- Improve audio: closer mic, quieter room, lower background noise.
- Speak slightly more distinctly (especially for names and numbers).
- Do a quick manual pass for brand terms and product names.
A minimal gear list (optional, but high impact)
- Tripod with a phone mount
- Lavalier mic or compact shotgun mic
- Small LED light (or a reliable window)
- Simple background (or distance from the wall for depth)
Most creators get the biggest quality jump from just two upgrades: a stable tripod and a dedicated microphone.
Putting it all together
The best teleprompter for iPhone setup is the one you can repeat quickly. Nail the fundamentals: camera at eye level, text close to the lens, scripts formatted for speech, clean audio, and subtitles that fit your privacy needs. Do that consistently, and your videos will feel more direct, more confident, and easier to produce at scale.
If you are looking for an iPhone teleprompter workflow that combines script reading, high-quality recording, and offline subtitle generation in a privacy-friendly way, an app like CueCam is designed around that all-on-device approach.
