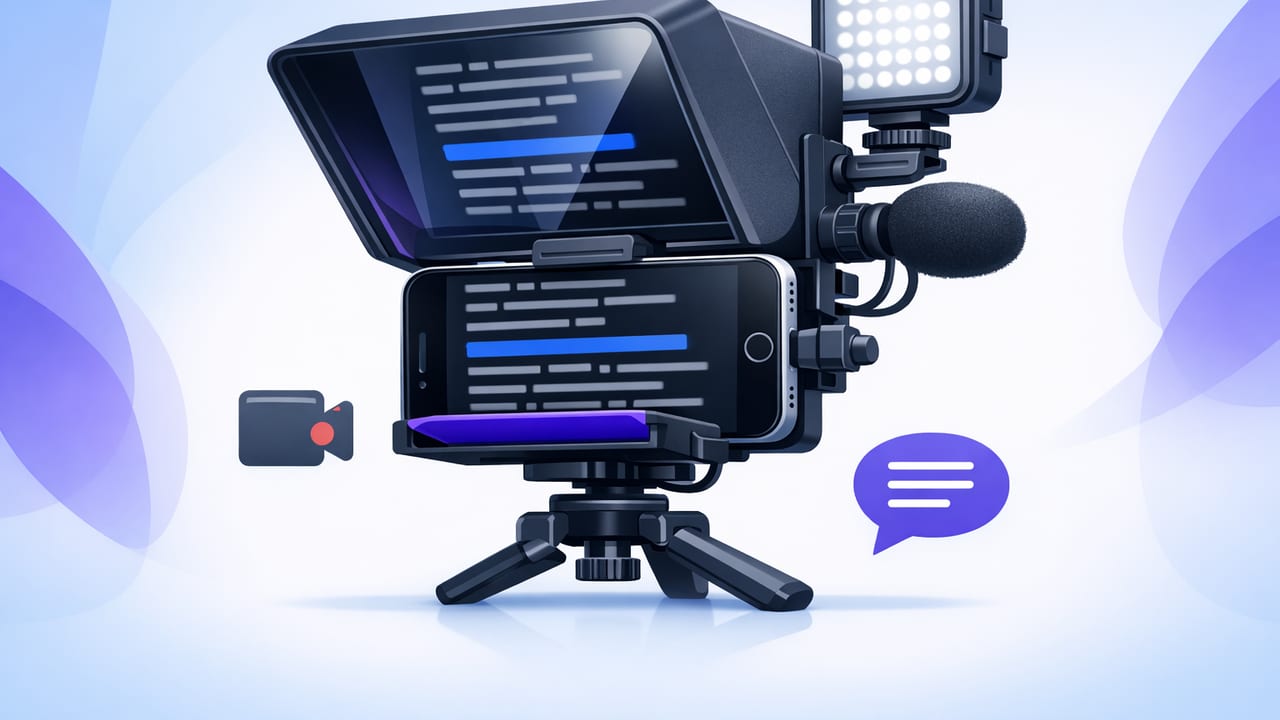
Using a teleprompter for iPhone is one of the fastest ways to level up your videos without memorizing lines or sacrificing eye contact. The catch: many creators end up sounding robotic, glancing off-screen, or fighting the scroll speed. The difference between “I’m reading” and “I’m talking to you” usually comes down to script formatting, on-camera delivery, and a recording setup that supports both.
This guide focuses on practical techniques you can apply immediately—whether you’re filming tutorials, talking-head YouTube videos, product demos, online courses, or short-form content for Reels, TikTok, and Shorts.
1) Get your iPhone teleprompter setup right (in 5 minutes)
You don’t need a studio, but you do need consistency. A stable frame and readable text remove most of the stress.
- Stabilize the phone: Use a tripod or solid stand at eye level. If the lens is below eye line, you’ll look down even if you’re reading smoothly.
- Choose the best lens for eye contact: If your app supports it, prefer the rear camera for quality, but ensure the script sits close to the lens area so your gaze stays centered.
- Light your face, not the room: A window at 45° or a simple key light makes you look sharper than any filter. Avoid overhead-only lighting (raccoon shadows).
- Distance rule: Start at about an arm’s length from the camera for natural framing and comfortable reading.
Rule of thumb: If you can’t read the next sentence without squinting, you’ll start blinking, tensing, and “reading face” will show up on camera.
2) Script formatting that sounds like you (not a voiceover)
Most teleprompter problems are actually writing problems. You can fix them with formatting that matches how humans speak.
Write for the ear
- Short sentences: Aim for 8–14 words per sentence for punchy delivery.
- One idea per line: Your eyes track lines, not paragraphs. If a line contains two ideas, you’ll rush.
- Use contractions: “You’re” and “I’ll” sound more natural than “You are” and “I will.”
- Cut filler you wouldn’t say: If you’d never say “therefore,” don’t write it.
Format for performance
Think of your script as sheet music. You’re adding cues for pacing and emphasis.
| Formatting cue | What you type | What it does on camera |
|---|---|---|
| Breath breaks | Insert a blank line between thoughts | Prevents run-on delivery; adds calm confidence |
| Emphasis | CAPS for 1–2 words only | Creates punch without sounding like you’re “announcing” |
| Pauses | [pause] or … | Gives you time to breathe, smile, or gesture |
| Stage directions | [show screen] [hold product] | Keeps your hands purposeful and reduces awkwardness |
| Pronunciation | Spell tricky names phonetically | Prevents stumbles that break flow and eye contact |
A teleprompter-friendly script example
This style reads like a real conversation and is easy to track:
Today I’m going to show you a simple way to stop sounding robotic.

Here’s the trick:
Write in short lines.

[PAUSE]

When you see a new line,
you naturally reset your tone.

And your eyes stay calmer on the camera.
3) Nail eye contact: where your eyes should actually go
Even with a teleprompter, perfect “staring” is not the goal. You want believable eye contact.
- Anchor your gaze near the lens: Keep the script as close to the camera position as possible. The farther the text is from the lens, the more obvious the reading.
- Use “soft eyes”: Instead of scanning word-by-word, read in phrases (3–6 words). Your eye movement becomes slower and more natural.
- Planned micro-glances: It’s okay to glance away briefly at section breaks (like a human thinking). Build this in with blank lines or a [beat] cue.
4) Choose a scrolling method that matches your delivery
Different videos call for different scrolling behavior. You don’t need to overthink it; match the mode to your content type.
- Voice-following (speech tracking): Great for conversational delivery and when you want to pause naturally. Ideal for creators who improvise a little.
- Fixed-speed scrolling: Best when the script is tight and you’re practicing a consistent cadence (ads, intros, structured segments).
- Timed scrolling: Useful when you must hit a duration (a 30-second spot, a timed lesson, or a slide-based presentation).
Whichever you choose, do one “calibration pass”: read the first 20–30 seconds to confirm font size and scrolling behavior before recording the real take.
5) Record like a pro: 4K settings, stabilization, and clean audio
A teleprompter improves delivery, but production quality is what makes your video feel trustworthy.
Resolution and frame rate
- 4K/30fps: A strong default for talking-head content. Great detail, manageable file sizes.
- 4K/60fps: Useful for motion (demonstrations, handheld segments) or if you want smoother motion. It uses more storage and light.
Stabilization
If you film handheld (or your desk vibrates), stabilization matters. Use built-in stabilization if available, and avoid unnecessary movement during scripted sections—movement amplifies the “reading” look.
External microphones
Audio is often the #1 reason a video feels “amateur.” If you can, use an external mic (wired or wireless) and do a 10-second test recording to confirm levels and reduce clipping. Also:
- Record in a soft room (curtains, rug) to reduce echo.
- Keep the mic consistent: same distance, same placement, same direction.
6) Subtitles: the fastest engagement boost you can add
Subtitles improve watch time, accessibility, and comprehension—especially for short-form viewers who watch muted. If your workflow supports on-device subtitles, you also get a privacy advantage (your scripts and video don’t need to be uploaded for transcription).
Subtitle best practices
- Keep lines short: 32–42 characters per line is easier to read on phones.
- Match what you actually say: Perfect grammar is less important than accurate phrasing.
- Burn-in vs. sidecar: Burned-in captions are best for social platforms; sidecar files (like .srt) are useful for YouTube uploads and repurposing.
Example: simple SRT caption format
If you ever need to export or edit captions manually, this is the structure:
1
00:00:00,000 --> 00:00:02,000
Today I’m going to show you a simple fix.

2
00:00:02,000 --> 00:00:04,500
So you can read naturally on camera.
7) A repeatable script-to-video workflow (that doesn’t waste takes)
Consistency beats perfection. Use a workflow that reduces decision fatigue.
- Outline first: 3–5 bullets that form a clear arc (hook → steps → payoff).
- Draft in “spoken” style: Short lines, contractions, one idea per line.
- Mark performance cues: [pause], [smile], [show], emphasis words.
- Do one warm-up read: Not recorded, just to settle your cadence.
- Record in sections: If your app supports it, record segments you can stitch later (intro, main points, outro).
- Quick edit pass: Trim dead air, tighten pauses, correct framing for vertical/horizontal.
- Add subtitles: Generate, then spot-check names, numbers, and brand terms.
- Export for platform: Vertical (9:16) for Reels/TikTok/Shorts; horizontal (16:9) for YouTube; square (1:1) for certain feeds.
8) Fix common teleprompter issues fast
“I still look like I’m reading.”
- Increase font size and line spacing to reduce tiny eye jumps.
- Move the script closer to the lens area.
- Rewrite long sentences into shorter lines (this is the biggest fix).
“My pacing feels off.”
- Switch modes: voice-following for natural pauses; fixed-speed for rehearsed cadence.
- Add [pause] cues where you tend to rush.
- Practice the first 15 seconds until it feels conversational—your intro sets the rhythm for the whole video.
“I keep losing my place.”
- Use stronger paragraph breaks and headings in the script.
- Remove unnecessary parentheticals and long clauses.
- Rehearse the transitions between sections; those are where people get lost.
“My video looks great but sounds bad.”
- Move closer to the mic and reduce room echo.
- Enable any clean-audio or noise reduction tool sparingly (too much sounds metallic).
- Record a 10-second test every time you change rooms.
Quick checklist: before you hit record
- Phone at eye level; lens clean
- Readable font size; comfortable line spacing
- Script formatted in short lines with breaks
- Scrolling method matches your style
- Audio test done (especially with an external mic)
- Lighting on your face; background not distracting
- Plan subtitles (burn-in for social, SRT for YouTube)
Closing thoughts
The best teleprompter videos don’t feel like teleprompter videos. When your script is formatted for speech, your scrolling matches your cadence, and your setup supports clean 4K footage and clear audio, you can record faster with fewer takes—while keeping real eye contact.
If you’re looking for a privacy-friendly teleprompter for iPhone that supports voice-following, 4K recording, and offline subtitles, CueCam is one option to explore.
