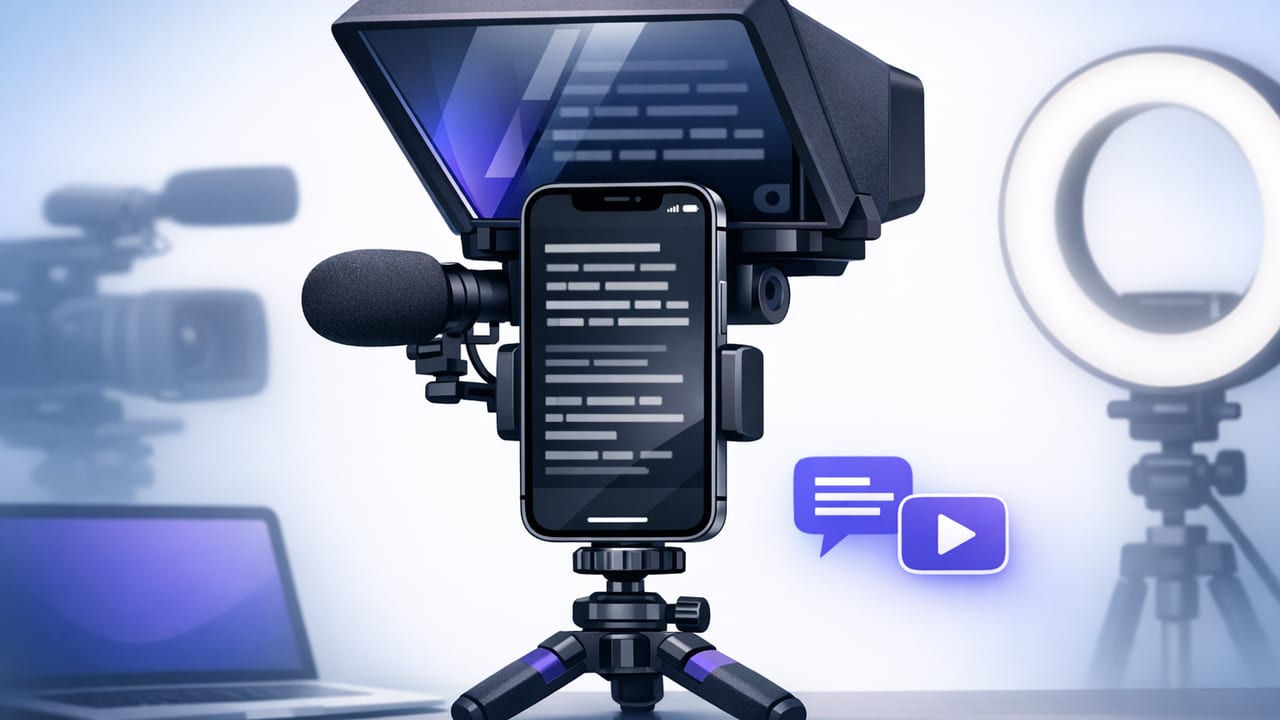
Using a teleprompter for iPhone is one of the fastest ways to sound confident on camera without memorizing lines or sacrificing eye contact. Whether you make TikToks, YouTube videos, online courses, product demos, or client explainers, the goal is the same: deliver a clear message while looking like you’re speaking naturally to the viewer.
This guide walks through a creator-friendly, repeatable workflow: how to format scripts for spoken delivery, pick the right scrolling mode, capture clean audio, record in 4K when it matters, and add accurate subtitles—ideally in a way that keeps your scripts and footage private on your device.
Why a teleprompter workflow beats “winging it”
Improvising can work for casual posts, but it often leads to long takes, filler words, and uneven pacing. A teleprompter system solves the common bottlenecks:
- Eye contact: you read near the lens, so viewers feel like you’re talking to them.
- Consistency: intros, CTAs, and brand phrases stay uniform across videos.
- Speed: fewer retakes, faster approvals (especially for client work).
- Accessibility: scripts make it easier to generate accurate captions and translations.
Step 1: Build a simple iPhone recording setup
You don’t need a studio, but you do need stability and clean audio. Start with this baseline kit:
- Stable mount: tripod or desk stand to avoid handheld shake.
- Lens position: keep the camera at eye level; stack books under a tripod if needed.
- Light: face a window or use a soft light slightly above eye line.
- Audio: a wired lav or compact wireless mic will usually beat the built-in mic.
Framing that looks natural while reading
A teleprompter for iPhone is most convincing when your eyes barely move. Use a medium shot (mid-chest to head), keep the script text near the camera preview, and avoid placing the scrolling text too low on the screen. If you wear glasses, angle the key light slightly off-axis to reduce reflections.
Step 2: Write scripts that sound spoken (not written)
The biggest reason teleprompted videos feel stiff is script style—not the act of reading. Write for the ear:
- Short sentences: aim for one idea per sentence.
- Contractions: “you’ll” and “we’re” usually sound more natural than “you will” and “we are.”
- Breath marks: add line breaks where you naturally inhale.
- Emphasis cues: bold 1–2 words per paragraph to highlight key points.
A reusable script template (copy/paste)
[HOOK – 1 sentence]
Say what they get in the next 10 seconds.

[PROBLEM – 2–3 sentences]
Name the pain point and why it happens.

[SOLUTION – 3–5 sentences]
Explain the steps or framework.
Use short lines and natural phrasing.

[EXAMPLE – 2–4 sentences]
Show a quick before/after or mini story.

[CTA – 1 sentence]
Tell them exactly what to do next.
Pro tip: For most short-form videos, keep paragraphs to 1–2 lines on screen. Dense blocks force your eyes to scan, which viewers notice.
Step 3: Choose the right scrolling mode
Teleprompter apps typically offer a few scrolling styles. Your choice should match your delivery and the type of video you’re making.
| Mode | Best for | Why it works | Watch out for |
|---|---|---|---|
| Voice-following | Natural delivery, variable pace, conversational videos | Scrolls based on your speech so you can pause or emphasize | Needs reasonably clean audio and clear speaking |
| Fixed-speed | Creators with consistent pacing, repeatable formats | Simple and predictable once dialed in | If you speed up or slow down, you can “lose your place” |
| Timed scrolling | Rehearsed scripts, product launches, exact length requirements | Perfect when you must hit a runtime (e.g., 60 seconds) | Requires rehearsal; less forgiving mid-take |
How to pick quickly
- If you’re new, start with voice-following so you can pause and breathe naturally.
- If you record the same format weekly, test fixed-speed to maximize speed.
- If your platform or client demands exact timing, rehearse and use timed scrolling.
Step 4: Dial in readability (so your eyes don’t “hunt”)
Reading on-camera is easiest when the script is visually calm. Set up your teleprompter for iPhone with:
- Large text: big enough to read without squinting.
- High contrast: light text on dark background (or the reverse) depending on your preference.
- Comfortable line spacing: too tight feels like a wall of text.
- Margins: keep text centered near the lens, not stretched edge-to-edge.
If viewers can’t tell you’re reading, it’s usually because the text is close to the lens and your script is written like speech.
Step 5: Record with confidence (and fewer retakes)
Before you hit record, run a 10-second test clip. Check three things: focus, exposure, and audio. Then follow a “one-take friendly” recording routine:
- Warm up: read the first two lines twice to lock in tone.
- Mark beats: add “(pause)” where you want emphasis.
- Fix mistakes strategically: if you mess up, pause, restart the sentence, and keep going. You can cut the mistake later.
When 4K matters (and when it doesn’t)
4K is most useful when you plan to crop for multiple formats (horizontal to vertical), punch in for emphasis, or keep fine detail (screens, products). If you mainly publish to short-form platforms and won’t crop much, 1080p can be enough—and lighter on storage. If you do choose 4K/60fps, make sure your lighting is strong so the image stays clean and your shutter speed doesn’t create flicker.
Step 6: Capture clean audio (the real “pro” upgrade)
Viewers will forgive average video; they won’t forgive hard-to-understand sound. For reliable results:
- Place a lav mic 6–8 inches below your chin.
- Record in a soft room (curtains, rugs) to reduce echo.
- Turn off loud fans or move away from refrigerators and streets.
- Speak slightly slower than normal conversation—teleprompted scripts can sound rushed.
Step 7: Add subtitles efficiently (and consider on-device privacy)
Captions increase watch time, comprehension, and retention—especially in silent autoplay environments. The fastest subtitle workflow is:
- Generate captions automatically.
- Correct names, brand terms, and numbers.
- Style for readability: short lines, high contrast, safe margins.
If privacy matters (client scripts, unreleased products, internal training), look for subtitle generation that runs on-device so your video and script don’t need to be uploaded to a server. On-device processing can also be helpful when you’re traveling or working without reliable internet.
Caption formatting rules that look professional
- Keep lines short: 1–2 lines max.
- Break on meaning: split captions at natural phrase boundaries.
- Respect the UI: avoid covering buttons, lower-thirds, or important visuals.
- Highlight sparingly: emphasize keywords, not every other word.
Step 8: Edit fast with a “trim-first” mindset
You don’t need heavy editing to look polished. A quick, repeatable order of operations usually works best:
- Trim dead space: remove the first and last seconds and any long pauses.
- Cut mistakes: delete the “reset” parts where you restarted a sentence.
- Resize/crop: export the right aspect ratio for TikTok, Reels, Shorts, or YouTube.
- Audio cleanup: light noise reduction and leveling.
- Add captions: then do a final watch for timing.
A one-page pre-record checklist
- Script: conversational, short lines, pauses marked
- Teleprompter settings: readable font size, centered text, correct mode
- Camera: eye-level framing, clean lens, enough storage
- Light: face lit, no harsh shadows, no flicker
- Audio: mic connected, levels tested, room quiet
- Output plan: where it will be posted (vertical/horizontal), captions needed
Troubleshooting: common problems and fixes
“My eyes still look like they’re reading.”
Move the text closer to the camera preview, increase font size, and shorten lines. Also try adding more line breaks so you read in small chunks instead of scanning long sentences.
“I keep falling behind the scroll.”
Switch to voice-following (or reduce speed), and add more breathing room in the script. Many creators also speak faster when they see the text moving—intentionally slow your pace by 10%.
“My video looks great but sounds bad.”
Prioritize mic placement and room acoustics. A $30 lav in a quiet room can outperform expensive gear used in an echoey space.
“Captions are inaccurate for names and numbers.”
Do a quick correction pass for proper nouns, acronyms, and numerals. If you record scripted content, your script can act as a reference to speed up fixes.
Putting it all together: a repeatable creator workflow
A strong teleprompter for iPhone workflow is less about perfection and more about repeatability: write a spoken script, choose the scrolling mode that matches your pacing, record with stable framing and clean audio, then add readable subtitles and export in the right format. Once you’ve done this a few times, you’ll spend less energy “performing” and more energy on the ideas that actually drive results.
If you’re looking for an iPhone teleprompter workflow that combines script reading, 4K recording, and on-device subtitles with a privacy-first approach, an app like CueCam can fit neatly into the process described above.
