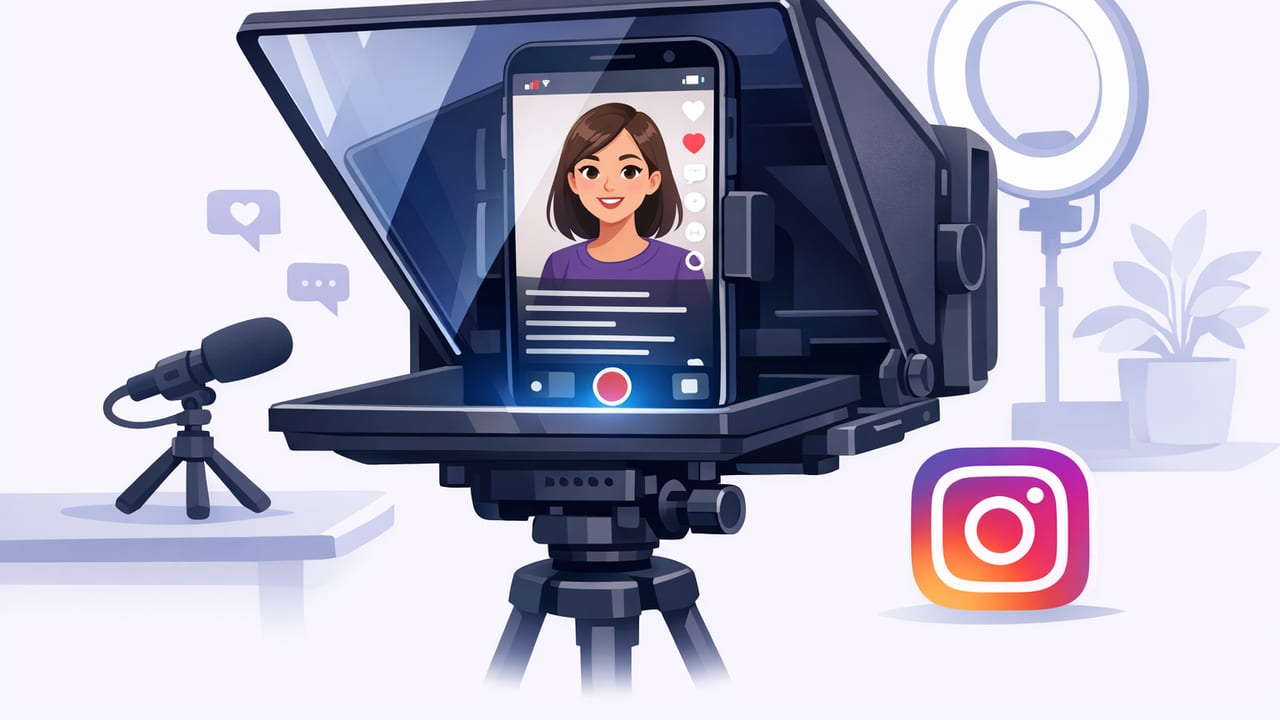
If you’ve ever recorded an Instagram Reel and felt your eyes darting between your notes and the lens, you already understand the core problem: Instagram rewards clarity and connection, but memorizing scripts (or repeating takes) slows you down and drains your energy.
A teleprompter for Instagram solves that by letting you read a script while maintaining eye contact—which usually translates into higher watch time, more saves, and fewer re-records. This guide walks through an iPhone-first workflow that looks natural on camera, sounds professional, and stays efficient from script to export.
Why a teleprompter workflow matters on Instagram
Instagram content is fast, vertical, and attention-sensitive. Most creators aren’t failing because they don’t have good ideas—they’re failing because the delivery feels hesitant, over-rehearsed, or visually disconnected.
- Eye contact builds trust in the first 1–2 seconds.
- Consistent pacing keeps Reels from feeling like a lecture.
- Fewer retakes means you publish more often without burnout.
- On-device scripting + subtitles can simplify your entire creator workflow.
Rule of thumb: If you can’t deliver the hook smoothly in one take, your Reel will feel longer than it is—even if it’s only 15 seconds.
Step 1: Write for spoken Instagram (not for reading)
The biggest teleprompter mistake is using a script that reads like an essay. Instagram scripts should sound like a confident voice note: short sentences, clear transitions, and natural emphasis.
A simple Reel script structure
- Hook (0–2s): a bold promise or problem.
- Context (2–5s): who this is for and why it matters.
- Steps (5–25s): 2–4 actionable points.
- Close (last 2–3s): recap + what to do next (save, follow, try it).
Format your script so it’s easy to deliver
Teleprompters work best when the text is designed for scanning. Use line breaks, intentional pauses, and emphasis markers.
[HOOK]
Stop losing viewers in the first 2 seconds.

[CONTEXT]
If you read notes off-screen, your eyes drift.
Here’s a teleprompter setup that looks natural.

[STEPS]
1) Put the lens at eye level.
(PAUSE)
2) Use bigger text and fewer words per line.
(PAUSE)
3) Match scroll speed to your speaking pace.

[CLOSE]
Try this on your next Reel—
and save this so you can copy the setup later.
Tip: Aim for 8–12 words per line and avoid long paragraphs. If a sentence needs a comma, it probably needs a line break.
Step 2: Choose the right teleprompter scrolling mode
Most iPhone teleprompter apps offer a few scrolling approaches. The right one depends on whether you speak consistently or prefer a more conversational style.
| Mode | Best for | What to watch out for |
|---|---|---|
| Fixed-speed scroll | Creators with consistent pacing | If you pause or ad-lib, you may “lose your place” |
| Timed scroll | Scripts that must hit exact beats (ads, VO timing) | Requires practice to match timing naturally |
| Voice-following | Conversational Reels, teaching, storytelling | Needs clean audio input to track reliably |
If your content style includes pauses for emphasis, quick asides, or a conversational cadence, voice-following tends to look the most natural on camera.
Step 3: Set up your iPhone camera for “Instagram-ready” framing
The most common issue with teleprompted Reels is that the text sits too far from the lens, making your gaze look slightly off. The goal is to keep your eye line as close to the camera as possible.
Framing checklist (works for Reels and Stories)
- Lens at eye level: use a tripod or stack books—avoid the “laptop angle.”
- Distance: about an arm’s length from the camera for a natural perspective.
- Headroom: leave space above your head for Instagram UI and captions.
- Background: choose one “quiet” visual element, not five competing objects.
Quick settings guide (quality without overthinking)
| Format | Recommended | Notes |
|---|---|---|
| Orientation | Vertical (9:16) | Native for Reels/Stories |
| Resolution | 4K (if supported) | Gives cleaner text overlays and crops better |
| Frame rate | 30fps (or 60fps for movement) | 30fps is often more forgiving for indoor lighting |
| Stabilization | On if handheld | Better: tripod + stable framing |
If you plan to crop for multiple placements (Reels + Feed + Shorts), recording in 4K can preserve sharpness after reframing.
Step 4: Audio first—because Instagram forgives video, not sound
A teleprompter helps you look confident, but audio quality makes you sound confident. Clean audio also improves subtitle accuracy if you generate captions later.
Audio setup options (best to simplest)
- Wireless lav mic: consistent voice level, best for talking-head Reels.
- Wired lav mic: reliable, budget-friendly, fewer connection surprises.
- Shotgun mic (on phone rig): good in controlled rooms.
- Built-in mic: workable if you’re close to the phone and in a quiet space.
Record in a soft room when possible (curtains, couch, rug). Hard, empty rooms create echo that makes teleprompted delivery feel “salesy,” even when your script is great.
Step 5: Make the teleprompter text invisible (a.k.a. natural eye contact)
The trick is not just reading—it’s performing while reading. Use these settings and habits to keep your gaze steady and your delivery human.
Teleprompter settings that help
- Bigger font than you think: forces less eye movement.
- More line spacing: improves scanning without “searching.”
- Shorter lines: reduces left-to-right eye travel.
- Highlight current word/line: keeps you from jumping ahead.
Delivery habits that make you look natural
- Don’t read every word: treat the script as rails, not a cage.
- Place micro-pauses: after key phrases to avoid “run-on” energy.
- Smile on transitions: especially before the hook and final line.
- Rehearse the first sentence: if the start is smooth, everything relaxes.
Step 6: Add subtitles that match Instagram viewing behavior
A large portion of Instagram is watched without sound—or with sound low. Subtitles are less about accessibility (though that matters) and more about retention. The best caption style is readable, timed well, and visually consistent across your content.
Subtitle best practices for Reels
- Keep captions away from the bottom edge (UI overlap is common).
- Cap line length so viewers can read while scrolling.
- Highlight keywords sparingly (1–2 per sentence).
- Use on-device subtitles if privacy matters (scripts and audio don’t need to leave your phone).
If you’re using a script-to-video workflow, generating subtitles directly from your recorded audio can be faster than manually typing captions—especially when you post frequently.
Step 7: Export settings that prevent Instagram from wrecking quality
Instagram compresses uploads, but you can still avoid the most common quality killers: low bitrate exports, multiple re-uploads, and unnecessary resizes.
- Export in 1080×1920 for Reels (9:16).
- Avoid re-encoding multiple times: export once, upload once.
- Keep text inside safe areas: captions and UI can cover edges.
- Use consistent color and exposure: heavy noise in shadows compresses poorly.
Troubleshooting: common teleprompter-for-Instagram problems
“My eyes still look like I’m reading.”
- Increase font size so your gaze stays centered.
- Move the script closer to the lens (or use a layout that places text near camera).
- Shorten lines; long lines create side-to-side eye movement.
“I sound monotone.”
- Add stage directions like (smile), (pause), (faster) into the script.
- Underline or bold only the words you want to punch—don’t over-mark.
- Record standing up; posture often improves vocal energy.
“My pacing doesn’t match scrolling.”
- Switch from fixed-speed to voice-following (or slow the scroll speed).
- Reduce script density: fewer words per line and more breaks.
- Practice only the transitions (hook → point 1, point 2 → close).
A repeatable one-take checklist (copy/paste)
- Script: hook + 2–4 points + close, formatted with breaks
- Teleprompter: big font, short lines, highlight on, correct mode
- Camera: vertical 9:16, lens at eye level, stable framing
- Audio: lav mic (preferred), quiet room, test recording
- Lighting: face toward a window or soft light source
- Subtitles: clear placement, readable style, accurate timing
- Export: 1080×1920, single encode, upload once
Putting it all together
The fastest way to improve your on-camera presence on Instagram isn’t buying more gear—it’s building a workflow where your words, pacing, and eye contact work together. With a well-formatted script, the right scrolling mode, clean audio, and consistent subtitles, you can record confident Reels in fewer takes and publish more reliably.
If you’re looking for an iPhone teleprompter workflow that also supports on-device subtitles, 4K recording, and privacy-friendly processing, CueCam is one option to consider.
