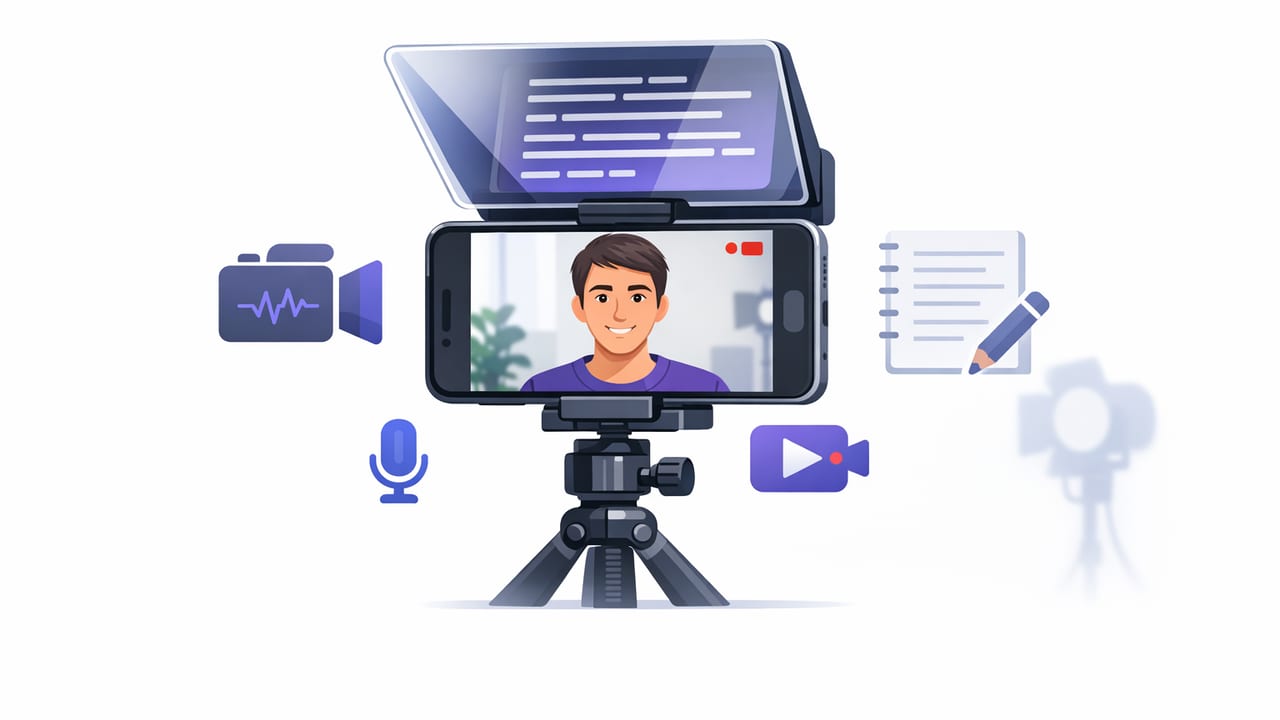
A teleprompter camera app can turn your iPhone into a reliable “script-to-video” setup: you read your words while keeping eye contact with the lens, record in high quality, then finish with captions and quick edits—without moving files across multiple tools. The result is faster production, fewer retakes, and more consistent delivery.
This guide breaks down a practical, repeatable workflow you can use for talking-head content, tutorials, product explainers, coaching clips, and UGC-style ads. You’ll learn how to prep your script, set up your iPhone, choose the right prompting mode, record in 4K with clean audio, generate subtitles (even offline), and export in the formats platforms expect.
Why a teleprompter camera app changes your creator workflow
Creators usually hit the same bottlenecks:
- Delivery drift: you start strong, then forget a point and ramble.
- Eye-line issues: reading from notes off-screen looks like you’re avoiding the viewer.
- Retake fatigue: repeated restarts hurt energy and waste time.
- Captions friction: uploading to a cloud service, waiting, then fixing errors.
A teleprompter camera app solves these by keeping your script close to the lens while recording, and (in many apps) bundling subtitles and edits into the same on-phone workflow.
Step 1: Write for spoken delivery (not for reading)
Teleprompters work best when the script sounds like natural speech. Before you open any iPhone teleprompter, format your copy so it’s easy to say aloud.
Script rules that reduce stumbles
- Use short sentences (aim for 12–18 words).
- One idea per line to reduce eye travel.
- Write contractions (you’ll, we’re) to sound conversational.
- Add breath cues with em-dashes—like this—or (pause).
- Mark emphasis with italics or bold so you hit the right words.
Example: teleprompter-friendly script snippet
Hook (2 lines)
If your videos feel “off,” it’s usually not your camera.
It’s your workflow.

Point 1
Keep your script near the lens—so your eyes stay connected.

Point 2
Record clean audio first.
Then add subtitles.

CTA
Want the checklist? I’ll post it in the comments.
Pro tip: If a sentence is hard to say, it’s hard to read. Read your hook out loud once before filming.
Step 2: Set up your iPhone for stable, flattering video
You don’t need a studio, but you do need consistency. Here’s a minimal setup that improves results immediately.
Quick iPhone filming checklist
- Stabilize: use a tripod, clamp, or stable surface. Avoid handheld unless it’s a deliberate style.
- Lens choice: use the back camera when possible for better quality; front camera is fine for speed.
- Eye level: place the lens at or slightly above eye height.
- Lighting: face a window or use a soft key light at a 30–45° angle.
- Background: keep it simple; separate yourself from the background by 3–6 feet if you can.
- Audio: use a lav mic or directional mic when possible; bad audio is the fastest way to lose viewers.
Step 3: Choose the right prompting mode
Most teleprompter camera app experiences boil down to three scrolling behaviors. Picking the right one reduces mistakes and improves pacing.
| Mode | Best for | Watch out for |
|---|---|---|
| Voice-follow (word tracking) | Natural delivery, variable pacing, fewer resets | Noisy rooms or poor mic placement can reduce accuracy |
| Fixed-speed | Short scripts, rehearsed reads, consistent tempo | Too fast = rushed; too slow = robotic |
| Timed | Ads, presentations, strict runtime targets | Requires practice so you land key lines on time |
How to pick in 10 seconds
- If you want the most natural delivery: voice-follow.
- If you want simplicity and control: fixed-speed with a speed test run.
- If you must hit 30s/60s exactly: timed and rehearse the hook + CTA once.
Step 4: Record in high quality (without complicating your process)
Your iPhone can produce excellent footage, but consistency matters more than “max settings.” A teleprompter camera app that supports pro recording options (like higher frame rates, stabilization, and external microphones) helps keep everything in one place.
Recommended recording settings
- Resolution: 4K if you plan to crop/reframe; otherwise 1080p is often enough.
- Frame rate: 30fps for most talking-head content; 60fps if you want smoother motion or plan to slow down.
- Stabilization: enable it if you’re not on a rock-solid tripod.
- Audio input: select your external mic if connected; do a 5-second test recording.
Delivery technique: keep eye contact while reading
Even with great prompting, you can look like you’re “scanning.” Try this:
- Widen your line breaks so your eyes move less.
- Slow your first two lines to settle into rhythm.
- Hit punctuation: micro-pauses at commas and full stops prevent monotone reads.
- Use a “thought” face: slightly react to your own point as if you’re explaining it live.
Step 5: Fix the two biggest problems: pace and mistakes
Most retakes come from rushing or losing your place. Use these quick adjustments before you restart.
Troubleshooting pace
- Sounds rushed: increase font size, add line spacing, or reduce scroll speed 5–10%.
- Sounds flat: mark emphasis on one key word per sentence.
- Keep losing your spot: switch to voice-follow or add more paragraph breaks.
When you make a mistake mid-take
Don’t stop immediately. Use the “pause → repeat the sentence cleanly” method:
- Pause for half a second.
- Repeat the sentence from the start (cleanly, confidently).
- Continue. You can trim the mistake out later.
Step 6: Add subtitles (fast, accurate, and privacy-friendly)
Subtitles increase watch time and accessibility, especially for short-form platforms where many viewers watch muted. If your workflow allows on-device subtitle generation, you avoid uploading drafts and you can iterate quickly.
Subtitle workflow that stays clean
- Generate captions immediately after recording while your script is still fresh in your mind.
- Correct names and keywords first (brand names, product terms, industry acronyms).
- Style for readability: high contrast, safe margins, and 1–2 lines max.
- Burn-in vs. sidecar: burn-in for TikTok/Reels; keep a separate caption file when publishing to platforms that support it.
Accessibility note: Captions help more than silent viewers. They support non-native speakers, hearing-impaired audiences, and anyone watching in noisy environments.
Step 7: Quick edits that matter (and the ones you can skip)
You don’t need heavy editing for most talking-head videos. Prioritize edits that improve clarity and retention.
High-impact edits
- Trim dead time at the start and between sections.
- Reframe for vertical (9:16) or square (1:1) depending on the platform.
- Clean audio (reduce background noise; normalize volume).
- Light background adjustments (optional): soften clutter or replace the background if it distracts.
Low-impact edits (often skippable)
- Overly complex transitions
- Multiple font changes in captions
- Heavy color grading unless your brand requires it
Step 8: Export the right format for TikTok, Instagram, and YouTube
Export settings don’t need to be complicated, but mismatched aspect ratios and oversized files can hurt quality or add upload time.
| Platform | Recommended aspect ratio | Notes |
|---|---|---|
| TikTok | 9:16 (vertical) | Keep captions above UI; hook in first 1–2 seconds |
| Instagram Reels | 9:16 (vertical) | Avoid bottom-safe area for text; bright first frame helps |
| YouTube Shorts | 9:16 (vertical) | Clean audio matters; consider slightly slower pacing |
| YouTube (standard) | 16:9 (horizontal) | Use 4K if you want flexibility for crops and punch-ins |
Putting it all together: a repeatable 30-minute workflow
If you want a simple routine you can repeat several times a week, use this sequence:
- 5 minutes: script formatting (line breaks, emphasis, pauses).
- 5 minutes: set up iPhone + mic + lighting test.
- 10 minutes: record 1–3 takes using your chosen prompting mode.
- 5 minutes: trim mistakes and tighten pacing.
- 5 minutes: generate subtitles, correct key terms, export in the right ratio.
What to look for in a teleprompter camera app (feature checklist)
Not every app supports a full creator workflow. If you’re evaluating options, prioritize:
- Teleprompter + camera together (not separate apps)
- Voice-follow for more natural pacing
- 4K recording and support for external microphones
- On-device subtitles (especially if you work offline or care about privacy)
- Fast edits: trimming, resizing, basic cleanup
- Privacy defaults: local storage, minimal permissions, no forced account
Final thoughts
The best iPhone workflow isn’t the one with the most steps—it’s the one you’ll actually repeat. A solid script, stable framing, clean audio, and readable subtitles will outperform fancy effects almost every time. If you want an example of a privacy-focused iPhone teleprompter camera app that combines prompting, 4K recording, offline subtitles, and quick edits in one place, you can explore CueCam.
