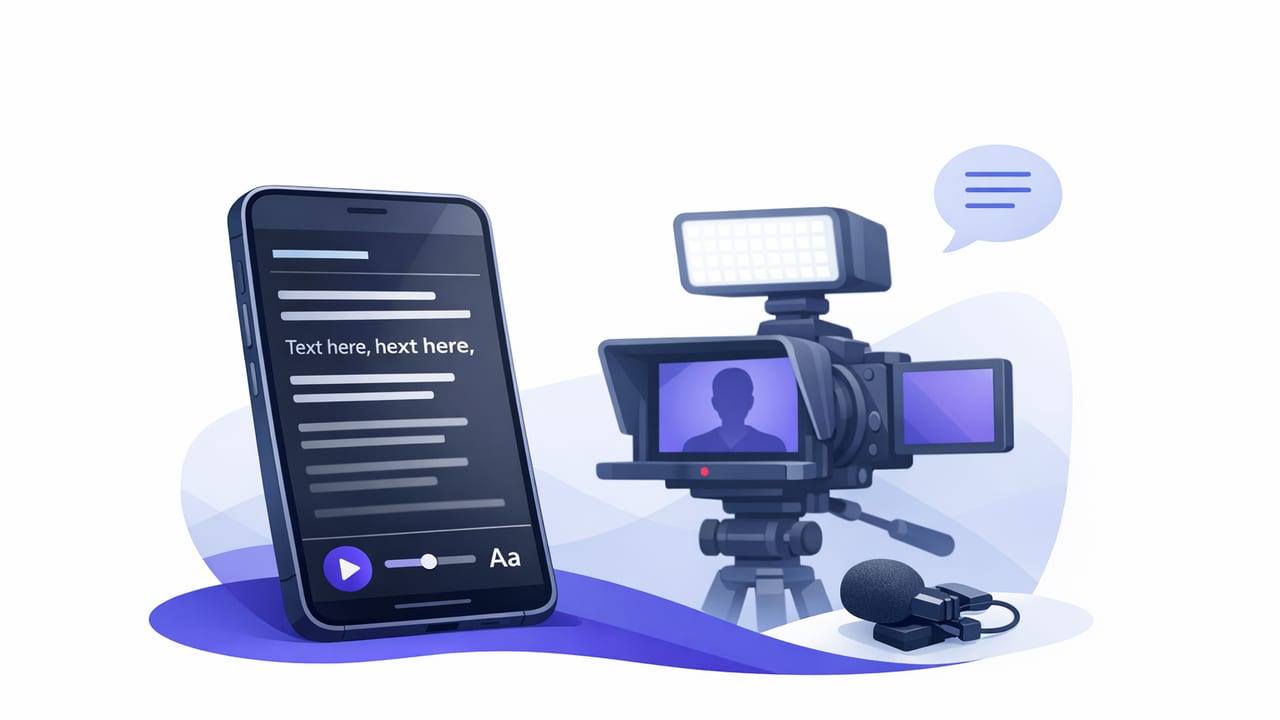
A good teleprompter app does more than scroll text—it turns a messy “record, stop, rewrite, re-record” loop into a repeatable script-to-video workflow. If you make tutorials, talking-head clips, product demos, or course lessons on iPhone, the fastest improvements usually come from process: better script structure, predictable pacing, consistent camera/audio settings, and a clean subtitle/export pipeline.
This guide walks through a practical iPhone workflow you can repeat every time: write → format → rehearse → record → caption → export. It’s designed for creators who want natural delivery (eye contact + conversational tone), fewer takes, and less post-production.
1) Start with a “spoken” script (not an essay)
Most teleprompter problems start upstream: scripts written like blog posts. Spoken video needs shorter sentences, clear transitions, and room to breathe.
Use this structure for most short-form and mid-form videos
- Hook (0–5s): the payoff or problem in one line.
- Context (5–15s): what you’ll cover and who it’s for.
- Steps / points: one idea per paragraph.
- Proof / example: a quick demo, metric, or before/after.
- Close: recap + next action (comment, follow, watch next, etc.).
Script formatting that reads naturally on camera
- Short lines: aim for 6–12 words per line.
- One sentence per paragraph: makes pausing easy.
- Mark emphasis: italics for tone, bold for keywords.
- Stage cues: add “(pause)” or “(smile)” where needed.
[HOOK]
If your videos feel stiff, your script is probably too dense.

[CONTEXT]
Here’s a simple teleprompter workflow on iPhone to sound natural.

[POINT 1]
Write like you speak.
(pause)
Short lines. One idea at a time.

[POINT 2]
Match the scroll speed to your pacing.
(beat)
Not the other way around.

[CLOSE]
Try this on your next video and notice how many fewer takes you need.
Rule of thumb: if you wouldn’t say it in a voice note, rewrite it.
2) Choose the right teleprompter scrolling mode
Most iPhone teleprompter setups succeed or fail based on scrolling behavior. The “best” mode depends on your content style and how consistent your speaking pace is.
| Mode | Best for | Pros | Watch-outs |
|---|---|---|---|
| Fixed-speed scroll | Creators with steady delivery; repetitive formats | Predictable; easy to rehearse; great for batch recording | If you speed up/slow down, you’ll “chase” the text |
| Timed sections | Ads, promos, or scripts that must hit timestamps | Helps you land key lines at the right moment | Needs preparation; changes require re-timing |
| Voice-following | Conversational delivery; variable pacing | Most natural; less pressure to match a speed | Background noise can affect tracking if your mic is far away |
Practical setup tips (regardless of mode)
- Increase text size until you can read comfortably without squinting.
- Keep the active line near the camera lens to maintain eye contact.
- Add “breath room” by inserting blank lines between ideas.
- Use punctuation as performance cues: em-dashes, ellipses, and short sentences create rhythm.
3) Prep your iPhone recording setup (fast, consistent, repeatable)
Before you hit record, lock in a baseline setup you can reuse. Consistency matters more than perfection—especially if you’re producing weekly.
Camera settings checklist
- Resolution/frame rate: record 4K when you want cropping flexibility; 60fps if you’ll add motion or want smoother footage (note: larger files).
- Lens choice: the 1x lens is often the cleanest balance. Avoid switching lenses mid-take.
- Exposure & focus lock: lock them to prevent “pulsing” as you move.
- Stabilization: use a tripod when possible; rely on stabilization for handheld b-roll, not seated talking-head.
Lighting in one minute
- Face the light (window or key light). Avoid overhead-only lighting.
- Separate from background: stand/sit 3–6 feet away to reduce shadows and add depth.
- Match color temperature: don’t mix a warm lamp with cool daylight if you can avoid it.
Audio: the easiest “pro” upgrade
Viewers forgive imperfect video far sooner than muddy audio. If you can, use an external mic (wired lav, wireless system, or a compact shotgun). Keep it close and consistent.
- Do a 10-second test before each session: speak at real volume, then listen with headphones.
- Reduce room echo: soft furnishings help (curtains, rug, blanket off camera).
- Avoid aggressive noise suppression if it makes your voice sound watery—clean audio is better than over-processed audio.
4) Rehearse like a creator: one pass, then record
Rehearsal doesn’t mean memorizing. It means removing “decision points” so your brain can focus on delivery.
- Silent scan: read once to catch awkward wording.
- Out-loud pass: adjust any line that you stumble on twice.
- Mark pauses: add “(pause)” before key points or after jokes.
- Record immediately: don’t over-rehearse—you’ll sound rehearsed.
On-camera delivery tricks that look natural
- Micro-pauses: pause at commas; it reads as confidence, not hesitation.
- End lines with intention: avoid trailing off—finish sentences cleanly.
- Reset between sections: if you mess up, stop speaking, pause, and restart the sentence. You can cut the mistake later.
5) Record in sections to eliminate retakes
One long take sounds efficient, but it usually increases total time because one mistake forces a full restart. A better approach: record in sections that match your script blocks.
Section recording workflow
- Record the hook until it’s sharp (often 2–4 tries).
- Then record each main point as its own clean segment.
- Leave “edit gaps”: pause for half a second before/after each segment.
This approach also makes it easier to repurpose content. Your “Point 2” from a long video can become a standalone short with minimal re-editing.
6) Subtitles: make them fast, accurate, and on-brand
Subtitles are not optional on most platforms. They improve watch time, accessibility, and comprehension—especially for viewers scrolling with audio off.
Subtitle settings that work across platforms
- Placement: keep captions in the lower third, but high enough to avoid UI overlays.
- Line length: aim for 32–42 characters per line for readability.
- Highlighting: keyword emphasis can boost retention, but don’t highlight everything.
- Consistency: pick one font style and stick to it for brand recognition.
Privacy note: on-device vs cloud transcription
If you care about confidentiality (client scripts, internal announcements, or unreleased product details), consider subtitle tools that run on-device so your audio/video isn’t uploaded for processing. Beyond privacy, on-device workflows can be faster when you’re traveling or working offline.
7) Edit only what moves the needle
Creators often lose hours “polishing” things viewers barely notice. Focus edits on clarity and pacing.
- Trim dead space at the start/end of sections.
- Remove repeated words and long filler (“um,” “so,” “kind of”) if they distract.
- Normalize audio so volume is consistent across clips.
- Resize for the destination (9:16 for Shorts/Reels/TikTok; 16:9 for YouTube).
A simple export matrix (save as a preset)
| Platform | Aspect ratio | Suggested resolution | Notes |
|---|---|---|---|
| TikTok / Reels / Shorts | 9:16 | 1080×1920 | Keep captions clear of UI; strong hook in first 1–2 seconds |
| YouTube | 16:9 | 3840×2160 (4K) or 1920×1080 | 4K helps perceived quality even if viewers watch in 1080p |
| Stories | 9:16 | 1080×1920 | Keep key text higher to avoid reply/CTA bars |
8) Troubleshooting: common teleprompter app issues
“I still look like I’m reading”
- Move the text closer to the lens (or reduce the distance between you and the phone).
- Slow down and add more line breaks.
- Rewrite stiff lines—delivery problems are often writing problems.
“My pacing doesn’t match the scroll”
- Switch to voice-following for conversational scripts.
- If using fixed speed, measure your pace: time 30 seconds of speaking, then tune scroll speed to that cadence.
“Subtitles are inaccurate”
- Improve audio first: closer mic, less echo, consistent volume.
- Use simpler phrasing (avoid cramming names/URLs into fast lines).
- Do a quick correction pass: fix proper nouns and key terms, leave minor imperfections.
9) A repeatable 20-minute workflow (template)
- Write (6 min): hook + 3 points + close.
- Format (2 min): short lines, add pauses, emphasize keywords.
- Setup (3 min): light, mic, frame, lock exposure/focus.
- Rehearse (2 min): one out-loud pass.
- Record (5 min): hook + sections with edit gaps.
- Captions + export (2 min): generate subtitles, spot-check, export preset.
Once you can do this reliably, the next “level up” is batching: write 3–5 scripts, then record them in one lighting/audio setup so every clip matches.
Conclusion
The fastest way to improve your on-camera presence isn’t a new lens or a complicated edit—it’s a consistent teleprompter app workflow: write for speech, pick the right scrolling mode, lock your iPhone recording setup, record in sections, and streamline captions/exports. When the process is repeatable, your confidence goes up and retakes go down.
If you’re looking for an iPhone teleprompter that combines script reading, 4K recording, on-device subtitles, and privacy-first design in a single workflow, apps like CueCam are built around that end-to-end approach.
