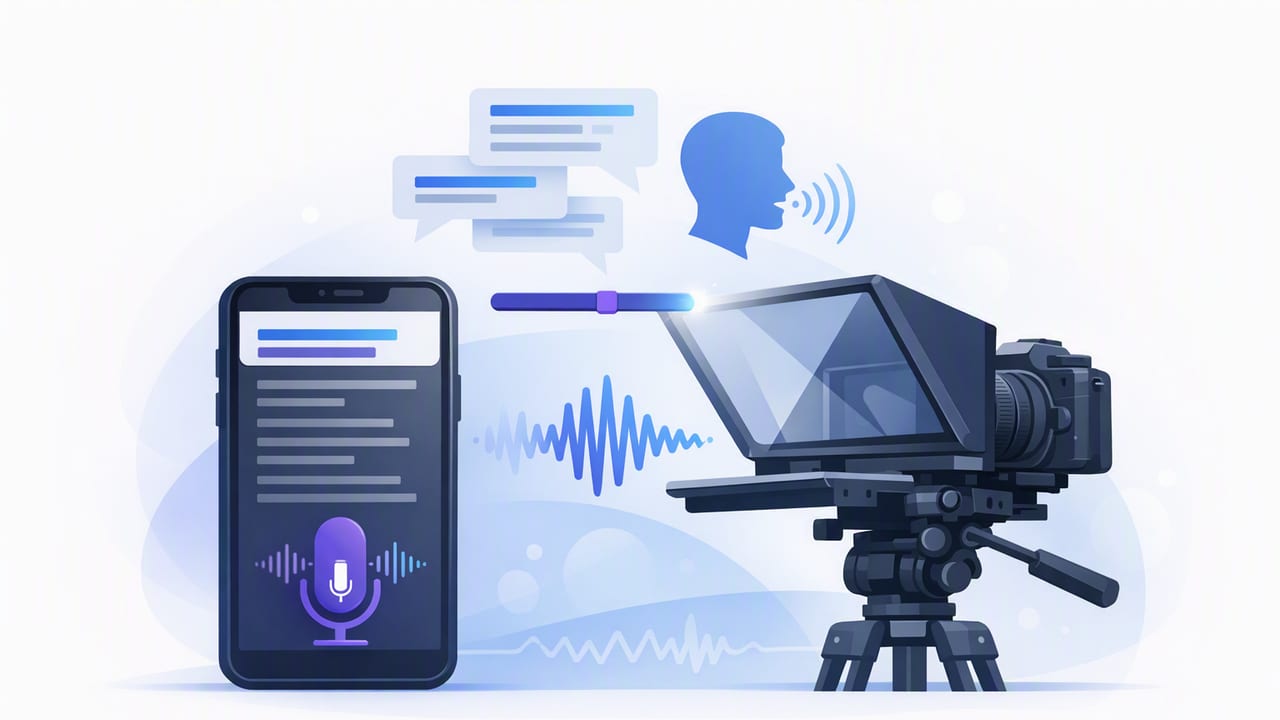
If you record scripted videos on an iPhone, you’ve probably hit the same friction points: losing eye contact while reading, speeding up when you get nervous, and doing multiple takes because your pacing didn’t match the scroll. A teleprompter app with voice tracking is designed to solve exactly that—by letting the script follow your delivery instead of forcing you to follow a rigid scroll speed.
This guide explains how voice tracking works, how to set it up for reliable results, when to switch to fixed-speed or timed scrolling, and how to troubleshoot the most common issues. Along the way, you’ll also learn workflow tips for recording in 4K, capturing clean audio, and generating subtitles while keeping your scripts private on-device.
What “voice tracking” really means (and why creators like it)
Voice tracking (sometimes called voice-follow or speech-follow) uses your iPhone’s microphone input to detect when you’re speaking and roughly where you are in the script. The teleprompter then advances the text dynamically—slowing down when you pause, and moving forward as you continue.
Compared to traditional auto-scroll, voice tracking is useful when:
- You want a more natural delivery with small pauses and emphasis.
- You don’t want to rehearse until you can match a fixed speed.
- You’re filming longer pieces (tutorials, explainers, talking-head ads) where pacing fluctuates.
Creator rule of thumb: If your script includes ad-libs, emphasis, or occasional improvisation, voice tracking reduces retakes more than any other scrolling mode.
Voice tracking vs. fixed-speed vs. timed scroll (quick comparison)
| Mode | Best for | Main advantage | Watch out for |
|---|---|---|---|
| Voice tracking | Conversational talking-head, tutorials, sales videos | Matches your pacing; fewer “chasing the text” moments | Noisy rooms or weak mic input can reduce accuracy |
| Fixed-speed scroll | Short-form reads, memorized scripts, consistent cadence | Predictable and stable once dialed in | Forces you to match the scroll; can sound rushed |
| Timed scroll | Planned segments, exact duration (e.g., 30s ad, 60s hook) | You can hit time requirements precisely | Less forgiving if you stumble or pause |
Step-by-step: Setting up a teleprompter app with voice tracking on iPhone
1) Prep your recording environment
Voice tracking improves dramatically when your iPhone hears your voice clearly.
- Choose a quiet room (soft furnishings reduce echo).
- Point the mic toward you. If you’re using the rear camera, consider an external mic.
- Disable competing audio (fans, music, loud AC). Even steady noise can confuse detection.
2) Use the right microphone (and set expectations)
You can voice-track using the built-in mic, but for consistent performance—especially with the rear camera—an external mic (wired or wireless) helps. The goal isn’t “studio quality” for tracking; it’s clear signal-to-noise.
Tip: If your app allows selecting the input source, choose the external mic explicitly to avoid accidental fallbacks.
3) Format your script for readable scanning
A voice-tracking prompter still relies on you scanning quickly and confidently. The biggest upgrade you can make is script formatting.
- Short lines (avoid wall-of-text paragraphs).
- One idea per sentence (especially for vertical videos).
- Spoken language (write like you talk).
- Mark pauses so you don’t “fill silence” with rambling.
Example script markup you can copy:
[HOOK]
Today I’m going to show you the easiest way to stay on-script...

[PAUSE 1s]
If you’ve ever looked down to read and lost eye contact—
this fixes it.

[POINT]
Step one: clean audio. Step two: voice-follow scrolling.

[B-ROLL]
Cut to screen recording of the app settings.
4) Calibrate readability: font size, margin, and line spacing
Most “teleprompter fail” moments are actually legibility problems.
- Font size: large enough that your eyes don’t dart.
- Line spacing: slightly increased so you don’t skip lines.
- Margins: keep text near the camera lens area to reduce eye movement.
5) Set voice tracking sensitivity (then do a 15-second test)
Apps differ, but you’ll typically see controls like sensitivity, follow strength, or voice detection threshold. Start in the middle and record a quick test where you:
- Speak at your normal volume.
- Pause for 1–2 seconds.
- Repeat a sentence (to see if the text overshoots).
Watch back: if your eyes are calm and you’re not “chasing” the words, you’re close.
Best-practice workflow for scripted iPhone videos (script → record → subtitles → export)
Record in high quality without making editing harder
If you’re aiming for a professional look, record at high resolution (often up to 4K) and stable frame rates when possible. The key is consistency—use the same settings across takes so cuts match cleanly.
- Lock exposure/focus to prevent brightness pumping mid-sentence.
- Use stabilization if handheld; otherwise, a tripod is best.
- Do one “energy take” after you’ve nailed the technical take—often it’s the keeper.
Generate subtitles efficiently (and privately)
Subtitles can double retention on silent autoplay feeds. If you care about privacy (client scripts, unreleased product details), consider tools that generate captions on-device so your script and audio don’t leave your phone. On-device subtitle generation can also be faster when you’re working offline.
Export with platform-first framing
Before exporting, decide where the video will live:
- Vertical (9:16): TikTok, Reels, Shorts
- Square (1:1): some feed placements
- Landscape (16:9): YouTube long-form, courses
If your app supports quick resizing/cropping presets, it’s worth using—especially when your script is framed close to the lens for eye contact.
Troubleshooting: common voice tracking problems (and quick fixes)
Problem: The script scrolls too fast or “jumps” ahead
- Lower sensitivity so it doesn’t overreact to loud syllables.
- Reduce background noise (even a laptop fan can trigger movement).
- Speak a bit more consistently during dense sections; save big emphasis for line breaks.
Problem: The script barely moves (doesn’t follow your voice)
- Raise sensitivity or reduce the detection threshold.
- Move the mic closer or switch to an external mic.
- Check permissions: microphone access must be enabled for the app.
Problem: You still look like you’re reading
Voice tracking helps pacing, but eye contact comes from placement and formatting.
- Bring text closer to the lens (not down the screen).
- Increase font size so you don’t scan side-to-side.
- Shorten lines and add more paragraph breaks.
Problem: You stumble and the prompter gets “out of sync”
- Use a quick manual nudge (scroll back a line) if your app supports it.
- Add “recovery lines” in your script—short phrases that get you back on track.
- Consider timed mode for parts that must be word-perfect (e.g., disclaimers).
Advanced tips to sound natural while reading a script
Write for speech, not for reading
If your script sounds formal on the page, it will sound even more formal out loud. Convert long sentences into two short ones. Replace jargon with concrete words. Keep the structure simple: claim → reason → example.
Use “breath punctuation”
Add punctuation where you want to breathe, not where grammar says you must. Your delivery becomes calmer, and voice tracking has clearer pause cues.
Chunk by meaning, not by length
Break your script into sections that map to ideas (hook, problem, solution, steps, CTA). This makes it easier to restart a take without losing flow.
Plan b-roll markers
When you mark b-roll moments, you remove pressure to be visually perfect for the entire take.
- Example markers: [B-ROLL: screen recording], [CUTAWAY: product close-up], [ON-SCREEN TEXT]
A simple pre-record checklist
- Script formatted: short lines, clear breaks, pause markers
- Audio: external mic connected (or quiet room for built-in mic)
- Camera: resolution/frame rate chosen, focus/exposure locked
- Teleprompter mode: voice tracking on (or fixed/timed if appropriate)
- Test clip: 10–15 seconds, watch back for eye movement and pacing
- Subtitles plan: on-device if privacy matters, language selected
Choosing the right mode for the job
Voice tracking is a strong default for creators who want conversational delivery and fewer retakes. But the “best” mode changes by project:
- Voice tracking: best for most talking-head creator content.
- Fixed-speed: best when you’ve rehearsed and want consistent tempo.
- Timed: best when you must hit exact durations.
If you’re building a repeatable creator workflow on iPhone, look for a teleprompter that pairs voice tracking with pro recording (including high-resolution capture), easy resizing for platforms, and on-device subtitles for privacy. One example is CueCam, which combines voice-follow prompting with recording and on-phone captioning in a single workflow.
