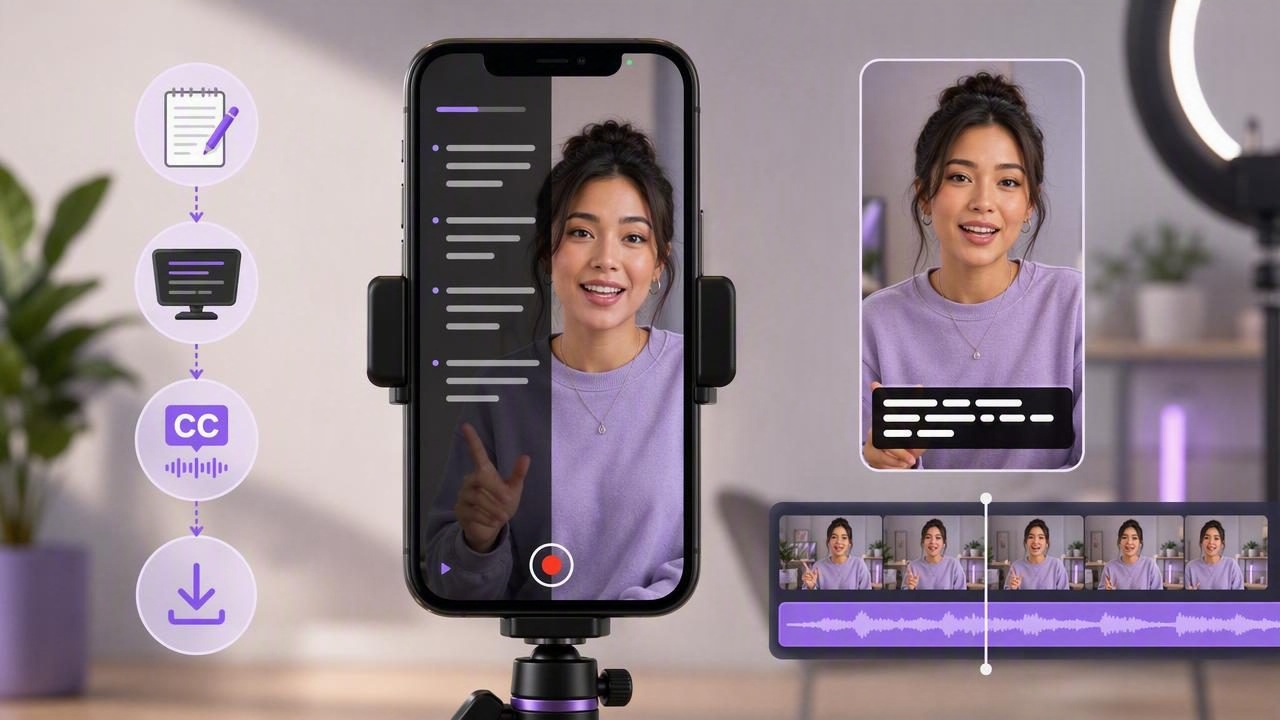
TikTok rewards clarity: a strong hook, tight pacing, and on-screen readability. But reading from notes can break eye contact, and memorizing a script can lead to stiff delivery or extra retakes. A teleprompter app for tiktok creators bridges that gap by putting your script near the lens so you can deliver confidently while still sounding natural.
This guide walks through an end-to-end iPhone workflow: scripting for short-form, choosing the right scroll mode, recording in high quality, generating captions (preferably on-device), and exporting for a clean TikTok upload.
Why TikTok creators benefit from a teleprompter workflow
TikTok viewers decide fast. A teleprompter helps you:
- Maintain eye contact while following a structured message.
- Reduce retakes by keeping your wording consistent across takes.
- Hit tight runtimes (15–60 seconds) without rambling.
- Keep brand phrasing consistent if you post in a series or run sponsorships.
- Match captions to speech more reliably when your delivery is clean.
Write scripts that sound human (and perform on TikTok)
A teleprompter doesn’t fix an over-written script. TikTok scripts work best when they’re spoken, not read. Use short lines, conversational language, and intentional pauses.
Use a simple structure: Hook → Value → Proof → CTA
- Hook (0–2 seconds): A clear promise or curiosity gap.
- Value (2–20 seconds): The key steps, list, or takeaway.
- Proof (optional): A quick example, result, or demo.
- CTA (last 1–3 seconds): “Follow for part 2,” “Save this,” or a question.
Script formatting that reads naturally
Teleprompter reading improves immediately when you format for the eye:
- One sentence per line (or even one clause per line).
- Cap the line length so your eyes move less left-to-right.
- Add pauses with ellipses or bracketed cues.
- Emphasize 2–4 words per paragraph (bold in your editor if supported).
Here’s a reusable short-form template you can paste into your script editor:
[HOOK]
Stop doing X if you want Y.

[VALUE]
Step 1: Do this first. (Pause)
Step 2: Avoid this mistake...
Step 3: Use this shortcut.

[PROOF]
I tested it for 7 days and noticed ___.

[CTA]
Want the checklist? Comment “CHECKLIST”.
Choose the right teleprompter scrolling mode
Most iPhone teleprompter apps offer a few scrolling modes. The best choice depends on your speaking style and whether you tend to speed up or slow down.
| Mode | Best for | Pros | Watch-outs |
|---|---|---|---|
| Voice-following / voice tracking | Natural, variable pacing | Feels like talking; fewer pace mistakes | Needs clear audio input; very noisy rooms can reduce accuracy |
| Fixed-speed | Highly rehearsed scripts | Consistent cadence across takes | If you stumble, the text keeps moving |
| Timed scrolling | Exact runtime targets (e.g., 30s) | Helps you land a precise length | Can feel rushed if the script is too dense |
Settings that matter more than you think
- Font size: Bigger text reduces eye darting. Start larger than you think.
- Line spacing: Slightly increased spacing improves scanning.
- Mirror / flip options: Useful for certain rigs, but for a typical iPhone selfie setup, keep it straightforward.
- Edge placement: Keep text closer to the lens area to preserve eye contact.
Record clean, TikTok-ready video on iPhone
A teleprompter workflow only pays off if your footage is usable. Prioritize stability, audio, and consistent framing.
Framing and eye-line
- Lens choice: Use the front camera for direct-to-viewer talk, or the rear camera for higher quality if your setup allows monitoring.
- Eye-line: Position the script as close to the camera lens as possible to avoid “reading eyes.”
- Composition: Leave a little headroom and keep your face well-lit; TikTok crops differently across devices.
Audio: the fastest way to look “pro”
Viewers tolerate average video longer than they tolerate bad audio. If you can, use an external mic. Even a small lav or compact shotgun can reduce room echo and improve caption accuracy.
Resolution and frame rate (practical guidance)
- 4K recording: Helpful if you crop, reframe, or add text overlays in post. It also preserves detail after platform compression.
- 60fps: Great for motion or b-roll; for talking head, 30fps is usually fine and easier on storage.
- Stabilization: Use built-in stabilization if you’re handheld; for tripod shots, keep it steady and consistent.
Add subtitles fast (and keep your workflow private)
Captions aren’t optional on TikTok. Many viewers watch without sound, and captions improve retention. If privacy matters (or you simply want speed and reliability), look for on-device subtitle generation that doesn’t require uploading your footage to a server.
Caption best practices for TikTok
- Accuracy beats density: Prefer clean, readable captions over full transcript walls.
- Break lines intentionally: Split at natural pauses; avoid one long line across the screen.
- Safe area placement: Keep captions above the bottom UI elements and away from the right-side buttons.
- Highlight keywords: If your editor supports it, emphasize the hook words (e.g., “3 mistakes,” “do this instead”).
Editing for retention: trim, pace, and reset attention
Teleprompter scripts reduce rambling, but you still need pace. In short-form, micro-edits matter.
What to cut (almost every time)
- Breaths and dead air before the first word
- Repeated phrases (“what I mean is…”, “basically…”) unless it’s part of your style
- Long transitions between steps
Add simple pattern interrupts
Even for talking-head content, add subtle variation every few seconds:
- Zoom cut (small punch-in)
- On-screen text for the next step
- Quick b-roll overlay
- Switch from “problem” framing to “solution” framing
Export settings that hold up after TikTok compression
TikTok will re-encode your video. Your goal is to give it a clean source file with the right aspect ratio and enough bitrate detail.
- Aspect ratio: 9:16 vertical
- Resolution: 1080×1920 is the safe standard; 4K vertical can be helpful if you crop later
- Frame rate: Match your recording (typically 30fps or 60fps)
- Avoid multiple re-exports: Each export can compound compression artifacts
Workflow tip: If your captions, resizing, and trimming happen in one place, you reduce re-encoding and keep text sharper.
A repeatable iPhone checklist (script → record → post)
- Draft: Hook, 3 steps, CTA. Keep it under ~120–160 spoken words for tight short-form.
- Format: One sentence per line. Add (Pause) cues.
- Teleprompter setup: Large font, comfortable speed, text near lens.
- Record: Clean audio first, stable framing, consistent lighting.
- Edit: Remove dead space, add quick emphasis text, keep momentum.
- Subtitles: Generate on-device if possible; fix names/terms manually.
- Export: 9:16, 1080×1920 (or higher if needed), minimal re-exports.
- Publish: Strong cover frame, short caption, clear CTA (save/comment/follow).
Common mistakes (and quick fixes)
“My eyes look like I’m reading”
- Move the script closer to the lens area
- Increase font size so you scan less
- Rewrite sentences shorter; long sentences force eye movement
“I sound monotone”
- Add emphasis cues: underline or bold key words in your script
- Use voice-following mode so you can pause naturally
- Record in shorter sections and stitch the best takes
“My video looks soft after uploading”
- Export once at a high-quality setting
- Avoid screen-recording your edited video
- Ensure you’re not accidentally exporting at a low resolution preset
Choosing an iPhone teleprompter app: what to look for
Instead of focusing on brand names, evaluate features that directly impact your TikTok workflow:
- Voice-following scrolling for natural delivery
- Pro recording options (high resolution, frame rate control)
- External mic support and reliable audio capture
- Built-in trimming and resizing to keep exports vertical and sharp
- On-device subtitles for speed and privacy
- No forced sign-up if you prefer minimal friction
If you want an all-in-one iPhone workflow that combines teleprompter modes, pro recording, on-device subtitles, and creator-friendly exports, apps like CueCam are designed around that script-to-video process.
