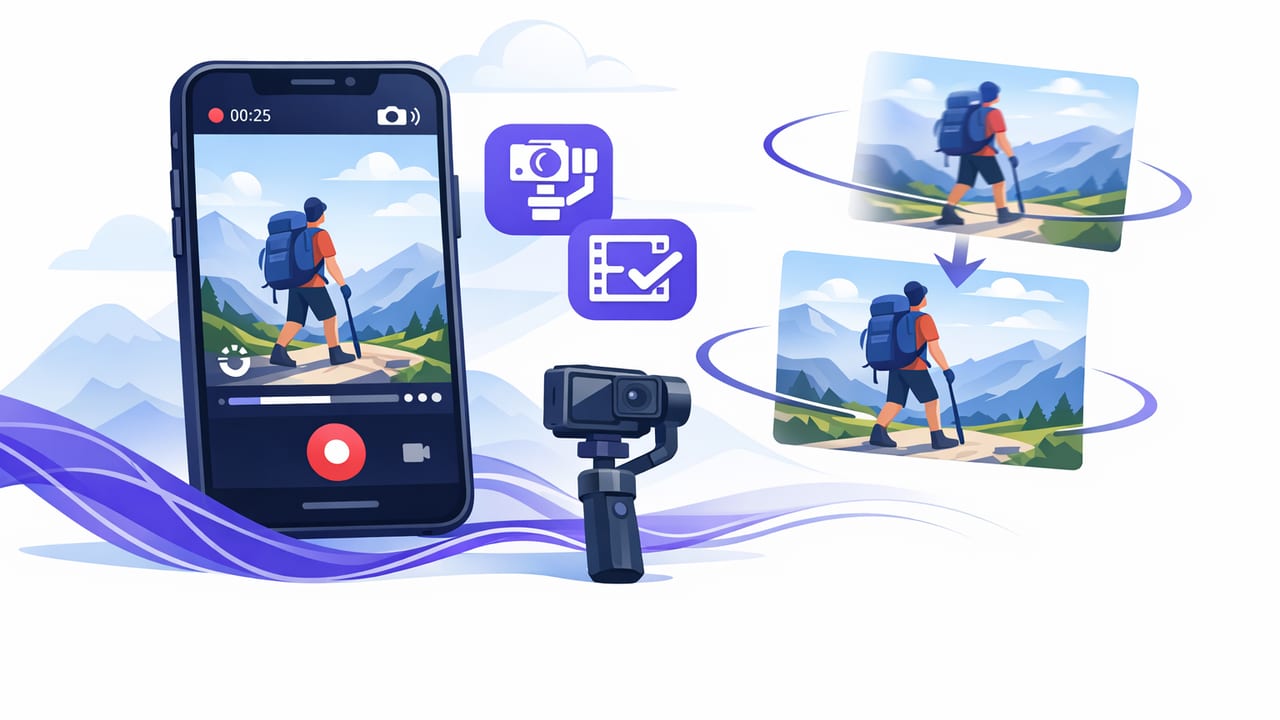
Shaky footage is one of the fastest ways to make otherwise great content feel “off.” And it’s rarely because creators don’t know what they want to say—more often, it’s because filming and speaking at the same time introduces small movements: a shifting stance, a handheld phone, or a quick glance at notes.
This guide focuses on a practical, repeatable workflow you can use with a stabilized video recording app on iPhone—especially for scripted or semi-scripted videos where you want steady framing, clear delivery, and minimal retakes. You’ll learn how to pick the right stabilization approach, set up your environment, keep eye contact while reading, and finish with clean exports for social platforms.
What “stabilized” actually means on iPhone
Stabilization can happen in a few places, and understanding them helps you choose the right settings and gear:
- Optical Image Stabilization (OIS): Hardware stabilization in certain iPhone lenses. Great for small shakes and handheld movement.
- Electronic Image Stabilization (EIS): Software stabilization that crops slightly and smooths motion. Common in video modes.
- In-app stabilization / enhanced stabilization: Some camera apps provide “steady” modes that combine EIS tuning and motion smoothing.
- Mechanical stabilization: Tripods, mounts, and gimbals reduce motion at the source (often the biggest improvement).
Key idea: the cleanest results come from combining stable capture (tripod/mount) with the right in-app settings—rather than relying on heavy stabilization fixes in post.
Choose the right stabilization approach for your video type
1) Talking-head scripts (most creators)
If you’re filming seated or standing in one spot, you don’t need aggressive stabilization. The goal is zero drift: a locked frame that looks intentional.
- Use a tripod (or a solid phone clamp on a stable surface).
- Use standard stabilization (OIS/EIS) rather than “action” stabilization.
- Avoid walking while recording unless your setup is designed for it.
2) Walk-and-talk or tutorial filming
For walking shots, stabilization needs increase fast. Consider:
- A gimbal if you want “floating” motion.
- Wider lenses for easier stabilization and fewer micro-jitters.
- Higher shutter speed (with more light) to reduce motion blur.
3) Desktop demos (hands + products)
Overhead rigs or table mounts outperform stabilization modes here. Lock the camera, then stabilize your workflow: consistent lighting, consistent framing, and consistent pacing.
Setup checklist: stability starts before you hit Record
Use this pre-flight list to reduce shake, focus hunting, and inconsistent framing—three common reasons creators redo takes.
| Area | Goal | Best practice |
|---|---|---|
| Mounting | Eliminate handheld motion | Tripod + tight clamp; avoid flexible tripods on unstable surfaces |
| Lens choice | Minimize wobble | Use the 1x (wide) lens for talking head; ultra-wide can distort |
| Lighting | Reduce noise + jitter | Bright, soft key light; avoid flickering LEDs |
| Focus/Exposure | Stop pulsing | Tap-to-focus, then lock exposure if your app allows |
| Audio | Cut retakes | Use a lav or shotgun mic; monitor levels when possible |
| Background | Avoid visual “shake” | Keep straight lines (door frames, shelves) level; simplify clutter |
Framing that looks stable (even if you move)
Stability isn’t just about camera shake—composition can feel unstable if your head bounces against the frame edge or if the horizon is tilted. Try these framing rules:
- Leave headroom: A tight crop magnifies small movements. Give yourself space.
- Center your eyes: For talking head, eyes around the upper third line reads as confident and steady.
- Level the frame: A 1–2° tilt can make viewers feel like the camera is drifting.
- Use a consistent focal length: Don’t switch lenses mid-script unless the change is intentional.
Rule of thumb: the more “professional” your framing, the less stabilization work you need later.
Script + teleprompter pacing: the hidden cause of shaky footage
Many creators stabilize the camera and still get shaky-looking takes because their delivery creates movement: leaning forward to read, darting eyes, or shifting feet to keep pace with a script.
To keep your frame steady while reading:
- Raise the script closer to lens height: The lower your notes, the more your head tilts (which reads like instability).
- Shorten lines: Long paragraphs cause breathy speed-ups, which leads to body motion.
- Build in pauses: A two-beat pause keeps your face relaxed and reduces micro-movements.
- Pick a scrolling method: Fixed-speed for consistent delivery; timed scrolling for rehearsed segments; voice-following for natural pacing.
Example: script formatting that reduces motion
Here’s a simple structure you can paste into any notes/script tool to help you speak steadily:
[HOOK]
One sentence. Slow.
(beat)

[POINT 1]
Short line.
Short line.
(beat)

[POINT 2]
Short line.
(beat)

[CLOSE]
One sentence call-to-action.
Smile. Hold for 1 second.
This format prevents you from “chasing” the text with your body—one of the most common causes of jittery talking-head footage.
Camera settings that help stabilization look natural
Even with a good tripod, settings can create motion artifacts: wobble, rolling shutter “jello,” or harsh motion blur. Tune these for clean results:
Resolution and frame rate
- 4K: Great for detail and cropping. If your phone and storage can handle it, it’s a strong default.
- 24/30 fps: Cinematic or standard talking-head. Lower fps can look smoother for minimal movement.
- 60 fps: Useful for movement (walk-and-talk) or if you plan to slow down clips slightly.
Shutter speed (if your app supports manual control)
For a natural look, many creators aim for a shutter around double the frame rate (e.g., ~1/60 at 30 fps). For walking shots, a slightly faster shutter (e.g., 1/100–1/120) can reduce blur that makes stabilization look smeary—but you’ll need more light.
Lock exposure and focus
Exposure “pumping” can mimic instability. If your app offers it, lock focus and exposure once you’re in position. Then don’t move dramatically forward/back during the take.
Audio workflow: reduce retakes, reduce movement
Creators often redo takes for audio, not video. Every restart increases fatigue and micro-movements. Prioritize audio so you can keep your best stable take.
- Use an external mic (wired or wireless) and position it consistently.
- Record in a soft room (curtains, carpet, furniture) to reduce echo.
- Do a 10-second test before filming the script. Listen for hiss, room tone, and clipping.
Editing choices that preserve the “stable” look
Post-production can either enhance stability or accidentally reintroduce jitter. Watch out for:
- Over-cropping: Heavy cropping magnifies shake and reduces stabilization headroom.
- Hard jump cuts: Use intentional punch-ins (e.g., 105–115%) rather than random micro-zooms.
- Over-stabilization filters: They can warp faces and backgrounds. Use lightly, only when needed.
- Subtitles that bounce: If captions track poorly or shift position, it can feel like the frame is moving. Keep subtitle placement consistent.
Subtitle tip for stable-looking social clips
Place captions in a fixed safe area (above UI elements) and keep the font size consistent across cuts. Avoid animated subtitle templates that “pop” every word unless your brand specifically calls for it.
A simple end-to-end workflow for stable scripted iPhone videos
- Plan the shot: choose lens (usually 1x), set framing, level the phone.
- Stabilize physically: tripod or mount first; stabilization modes second.
- Light the scene: bright, soft key; reduce flicker.
- Set audio: external mic if possible; quick test recording.
- Load the script: format into short lines with pauses; choose scrolling mode.
- Record 2 takes: the first warms you up; the second is usually the keeper.
- Edit lightly: trim, add subtle punch-ins, clean audio, add captions.
- Export per platform: 9:16 for TikTok/Reels/Shorts, 16:9 for YouTube long-form.
Common problems (and quick fixes)
“My footage is stable but looks wobbly around edges”
This can happen with aggressive EIS or ultra-wide lenses. Try the 1x lens, reduce stabilization strength, and avoid fast pans.
“The camera drifts while I read”
Check that your mount is tight, the surface is solid, and you’re not bumping the table. Also ensure the script is close to lens height so you’re not leaning forward.
“It’s stable, but my delivery feels stiff”
Switch to voice-following or slower scroll speed, add (beat) markers, and widen your framing slightly so you can move naturally without hitting the edge of frame.
FAQ: stabilized video recording on iPhone
Do I need a gimbal if I’m filming talking-head videos?
Usually no. A tripod and good framing are enough. Gimbals shine for walking shots or dynamic movement.
Should I stabilize in post?
Only when needed. Post stabilization crops and can create warping. It’s better to stabilize at capture with a mount and smart settings.
What’s the best frame rate for stable-looking social videos?
For talking head, 30 fps is a solid default. Use 60 fps if you have motion (walking, demonstrations) or want smoother movement.
Putting it all together
The most reliable way to get steady, professional-looking iPhone footage is to treat stabilization as a workflow—not a single toggle. Lock the camera physically, choose sensible settings, format your script to reduce body movement, and keep edits clean so the final video still feels stable.
If you’re building a script-to-video routine on iPhone, a teleprompter-style recorder that combines readable scripts, steady capture options, and on-device tools can streamline the process—apps like CueCam are designed around that kind of creator workflow.
