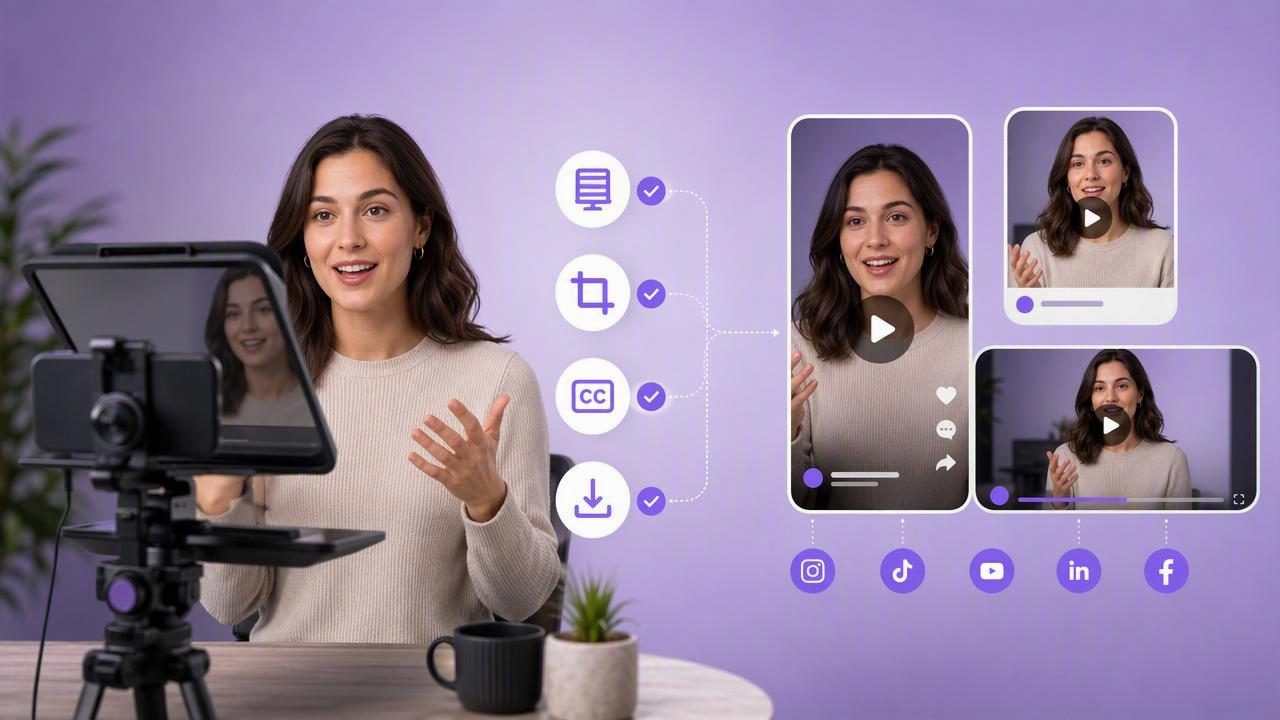
Creating one polished video is only half the job. To publish it effectively on TikTok, Instagram, YouTube, LinkedIn, and other channels, you need to resize video for social platforms without cutting off your face, captions, product shots, or key message.
This is especially important for scripted videos made with a video teleprompter. A teleprompter helps you keep eye contact with the camera and deliver a clear message, but your framing decisions must account for every format you plan to use. If you record too tightly, a later crop can make the final video feel cramped. If subtitles sit too low, platform buttons and captions can cover them.
This practical checklist explains how to plan, record, resize, caption, and export teleprompter videos for multiple social platforms while protecting quality and keeping your creator workflow efficient.
Why Resizing Video Starts Before You Press Record
Many creators think resizing is an editing task. In reality, it begins during scripting and filming. Social platforms use different aspect ratios, and each ratio changes what viewers can see.
For example, a wide horizontal video can lose important visual information when cropped to a vertical short-form format. A vertical video may look excellent in Reels but leave empty space in a traditional YouTube upload. Planning for these differences before recording prevents awkward crops and unnecessary reshoots.
When using an iPhone teleprompter, make sure your script, eyeline, and visual composition all work within the intended crop. The goal is to create a flexible master recording that can become multiple platform-ready versions.
Social Video Aspect Ratios at a Glance
| Platform Use Case | Recommended Aspect Ratio | Common Resolution | Best For |
|---|---|---|---|
| TikTok videos | 9:16 | 1080 x 1920 | Vertical educational clips, tutorials, stories |
| Instagram Reels | 9:16 | 1080 x 1920 | Short-form creator content and promotions |
| Instagram Feed Portrait | 4:5 | 1080 x 1350 | Feed videos with more screen presence |
| YouTube Shorts | 9:16 | 1080 x 1920 | Quick tips, clips, and vertical series |
| YouTube Standard Video | 16:9 | 1920 x 1080 or 3840 x 2160 | Long-form tutorials and presentations |
| LinkedIn Feed Video | 1:1, 4:5, or 16:9 | 1080 x 1080 or 1080 x 1350 | Professional explainers and thought leadership |
These specifications can change, so always review the current upload requirements for your destination platform. Still, the table provides a dependable starting point for planning your video resize workflow.
The Pre-Recording Checklist for Teleprompter Videos
A strong resize workflow begins with a simple question: Where will this video appear after it is recorded? Choose your primary format before opening your script.
- Choose a primary platform. If the video is designed for Reels, TikTok, or Shorts, record vertically first. If it is a detailed YouTube lesson, a 16:9 horizontal master may be the better choice.
- Write for the final duration. Vertical social videos often need a fast hook and tight pacing. Mark pauses, visual changes, and calls to action in your teleprompter script.
- Frame yourself with crop room. Keep your head, hands, props, and text away from the outside edges. This gives you flexibility for 4:5, 1:1, and 16:9 versions.
- Keep your eyeline natural. Position the teleprompter text close to the camera lens. Reading from text that is too far above or below the lens can make eye contact appear unfocused.
- Plan B-roll placements. Note where screenshots, product clips, or supporting footage will cover the screen. This keeps your delivery concise and makes resizing easier later.
Use a Safe Zone for Faces, Text, and Subtitles
The most common mistake when creators resize video for social platforms is treating the full frame as usable space. It is not. Mobile interfaces often place usernames, captions, buttons, progress bars, and engagement controls over the video.
Use a central safe zone for anything essential. Your face should usually sit in the upper-middle portion of a vertical frame, not directly against the top edge and not too low in the image. Place subtitles above the lower interface area, and avoid putting critical text in the extreme left or right edges.
Practical rule: If a viewer misses the outer 10% to 15% of the frame, they should still understand the video.
This rule is valuable for teleprompter content because your message is often carried by both your spoken words and on-screen captions. A crop that removes a subtitle line or cuts off a gesture can weaken the entire clip.
Vertical Framing Tips for Talking-Head Videos
- Leave comfortable headroom above your hair, but do not place your face too low.
- Keep shoulders and hands visible if gestures are part of your delivery.
- Use a simple background so crops do not reveal distracting objects at the edges.
- Position logos, titles, and labels within the central portion of the frame.
- Test a sample crop before recording a full batch of videos.
Record a High-Quality Master File
Resizing always asks your editing app to reinterpret the image. Starting with a high-quality source gives you more room to crop, reframe, and export without noticeable softness.
For most creator workflows, recording at 4K provides useful flexibility, even if the final export is 1080 x 1920. A 4K recording can be cropped into a vertical composition while retaining more detail than a lower-resolution source. However, 4K files require more storage and can take longer to edit and export.
Choose frame rate based on the type of video. A standard talking-head script often looks natural at 24 or 30 frames per second. Use 60 frames per second when you expect motion, demonstrations, or a need for smoother playback. Consistency matters more than chasing the highest setting.
- Clean your iPhone lens before each shoot.
- Use soft, even lighting on your face.
- Record with a stable tripod, grip, or stabilization feature.
- Use an external microphone when possible for clearer speech.
- Leave enough storage space for multiple takes and 4K footage.
How to Resize Video Without Losing the Message
When you create a new aspect ratio, do not simply stretch the video. Stretching distorts faces, text, and products. Instead, use a resize tool that lets you choose a canvas size, reposition the clip, and preview the crop.
For a 16:9 source that needs to become 9:16, you generally have three options:
- Crop and reframe: Enlarge the image and center the speaker. This works best when the original shot has generous space around the subject.
- Add a background fill: Keep the full horizontal video visible while using a blurred, colored, or branded background behind it. This avoids cutting off important visuals.
- Re-edit from source clips: Build a vertical version using separate talking-head, B-roll, screenshots, and text layers. This takes longer but usually produces the strongest result.
If the video contains a single speaker, crop and reframe may be enough. If it includes screen recordings, interviews, or product demonstrations, a dedicated vertical edit will often be clearer than forcing a wide video into a narrow frame.
Add Subtitles After the Main Crop
Subtitles improve accessibility, support silent viewing, and help viewers follow fast educational content. But timing matters: resize and reframe the video first, then place captions in the final composition.
If you add subtitles before changing the canvas, the text can become too large, too small, or partially hidden after the crop. Once the final ratio is set, review every caption for line breaks, placement, and contrast.
Subtitle Quality Checklist
- Keep captions within the platform-safe area.
- Use high contrast between text and background.
- Limit each caption to short, readable lines.
- Highlight key words sparingly rather than styling every word.
- Correct names, technical terms, and brand-specific language.
- Watch the video with sound off before exporting.
For privacy-sensitive work, on-device subtitle generation can be useful because the script and footage do not need to be uploaded to a remote service simply to create captions.
Export Settings Checklist for Social Platforms
After editing, export a version tailored to each platform. Avoid repeatedly downloading and re-uploading the same compressed file. Each extra compression pass can reduce sharpness, create artifacts, and make subtitles harder to read.
- Resolution: Export 1080 x 1920 for most vertical short-form videos.
- Format: MP4 with H.264 video is broadly compatible.
- Frame rate: Match the frame rate of the original recording whenever practical.
- Audio: Use clear AAC audio and listen for clipping before posting.
- File naming: Include the platform and ratio, such as
teleprompter-tip-reel-9x16.mp4. - Final review: Watch the exported file on a phone, not only in the editor preview.
Your Final Resize Video for Social Platforms Checklist
- Pick the primary platform and aspect ratio before filming.
- Write a teleprompter script with a fast hook and clear structure.
- Record with extra space around your face, hands, and visual elements.
- Use a high-quality master recording when cropping flexibility is needed.
- Resize using crop, background fill, or a purpose-built re-edit.
- Check safe zones for interface overlays and captions.
- Add subtitles only after the final canvas size is selected.
- Export a separate, platform-ready file rather than reusing a compressed upload.
- Review the finished video on a mobile screen before publishing.
A repeatable checklist turns resizing from a frustrating last-minute task into a predictable part of your script-to-video process. A tool such as CueCam can help streamline this workflow by combining teleprompter recording, editing, resizing, and on-device subtitle creation on iPhone.
