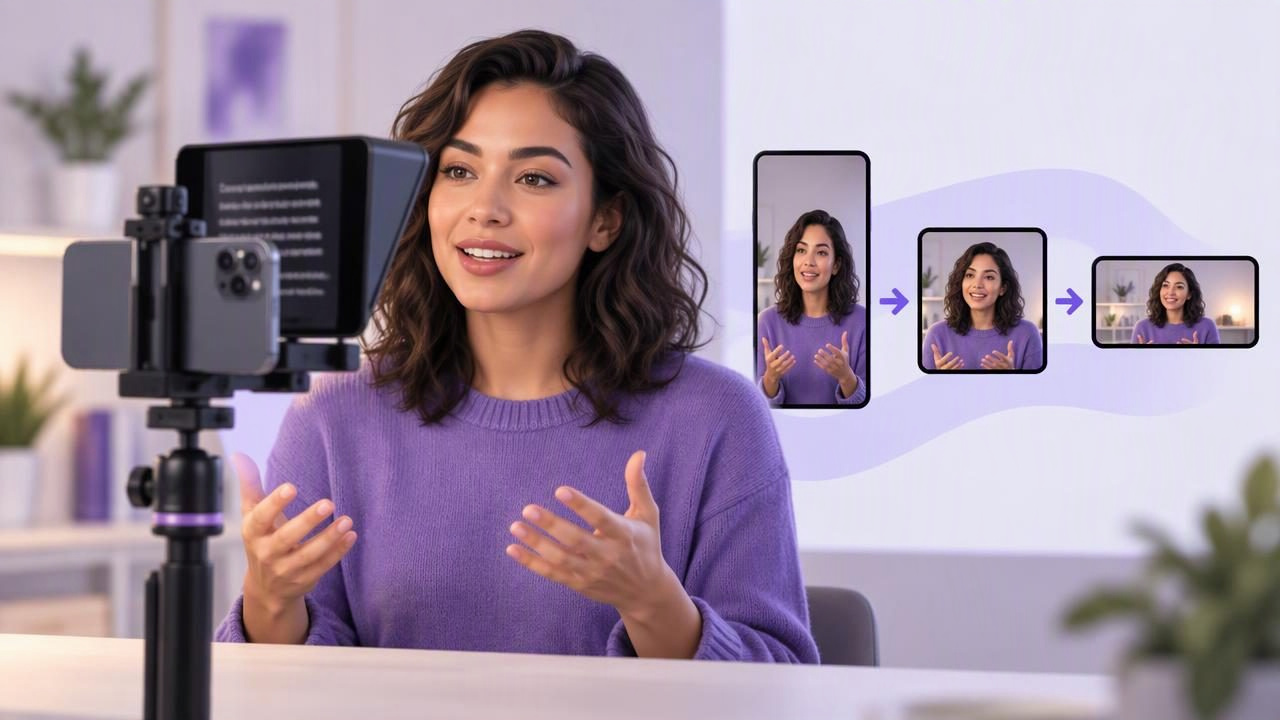
Resizing a video for social media is more than changing its dimensions. A vertical clip cropped from a horizontal recording can cut off your face, captions, or important visual details. And if you are reading a script, looking away from the camera to find your place can make the result feel less natural.
A more reliable approach is to plan the destination format before recording, position your script near the camera, and use voice tracking to follow your speech. Then resize or reframe the finished video for the platform where it will appear. This guide explains how to put those steps together on an iPhone, with a practical example and a few important limitations.
What “resize for social platforms” actually means
People often use “resize” to describe several different edits. You might change a clip’s aspect ratio, crop its edges, adjust its resolution, or scale it to fit a particular publishing layout. These changes are related, but they are not interchangeable.
- Aspect ratio describes the shape of the frame. Vertical 9:16, square 1:1, and horizontal 16:9 are common social video formats.
- Cropping removes part of the image to fit a new shape. It can change what remains visible around you.
- Resolution describes image dimensions and detail. A higher-resolution source can give you more room to crop, but cropping still removes image area.
- Scaling changes how large the image appears in the output frame. It does not restore detail that was not captured.
Platform placements and recommendations can change, so check the current requirements for the specific post or ad placement you plan to use. The key production question is simpler: will your face, gestures, text, and other essential details remain inside the frame after reframing?
Choose the format before you write
Pick a primary destination first. A vertical talking-head video for a short-form feed needs a different composition from a horizontal tutorial. If you expect to publish in more than one format, decide whether you will make separate recordings or crop one master recording later.
Separate takes give you more control: you can adjust your distance from the camera, move the script, and leave room for text in each frame. Cropping one recording is convenient, but it works best when the original shot has enough space around the subject. Keep your face and key gestures near the center if you know the clip will need multiple aspect ratios.
| Format to plan for | Framing consideration | Useful when |
|---|---|---|
| Vertical 9:16 | Keep your face and gestures within a narrow, tall frame. | The intended placement is a vertical short-form video. |
| Square 1:1 | Allow space above and below your subject as well as at the sides. | The destination calls for a square post. |
| Horizontal 16:9 | Use the wider frame for context, demonstrations, or two-person scenes. | The intended placement uses a landscape video. |
These are common shapes, not a promise that every placement accepts them in the same way. Verify the destination’s current specifications before exporting.
Prepare a script that is easy to follow aloud
A teleprompter helps you read while keeping your eyes close to the camera, but the script still needs to sound spoken. Write short sentences, use familiar words, and break up long paragraphs. Add line breaks where you want a pause or a change in thought. These visual cues make it easier to recover your place if you stumble.
For a 45-second product tip, for example, plan one opening sentence, two or three useful points, and a concise close. Read the draft aloud before recording. If you run out of breath, rush through a phrase, or keep tripping over a sentence, rewrite it rather than expecting the scrolling controls to fix the wording.
Leave a little space in your composition if you plan to add captions. Do not place important words or visual details right against the edges: a later crop or platform interface may obscure them. Keep the script itself concise enough that you can deliver it at a conversational pace.
Set up the iPhone, camera, and teleprompter
- Choose the camera orientation. Set the phone vertically or horizontally to match your primary output. If you will create multiple versions, choose a master composition that leaves room for a crop, or plan a separate take.
- Place the lens near the script. The closer the script appears to the camera lens, the less your gaze has to travel. Check your eye line in a short test rather than assuming the setup looks natural.
- Set your distance and background. Frame your head and shoulders with enough surrounding space for the planned crop. Remove distracting objects and check that your lighting is reasonably even.
- Pick a scrolling mode. Fixed-speed scrolling moves at a set pace; timed scrolling follows a duration; voice-following word tracking moves along with detected speech. Choose the mode that suits your delivery and the controls available in your app.
- Run a brief audio test. Record a few sentences, then listen back. Check that your voice is clear and that pauses, room noise, or microphone placement are not making the recording hard to follow.
Voice tracking can make reading feel less tied to a fixed scroll rate, but it is not a substitute for a test. Speech recognition and tracking depend on the device, language, and recording conditions. Long pauses, interruptions, or unclear audio may affect how the script follows your voice. If the scroll behaves unexpectedly, try another mode or adjust the setup before recording the full take.
A practical script-to-video example
Suppose you are recording a short tip about organizing a weekly meal plan. Your main destination is a vertical feed, but you may also want a square version. Start by writing a brief spoken script and placing the phone vertically. Frame yourself near the center, leaving enough space around your head and shoulders for a square crop. Keep any later caption area clear of important visual details.
Put the script close to the lens and select voice-following word tracking if it is appropriate for your device and language. Record a short test that includes a pause and a complete sentence. Listen for clean, understandable audio and check that your eye line still appears directed toward the camera. If the tracking loses your place, simplify the delivery or use fixed-speed or timed scrolling instead.
Once the full take is recorded, review the vertical version first. Then make a square version by adjusting the crop and checking that your face and gestures remain visible throughout the clip. If a crop cuts off a gesture or leaves an awkwardly tight frame, do not force it: record another take with a better composition or keep the original format for that post.
Resize, caption, and review the export
When reframing, watch the entire clip rather than checking only its opening frame. You may lean, gesture, or move during the recording, and a crop that looks fine at the start can cut off something later. Preview each aspect ratio at the size it will be viewed, not only in a large editing window.
Captions can improve accessibility and make speech easier to follow when a viewer is watching without sound. Generate or add them after you have a usable recording, then check names, punctuation, timing, and line breaks. Automatic subtitles can mishear unfamiliar terms or speech in noisy conditions. On-device subtitle tools may work without an internet connection, but language availability and processing support depend on the tool and device; verify the result rather than assuming every word is correct.
Before publishing, review these details:
- The selected aspect ratio matches the intended placement.
- Your face, hands, and important on-screen details remain inside the frame.
- The audio is clear at a normal listening volume.
- Captions are accurate and do not cover essential information.
- The exported file plays correctly and has not been cropped unexpectedly.
Recording at a higher resolution can leave more detail available for a crop, but it cannot prevent framing problems or guarantee a sharp result after every edit. Camera capabilities and recording options vary by iPhone and app. For example, an app may offer pro camera recording up to 4K/60fps where supported, but a social post may not need that setting. Choose a recording option that fits your device, destination, and storage needs.
Keep the workflow practical
The most useful sequence is to decide the format, write for spoken delivery, test the framing and audio, record, then reframe and inspect each version. A voice-tracking teleprompter can help you maintain your place while reading, but it cannot make a poorly written script sound conversational or make one composition fit every aspect ratio. Treat resizing as an editorial choice: preserve what matters, and make another take when a crop compromises the shot.
If you want a more detailed walkthrough of reading while filming on an iPhone, CueCam’s guide to recording video while reading a script covers the core setup considerations. The same principles apply when you prepare a clip for different social formats: test the camera position, listen to the audio, and check every crop before sharing.
