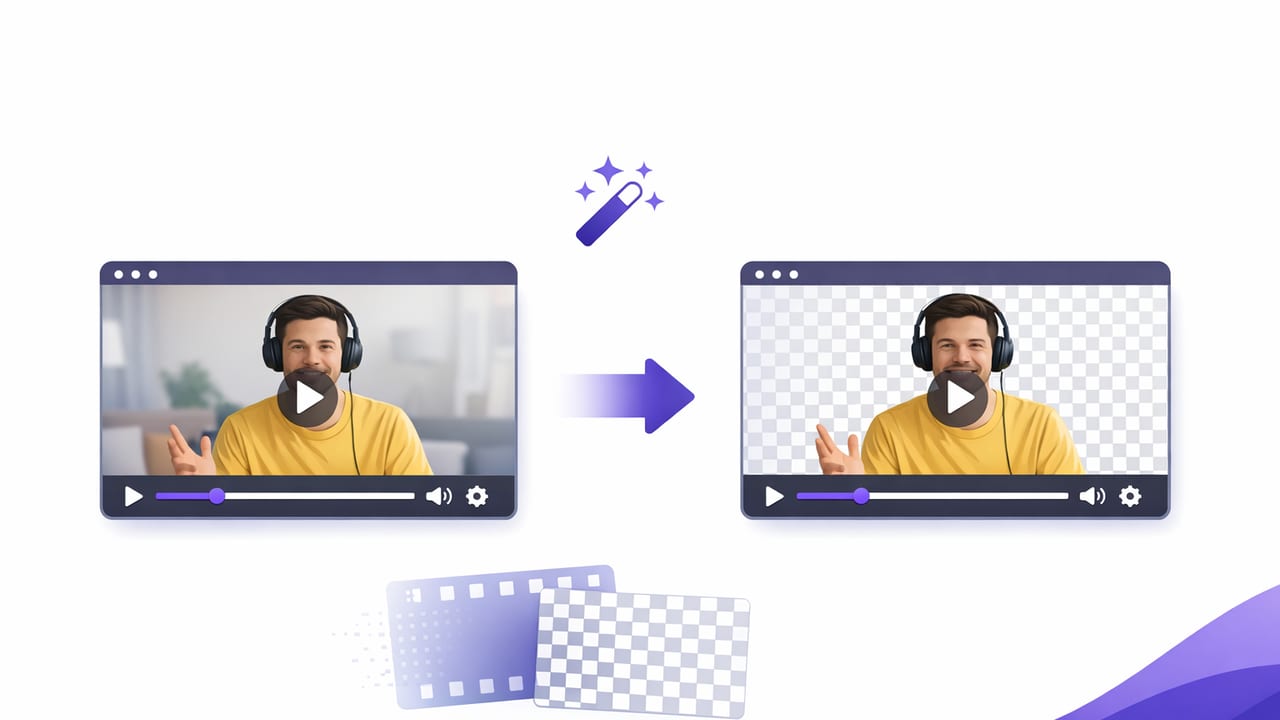
Whether you’re filming tutorials, talking-head explainers, product demos, or UGC-style ads, removing your video background is one of the fastest ways to make iPhone content look “studio-made” without renting a studio. A good remove background video app can help you place yourself over clean colors, branded gradients, screenshots, slides, or b-roll—while keeping the focus on your message.
This guide breaks down the practical side of background removal: the different methods apps use, what makes edges look clean (hair, hands, motion), how to set up lighting and framing, and export settings that preserve quality across TikTok, Instagram Reels, and YouTube.
What “remove background” actually means
When you use a remove background video app, the app is typically creating a cutout (also called a mask or matte) of the subject and making everything else transparent. Then you can:
- Replace the background with an image/video (new scene)
- Blur or simplify the background (focus on subject)
- Use a solid color (clean, consistent look)
The quality of the result depends less on “AI magic” and more on the basics: contrast, lighting, motion, and export settings.
Three common background-removal approaches (and when to use each)
| Approach | How it works | Best for | Watch-outs |
|---|---|---|---|
| AI subject segmentation | Detects people/objects and creates a mask automatically | Fast talking-heads, UGC, casual setups | Hair edges, fast hand motion, low light |
| Green screen (chroma key) | Removes a specific color (green/blue) from the scene | Consistent, repeatable shoots; full-body shots | Wrinkles, shadows, color spill on skin/clothes |
| Manual mask/rotoscope | You refine the cutout by hand (frame-by-frame or keyframes) | Hard cases: props, hair detail, complex motion | Time-consuming; requires skill and patience |
Most creators choose AI segmentation first because it’s fast. For repeatable, “always clean” results—green screen is still the most predictable. For mission-critical shots, manual refinement can save a take that AI struggles with.
Pre-shoot checklist: get cleaner edges before you hit Record
Background removal is easiest when your footage is “mask-friendly.” Use this checklist before you open any remove background video app.
1) Create separation between you and the background
- Stand 3–6 feet away from the wall when possible.
- Avoid backgrounds with patterns that match your hair/clothes (busy bookshelves can confuse masks).
- If using green screen, keep it taut and evenly lit.
2) Light your face more than your background
- Use a soft key light (window light or a ring/softbox) aimed at your face.
- Keep the background slightly darker to increase subject contrast.
- Avoid strong backlight that blows out edges (windows behind you).
3) Choose wardrobe that helps the algorithm
- Avoid clothing that matches the background (black hoodie on a dark wall).
- Avoid fine, high-frequency textures (tight stripes) that can shimmer.
- For green screen: don’t wear green (or the key color).
4) Stabilize the shot
Even with great masking, shaky footage makes edges “crawl.” Use a tripod, a stable surface, or in-app stabilization. If you must handhold, keep movements slow and deliberate.
How to use a remove background video app: a reliable workflow
Apps vary, but the winning workflow is usually the same. Here’s a step-by-step process you can apply to almost any remove background video app on iPhone.
- Import or record your clip
- If you’re recording inside the app, choose the highest practical quality (e.g., 4K if your workflow supports it).
- Lock focus/exposure if available to prevent brightness shifts that break the mask.
- Apply background removal
- Select “Remove Background,” “Cutout,” “Person Segmentation,” or “Chroma Key.”
- If there’s a “Strength” slider, start conservative—over-aggressive masks can eat hair and fingers.
- Refine edges
- Look for controls like Feather (softens edge), Spill suppression (green screen), or Refine hair.
- Zoom in and scrub the timeline—issues often appear mid-gesture, not on frame one.
- Add your replacement background
- Use a simple background first (solid/gradient) to evaluate edge quality.
- Then switch to b-roll, screenshots, or branded visuals.
- Match the look
- Adjust brightness/contrast so the subject belongs in the new scene.
- If the new background is bright, consider adding a subtle shadow behind the subject for realism.
- Export with the right settings
- Choose a high bitrate if available; low bitrate creates blocky edges.
- Export in the destination aspect ratio to avoid re-compression later.
Hair, hands, and motion: how to avoid “cutout vibes”
The hardest parts of background removal are fine detail and fast motion. Use these fixes before you re-record.
Hair edges
- Add rim light: a small light behind you (aimed at hair/shoulders) creates separation.
- Avoid dark hair on dark walls when possible.
- Use slight feather in the mask—too sharp looks artificial, too soft looks blurry.
Hands and props
- Keep hands closer to your body when possible—wild gestures cause edge flicker.
- If holding a product, angle it to avoid glare (glare can “erase” parts of the object).
Fast motion
- Increase shutter speed if your camera controls allow it (less motion blur helps masks).
- Film in brighter light to support a faster shutter without noise.
Best export settings for TikTok, Reels, and YouTube Shorts
Even perfect masking can look rough after platform compression. Aim for exports that preserve edge detail.
- Resolution: 1080×1920 (vertical) or 2160×3840 if you truly need 4K and your pipeline supports it
- Frame rate: match your source (commonly 30fps or 60fps). Don’t convert unless necessary.
- Bitrate: choose “High” or “Best” if the app offers it
- Codec: H.264 is widely compatible; HEVC can be smaller but may not always upload as smoothly
If your editor offers it, avoid exporting multiple times. Each re-export adds compression that can create a halo or jagged outline around your subject.
On-device vs cloud processing: privacy and speed trade-offs
Some apps process background removal on-device, others upload clips to a server. The right choice depends on your priorities:
- On-device: faster iteration when you’re offline, more privacy control, and fewer upload delays
- Cloud: can be powerful for heavy processing, but depends on internet speed and requires sending footage off your phone
Practical rule: If you’re filming client work, unreleased products, or anything sensitive, prioritize on-device workflows whenever possible.
Common problems (and quick fixes)
Problem: A glowing “halo” around your outline
- Lower mask strength slightly
- Add a subtle shadow or outline effect intentionally (it can look cleaner than a random halo)
- Export at higher bitrate
Problem: Background “leaks” through hair
- Improve lighting and separation
- Try a simpler replacement background (busy backgrounds make leaks more obvious)
- If available, use “Refine hair” or edge refinement tools
Problem: Mask flickers during gestures
- Reduce fast hand movement; keep hands in better light
- Use stabilization and avoid zooming digitally
- Switch to green screen for repeat shoots if flicker persists
Mini workflow: background removal + subtitles (fast, platform-ready)
If you’re posting educational content, pairing background replacement with subtitles is a strong combo: the new background makes your video visually consistent, and captions increase watch time and accessibility.
A simple sequence:
- Record a clean talking-head clip (stable, well-lit).
- Use a remove background video app to replace the scene with a branded background or relevant b-roll.
- Generate subtitles and review names/terms.
- Export in the exact platform aspect ratio (9:16 for Shorts/Reels/TikTok).
FAQ
Do I need a green screen to remove a background?
No. AI segmentation works without a green screen, but a green screen can be more consistent—especially for full-body shots, wide gestures, or repeatable production.
Why does my cutout look worse after uploading?
Platform compression. Export at higher bitrate, avoid multiple exports, and keep fine detail (like hair) well-lit and sharp to survive compression.
What’s the easiest background to start with?
A solid color or soft gradient. It helps you spot edge issues quickly before you commit to a detailed background.
Wrap-up: the fastest path to clean background replacement
The best results come from combining a good remove background video app with simple filming fundamentals: separation, stable framing, clean lighting, and smart exports. If you get those right, background replacement becomes a repeatable part of your creator workflow—not a time sink.
Note: If you’re building a script-to-video workflow on iPhone and want tools like teleprompter-assisted recording, on-device processing, and quick editing in one place, apps such as CueCam can fit neatly at the end of this workflow—but the principles above apply no matter what you use.
