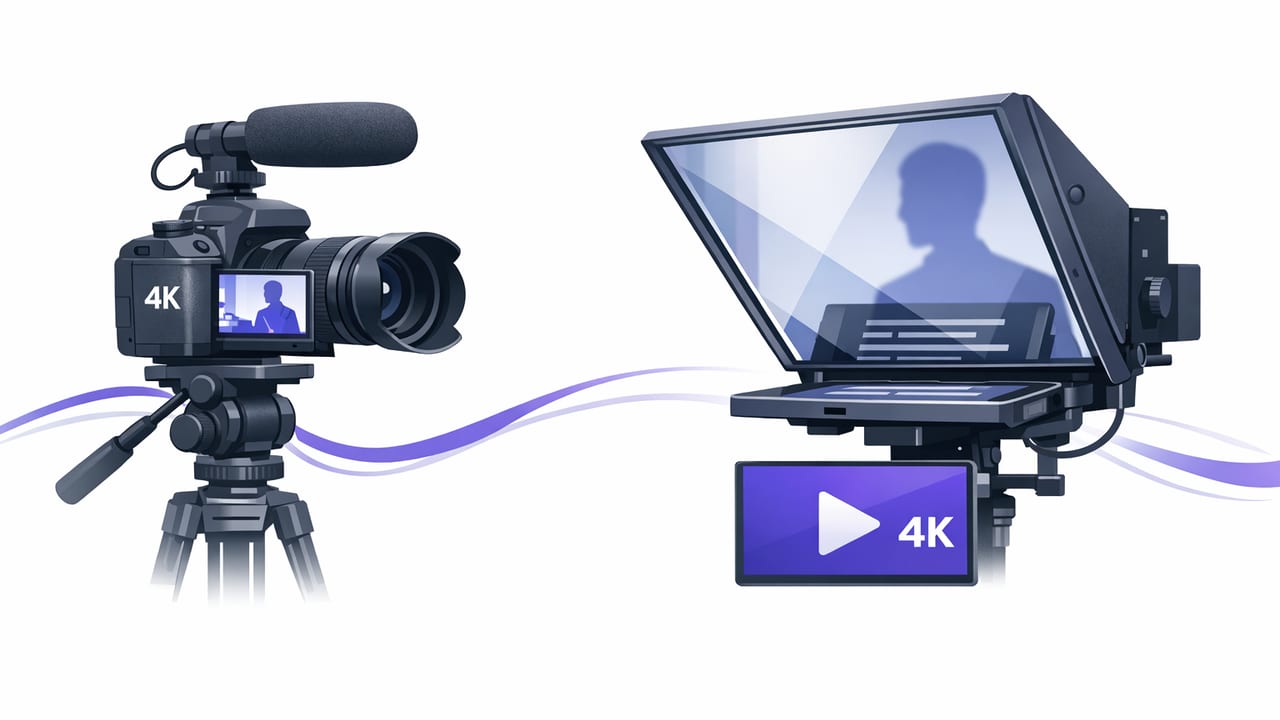
If you want to record 4k video with teleprompter support on iPhone, the goal is simple: crisp footage, clean audio, and a read that still feels like natural eye contact. The challenge is that 4K capture is less forgiving—tiny focus shifts, flickering lights, and unstable exposure show up fast—while teleprompter use adds its own variables (scroll speed, eye line, script formatting, and timing).
This guide walks through a creator-friendly workflow: setup, camera settings, teleprompter technique, audio, lighting, subtitles, and export—so your final video looks intentional, not “scripted.”
What changes when you combine 4K + teleprompter?
- Sharpness reveals everything: makeup, texture, background clutter, and focus misses.
- Motion becomes more noticeable: micro-shakes and rolling shutter artifacts are easier to spot.
- Exposure shifts are distracting: auto-exposure “breathing” can happen as you move while reading.
- Eye line can drift: if the text sits too far from the lens, viewers feel the glance.
The good news: you don’t need a studio. You need a consistent setup and repeatable settings.
Step 1: Choose the right iPhone camera + teleprompter setup
Camera position and lens choice
For scripted talking-head videos, start with these defaults:
- Use the rear camera when possible for better quality.
- Pick a “normal” focal length (often 1x) to avoid distortion.
- Frame mid-chest to head with a little headroom; keep eyes on the upper third.
If you must use the front camera for convenience, prioritize lighting and a steady mount to compensate.
Mounting: stability beats gadgets
- Tripod with a solid phone clamp is the baseline.
- Eye-level height reduces unflattering angles and helps the “looking at camera” illusion.
- Distance: typically 2–5 feet works well; farther if using a tighter lens option.
Step 2: Script formatting that reads naturally on camera
Most “teleprompter reads” sound scripted because the script is written like an essay. Write for speech:
- Short sentences (one idea per line).
- Stage directions in brackets (pause, smile, emphasize).
- Intentional line breaks where you’d breathe.
A simple script format that performs well
HOOK (smile)
Today I’m showing you how to record 4K video on iPhone
while reading a script… without looking like you’re reading.

POINT 1 (slower)
Lock your exposure and focus so the image doesn’t “pulse.”

POINT 2
Keep the text close to the lens, not down by your chin.

CTA (friendly)
If you want, I’ll share my exact export settings next.
Delivery rule: Don’t “perform” the whole paragraph. Deliver one line, finish the thought, then move your eyes to the next line.
Step 3: Teleprompter scrolling modes (and when to use them)
Different scrolling modes solve different problems. Choose based on how you speak:
- Voice-following tracking: best if your pacing changes, you ad-lib, or you pause often.
- Fixed-speed scrolling: best for practiced scripts and consistent cadence.
- Timed scrolling: best for exact duration (ads, pitches, and platform-specific time limits).
Tip: if you’re new, start with voice-following or a slower fixed speed than you think you need. Rushing is the #1 cause of a tense on-camera read.
Step 4: Camera settings for clean 4K talking-head video
iPhone settings vary by model and app, but the principles are consistent: keep motion natural, prevent flicker, and avoid exposure hunting.
Recommended starting settings (then adjust)
| Setting | Recommendation | Why it helps |
|---|---|---|
| Resolution | 4K | More detail + flexibility to crop for vertical exports |
| Frame rate | 30fps (or 24fps for a cinematic look) | 30fps is forgiving for speech and common lighting |
| Shutter speed (if manual control) | ~1/60 for 30fps (or 1/50 in 50Hz regions) | Reduces flicker and keeps motion blur natural |
| HDR | Use if your face is well-lit; avoid if it causes shifting | Prevents blown highlights, but can trigger exposure changes |
| Focus + exposure | Lock on your face | Stops “breathing” as your head moves while reading |
| Stabilization | On (unless you’re on a rock-solid tripod and seeing warping) | Smooths micro-shakes that 4K makes obvious |
| White balance | Lock if possible | Prevents warm/cool shifts during a take |
Flicker quick check
Indoor lighting can produce subtle flicker, especially in 4K. Record a 5–10 second test clip and watch it back at full brightness. If you see pulsing:
- Switch to a different light source (window light is best).
- Change frame rate (30 ↔ 25) depending on your region.
- If you have manual controls, match shutter to mains frequency (1/60 for 60Hz, 1/50 for 50Hz).
Step 5: Audio that matches 4K video quality
Viewers forgive imperfect video before they forgive bad audio. For scripted videos, you want consistent vocal tone and low room echo.
- Best simple option: a wired or wireless lav mic placed mid-chest.
- Quiet room: soft furnishings reduce reverb; avoid kitchens and empty offices.
- Mic distance consistency: don’t turn your head far off-axis while reading.
If your app offers audio cleanup (noise reduction, voice enhancement), use it lightly. Heavy processing can create “underwater” artifacts.
Step 6: Lighting that keeps skin tones natural
For talking-head content, lighting should make your face the brightest, clearest part of the frame.
- Key light: a window or soft light 30–45° from camera.
- Fill: a reflector (even a white poster board) to soften shadows.
- Background separation: a small lamp behind you or more distance from the wall.
Keep it consistent—changing clouds can shift exposure and color. If you’re using daylight, try recording at the same time of day for repeatability.
Step 7: Eye contact tricks that hide the “read”
Teleprompter success is mostly alignment and pacing:
- Keep text close to the lens: the farther the text is from the camera, the more obvious the eye movement.
- Increase font size so your eyes move less to track each line.
- Use shorter line width to reduce side-to-side scanning.
- Build in micro-pauses for emphasis; pauses look confident on camera.
Step 8: Subtitles without slowing your workflow
Subtitles improve retention and accessibility, especially for short-form platforms. If you can generate captions on-device, you also get a privacy benefit: your video and script don’t need to be uploaded to a server for transcription.
If you ever need to hand-edit captions, exporting or working with an .srt file is common. Here’s a tiny example format:
1
00:00:00,000 --> 00:00:02,200
Today I’m recording 4K video with a teleprompter.

2
00:00:02,200 --> 00:00:04,800
Here are the settings and the setup I use.
Step 9: Export settings for TikTok, Reels, and YouTube
You can record in 4K and still export in a platform-friendly format. The key is to avoid unnecessary recompression steps.
- Record in 4K to preserve detail.
- Crop/resize once (not multiple times across apps).
- Export at high bitrate when given the option.
Quick platform sizing guide
| Platform | Aspect ratio | Suggested export |
|---|---|---|
| TikTok / Reels / Shorts | 9:16 | 1080×1920 (from a 4K master) |
| YouTube (standard) | 16:9 | 3840×2160 if you want true 4K delivery |
| Square feeds | 1:1 | 1080×1080 (crop from 4K) |
Troubleshooting: common problems (and quick fixes)
“My eyes look like they’re reading”
- Move the text closer to the lens and increase font size.
- Shorten line width; avoid long sentences.
- Slow the scroll slightly (most people set it too fast).
“My video brightness keeps changing”
- Lock exposure on your face.
- Stop recording in front of a bright window unless you control it with curtains.
- Keep lighting constant and avoid moving too much toward/away from the phone.
“The audio sounds echoey”
- Get the mic closer (lav mic) and reduce room reflections.
- Turn off loud fans/AC; they’re more noticeable in quiet scripted delivery.
- Use light noise reduction, not aggressive settings.
“My 4K file sizes are huge”
- Offload finished exports to external storage or cloud after publishing.
- Consider recording at 30fps instead of 60fps for talking-head content.
- Keep the 4K master, but export platform versions at 1080×1920 for vertical.
A repeatable checklist (copy/paste before each shoot)
- Phone on tripod, lens cleaned
- 4K + chosen fps set
- Focus/exposure locked on face
- Lighting stable (no flicker test issues)
- Mic connected + quick level check
- Teleprompter font size up, line width narrow, scroll speed tested
- 10-second test clip watched back with sound
Putting it all together
When you record 4k video with teleprompter on iPhone, quality comes from consistency: locked exposure, stable framing, readable script formatting, and a scrolling mode that matches your speaking style. Capture a clean 4K master, add subtitles efficiently (ideally on-device for privacy), then export once per platform to keep your workflow fast and your video sharp.
If you’re looking for an iPhone teleprompter workflow that combines script reading with 4K recording, subtitles, and privacy-focused on-device processing, an app like CueCam is built around that all-in-one approach.
