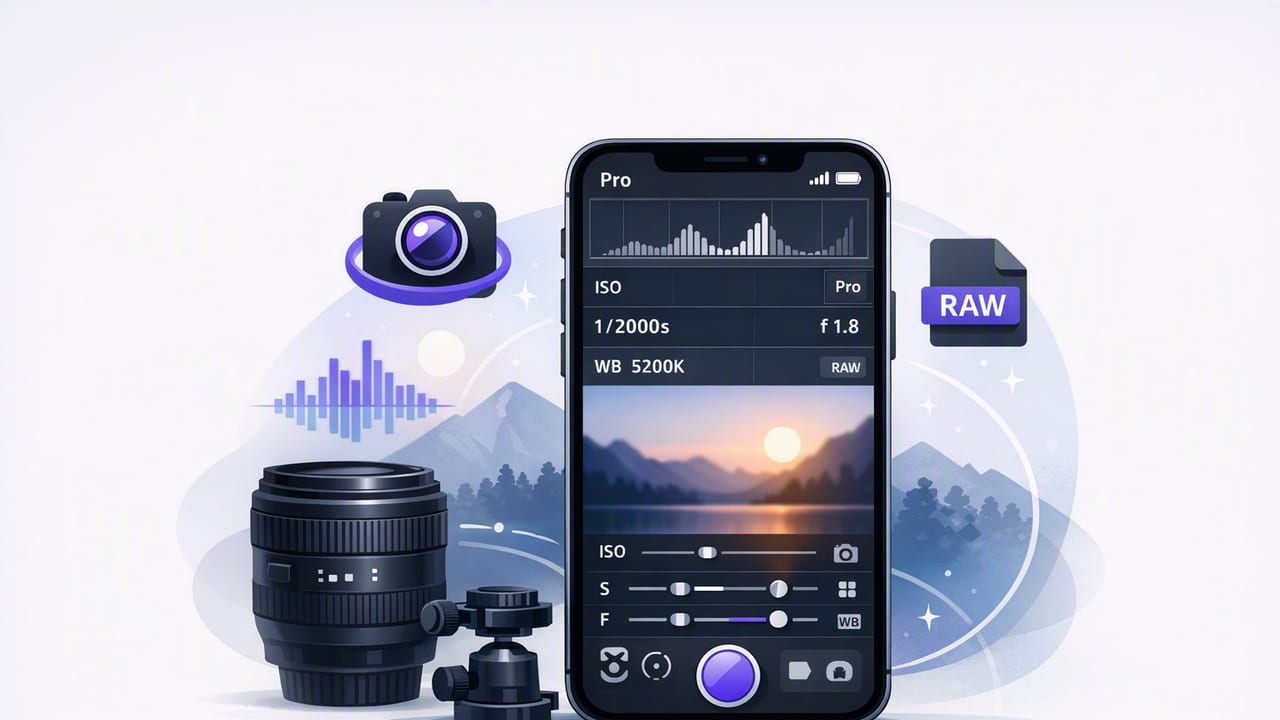
A pro camera app iPhone setup is less about “cinematic tricks” and more about consistency: stable exposure, clean audio, sharp focus, and a repeatable script-to-video workflow. If you record talking-head content, tutorials, product demos, or client updates, the fastest path to professional results is a workflow that combines three pieces: pro recording controls, a teleprompter-style script reader, and subtitles that don’t slow you down.
This guide breaks down a practical creator workflow you can run on an iPhone—covering camera settings, audio, stabilization, script pacing, offline captions, and export choices for TikTok, Instagram, and YouTube.
What “pro” means in a pro camera app on iPhone
Different apps use the word “pro,” but for creators, a pro experience usually means you can:
- Lock exposure and focus so your video doesn’t pulse brighter/darker mid-sentence.
- Choose 4K, frame rate (24/30/60), and often codec options.
- Monitor audio, select external microphones, and avoid clipping.
- Get dependable stabilization and minimal dropped frames.
- Run a script-to-video workflow without juggling multiple devices.
In short: a pro camera app iPhone workflow helps you sound confident, look consistent, and publish faster.
Before you hit record: the 60-second setup checklist
Use this checklist to reduce “reshoot risk” (the hidden time cost of creator work).
- Lens choice: use the rear camera for maximum quality when possible; use the front camera when eye-line and convenience matter.
- Lighting: face a window or use a soft key light; avoid overhead-only lighting that creates harsh shadows.
- Background: simplify clutter; add depth by stepping 1–2 meters away from the wall.
- Audio: prefer a lav or directional mic; do a 10-second test recording.
- Stability: tripod first; stabilization second.
- Script: format for speech (short lines, contractions, stage directions in brackets).
- Storage: 4K files are large—confirm you have room.
Dialing in camera settings (4K without the guesswork)
Most creators don’t need complicated cinematography; they need repeatable settings. The combinations below are reliable starting points for a pro camera app iPhone setup.
Resolution and frame rate
- 4K at 30fps: best general default for talking-head and tutorials (detail + manageable file size).
- 4K at 60fps: useful if you move a lot, demonstrate products by hand, or want smoother motion; expect larger files and more light requirements.
- 1080p at 30fps: still fine for fast turnaround or limited storage; can be more forgiving in low light.
Exposure: lock it early
Auto exposure can “hunt” when you gesture or when the screen brightness changes. Ideally, you:
- Compose the shot and set lighting.
- Tap to focus on your face.
- Lock exposure and focus (AE/AF lock) once your face is properly lit.
If your app allows manual controls, use a simple rule: keep ISO as low as practical (cleaner image) and increase light rather than cranking ISO. If you can set shutter speed, use this baseline:
- 30fps → shutter around 1/60
- 60fps → shutter around 1/120
Creator tip: If you choose 60fps, you usually need more light to avoid a noisy image, because the faster shutter lets in less light.
White balance: stop color shifting
If your app supports white balance lock, use it. Color shifts are a subtle “amateur tell,” especially in indoor lighting. Set your light source (window, softbox, room lights), then lock white balance so skin tones don’t drift as you move.
Audio: the real “pro upgrade”
Viewers tolerate imperfect video, but they bounce on bad audio. Here’s a simple hierarchy:
- Best: quality lav mic close to your mouth (wired or wireless).
- Very good: compact shotgun-style mic on/near the phone.
- Okay: phone mic in a quiet room, close to you.
Regardless of mic choice:
- Record in a soft room (curtains, carpet, couch) to reduce echo.
- Aim for strong levels without clipping; leave a little headroom.
- If your workflow includes audio cleanup, use it lightly—over-processing can sound “watery.”
Teleprompter pacing: natural delivery without losing eye contact
A scripted video should still sound like you. The trick is making the script speakable and matching scroll behavior to your cadence. A teleprompter-style workflow is ideal when you need accuracy (product names, legal language, stats) but want confident delivery.
Script formatting that reads like speech
- Write shorter sentences than you would for a blog post.
- Use contractions (“you’ll,” “we’re”) to sound natural.
- Insert breathing cues: [pause], [smile], [emphasize].
- Put numbers in spoken form: “twenty-five percent,” not “25%.”
Choose the right scrolling mode
Most creators rotate between three teleprompter approaches:
| Mode | Best for | Trade-offs |
|---|---|---|
| Fixed-speed scrolling | Consistent reads, rehearsed scripts | If you slow down, you may lose your place |
| Timed scrolling | Scripts matched to a target length (e.g., 60 seconds) | Requires tuning timing to your delivery |
| Voice-follow tracking | Conversational pacing, fewer retakes | Needs clear audio; may require a quiet space |
For most talking-head creators, voice-follow is the fastest route to a natural cadence. Fixed-speed is great once you’ve rehearsed and want maximum control.
Script-to-video workflow: record clean takes (and fewer of them)
Use this simple sequence to reduce edits and reshoots.
- Warm read: do one non-recorded run to find awkward phrases.
- Mark emphasis: bold or italicize key words; add [beat] pauses.
- Record in sections: break into 10–30 second blocks; restart only the block, not the entire video.
- Clap or tap cue: make an audible spike when you restart a line (helps with trimming).
- Keep eye-line steady: keep the script near the lens so your gaze doesn’t drift.
Subtitles: faster retention, better accessibility (and better reuse)
Subtitles aren’t just for accessibility; they improve watch time in silent autoplay feeds and make repurposing easier. For a creator workflow, the goal is accurate captions with minimal friction.
On-device subtitles vs cloud transcription
- On-device: works offline, keeps scripts and footage private, avoids upload delays.
- Cloud: can be strong for long-form but requires internet and sends content to a server.
If you handle client work, internal updates, or sensitive scripts, on-device privacy can be a deciding factor. Look for apps that generate subtitles locally and support multiple languages for global audiences.
Caption styling that looks professional
- Use 2 lines max; avoid covering your mouth.
- Increase font size for mobile-first platforms.
- Prefer high-contrast styling and subtle background shading.
- Keep punctuation minimal; captions should read quickly.
Export settings for TikTok, Instagram, and YouTube (without quality loss)
A strong pro camera app iPhone workflow doesn’t end at recording; exports can easily degrade quality if you choose the wrong size or bitrate.
Quick platform presets
- TikTok / Reels / Shorts: 1080x1920 (9:16), 30fps (or 60fps if your source is 60), high bitrate.
- YouTube long-form: 3840x2160 (4K) or 1920x1080 (16:9), 24/30fps, high bitrate.
- Cross-posting tip: record extra headroom so you can crop 16:9 to 9:16 without losing your face.
File naming and versioning (small habit, big time savings)
Consistent naming prevents confusion when you create multiple cuts and aspect ratios. For example:
client_project-topic_A-roll_take03_4k30_master.mov
client_project-topic_9x16_captions_v02.mp4
client_project-topic_16x9_clean_v01.mp4
Troubleshooting: common issues and quick fixes
My video looks noisy or soft
- Add more light and lower ISO.
- Clean the lens (seriously—fingerprints soften images).
- Use the rear camera when possible.
Exposure keeps changing mid-recording
- Lock AE/AF once you’re framed.
- Avoid moving closer/farther from the light source.
I sound echoey
- Move to a smaller, softer room.
- Bring the mic closer (lav beats “louder phone mic” every time).
I’m reading, but it still feels robotic
- Shorten sentences and add pauses.
- Switch from fixed-speed to voice-follow for more natural pacing.
- Record in shorter blocks so you can keep energy high.
How to choose the right pro camera app iPhone workflow for you
When comparing options, prioritize the features that remove friction from your specific workflow:
- If you publish daily: fast setup, reliable auto + easy locks, quick export presets.
- If you do client work: consistent manual controls, audio monitoring, watermark options, and privacy-first handling.
- If you teach or demo: crisp 4K, stabilization, readable captions, and easy resizing for multiple platforms.
- If you record scripted content: teleprompter modes (voice-follow, timed, fixed-speed) and clean script formatting.
The best workflow is the one you can repeat with minimal mental load—because consistency is what compounds over months of publishing.
Note: If you want a single iPhone app that combines teleprompter-style scripted recording, pro capture up to 4K/60, on-device subtitles, and privacy-first design (no sign-up, content stays on your phone), you can explore CueCam as one option.
