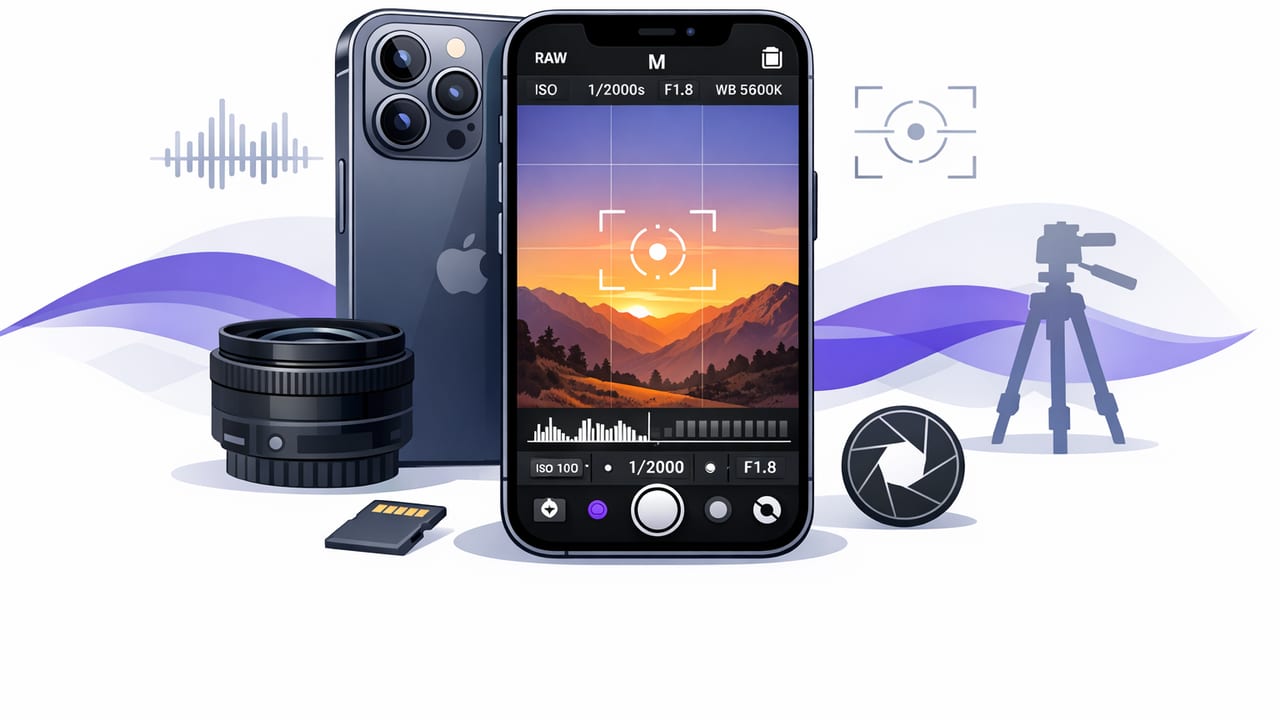
If you’re using a pro camera app iPhone setup to record scripted content, “good enough” settings can quietly cost you time: soft focus, flickering lights, uneven audio, and footage that’s painful to edit into short-form clips. The goal isn’t just high resolution—it’s repeatable quality across takes, locations, and platforms while keeping your delivery natural and your workflow fast.
This guide breaks down an efficient, creator-friendly workflow: configure camera settings once, record with consistent eye line, capture clean audio, and export formats that are easy to subtitle and publish on TikTok, Instagram, and YouTube.
Why creators use a pro camera app on iPhone (instead of the default camera)
The built-in camera is convenient, but scripted creators typically need more control than “tap to focus and hope.” A pro camera app iPhone workflow is about locking variables so each take matches the last:
- Manual exposure and focus to prevent brightness “pumping” mid-sentence.
- Frame rate control for smooth motion or a cinematic look.
- Higher bitrate / pro codecs for editing headroom.
- Audio input selection for external mics.
- Consistent color so your skin tones don’t shift between clips.
Start with the outcome: define your publishing targets
Before you touch settings, decide where the clip is going. Your targets determine frame rate, resolution, and aspect ratio.
- Short-form (TikTok/Reels/Shorts): 9:16 vertical, usually 1080p or 4K capture with vertical-safe framing.
- YouTube talking head: 16:9 horizontal, 4K capture if you plan to crop/punch-in during edits.
- Repurposing one shoot to many platforms: capture higher resolution (often 4K) and compose with safe margins.
The core camera settings that make scripted footage look “pro”
1) Resolution: when 4K is worth it
Recording in 4K is most valuable when you’ll crop, stabilize, or reframe in post. If your phone storage is tight and you publish only to mobile feeds, 1080p can be fine—but 4K gives you flexibility.
- Choose 4K if you plan to crop to vertical from horizontal, punch-in for emphasis, or stabilize heavily.
- Choose 1080p if you need long recording times and minimal editing.
2) Frame rate: 24 vs 30 vs 60 (for creators)
Pick one frame rate and stick to it for consistency across a series.
- 24 fps: “cinematic” feel; can show more motion blur—great for controlled setups.
- 30 fps: standard, crisp talking-head motion; easiest for social content.
- 60 fps: extra smooth; helpful for handheld or fast movement, but needs more light and creates larger files.
3) Shutter speed (the setting that stops flicker)
Flicker often comes from mismatched shutter speed and artificial lighting frequency. A simple rule: set shutter speed to roughly double your frame rate.
- 24 fps → ~1/48 (often 1/50)
- 30 fps → ~1/60
- 60 fps → ~1/120
If you still see flicker under LEDs, try small adjustments (e.g., 1/50 or 1/100) until it disappears.
4) ISO: keep it low to avoid noisy skin tones
ISO is digital amplification. Higher ISO brightens the image but adds grain and can smear detail—especially on faces. For talking-head video, prioritize lighting so you can keep ISO low.
- Best practice: lock ISO as low as possible after setting shutter speed.
- Fix brightness with light first, ISO second.
5) White balance: lock it to stop color shifting
Auto white balance is notorious for drifting during a take (especially with mixed lighting). Lock white balance to a temperature that matches your main light source (daylight, tungsten, or your LED panel’s setting).
6) Focus: lock it and control depth
In scripted videos, focus-hunting is distracting. Set focus on your eyes and lock it. If you move a lot, step back slightly and use more light to maintain sharpness.
Creator rule: If your camera settings can change mid-take, they eventually will. Lock what you can.
Recommended settings table (copy this as your baseline)
| Scenario | Resolution | FPS | Shutter | Notes |
|---|---|---|---|---|
| Indoor talking head (controlled lights) | 4K | 30 | 1/60 | Lock WB; keep ISO low; easiest for consistent social posts. |
| Handheld / walk-and-talk | 4K | 60 | 1/120 | Needs more light; stabilization benefits from higher shutter. |
| Cinematic sit-down | 4K | 24 | 1/50 | Great with soft key light; keep movement minimal for clean motion. |
| Fast turnaround, long record time | 1080p | 30 | 1/60 | Smaller files; still looks strong with good light and audio. |
Audio: the fastest way to “upgrade” perceived quality
Viewers forgive imperfect video sooner than muddy audio. For a scripted workflow, aim for consistent mic placement and levels.
Best-practice audio checklist
- Use an external mic when possible (lav or small shotgun).
- Record in a quiet space and reduce reflections (curtains, rug, soft furnishings).
- Set levels to avoid clipping; peaks should not slam the meter.
- Keep mic distance consistent across takes to match tone.
Teleprompter + pro camera: how to keep eye contact without looking “read”
Scripted video works best when the delivery feels spoken, not recited. The most common failure mode is eyes drifting away from the lens, or a rhythm that sounds like reading. Build your setup around a natural eye line:
- Place your script close to the lens so your gaze stays near camera.
- Write for speech: shorter sentences, contractions, and punchy beats.
- Add breathing room: insert pauses where you want emphasis.
- Use pace control: timed scroll for rehearsed scripts, voice-following for conversational delivery.
Script formatting that reads naturally
Formatting matters more than people think. Here’s a simple template you can paste into notes or your teleprompter tool:
[HOOK]
One sentence that earns attention.

[VALUE]
• Point 1 (short)
• Point 2 (short)
• Point 3 (short)

[PROOF]
Quick example or result.

[CTA]
Tell them exactly what to do next.
Stabilization: when to rely on it (and when not to)
Stabilization is great—until it warps edges, crops too much, or adds a “floaty” look. Use stabilization strategically:
- Talking head on tripod: stabilization off or minimal for the cleanest frame.
- Handheld: stabilization on, and consider 60 fps if lighting allows.
- Post-stabilization: capture 4K to preserve detail after cropping.
Subtitles: design your footage so captions are easy
Subtitles increase retention and accessibility, and they’re especially important for mobile viewers watching without sound. To make captioning painless:
- Keep vocals clean (noise and reverb reduce caption accuracy).
- Leave lower-third space in your framing so text doesn’t cover your mouth.
- Avoid overlapping speech if you’re recording with guests.
- Use consistent pacing so captions don’t feel rushed.
Exports for TikTok, Instagram, and YouTube (without re-editing everything)
A solid pro camera app iPhone workflow ends with smart exports. If you want one recording session to feed multiple platforms, capture “master” footage once, then create derivatives:
- Record a master (often 4K) with extra headroom around the subject.
- Edit one clean master timeline (trim, audio cleanup, color).
- Duplicate and resize for 9:16, 1:1, and 16:9 as needed.
- Burn in or attach subtitles depending on platform and style.
Quick platform sizing reference
- TikTok / Reels / Shorts: 1080×1920 (9:16)
- Instagram feed square (optional): 1080×1080 (1:1)
- YouTube standard: 3840×2160 (4K) or 1920×1080 (1080p) in 16:9
On-device privacy: a workflow advantage, not just a feature
Creators often handle unreleased scripts, client work, or sensitive topics. Keeping your scripts, recordings, and subtitles on-device reduces risk, eliminates upload time, and can speed up iteration when you’re batching content. It also means you can work offline—useful when traveling or filming in locations with spotty service.
A practical “one-take” checklist (save this)
- Lighting: key light placed, exposure stable, no flicker
- Camera: 4K or 1080p chosen, FPS set, shutter set, ISO + WB locked
- Audio: external mic connected, levels checked, room quiet
- Framing: platform-safe composition, space for captions
- Script: formatted for speech, pauses added, pace tested
- Delivery: eyes near lens, smile with your voice, breathe
Putting it together: the simplest pro workflow that scales
When your camera settings are locked, audio is predictable, and your script is formatted for speech, recording becomes repeatable. That’s what turns a pro camera app iPhone setup into a real system: fewer retakes, faster edits, and cleaner repurposing into multiple formats—with subtitles that don’t become a separate project.
If you want a lightweight script-to-video workflow on iPhone that combines teleprompter-style reading, pro recording, on-device subtitles, and privacy-first handling, apps like CueCam are built around that all-in-one approach.
