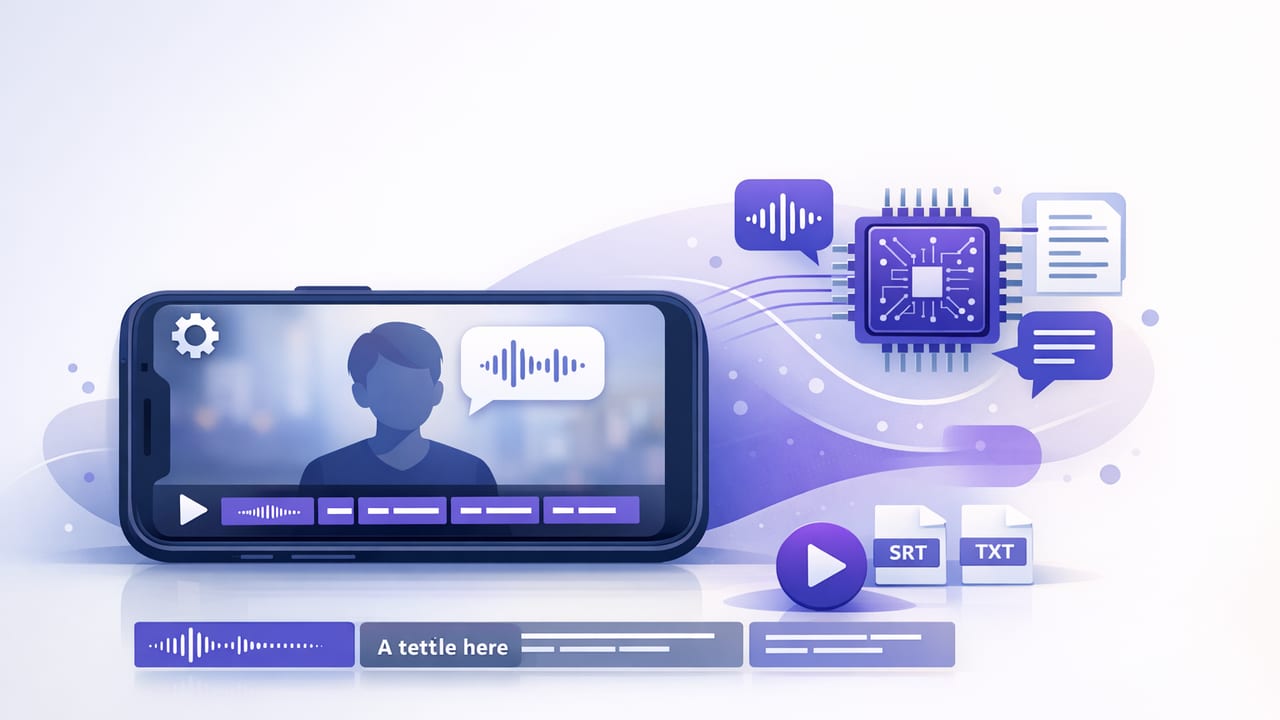
Captions aren’t optional anymore. They boost watch time, improve accessibility, help viewers understand your message with sound off, and can even increase retention on short-form platforms. But the way you generate captions matters just as much as the captions themselves.
Many creators still rely on cloud-based subtitle tools that upload audio/video to a server, wait for processing, and then download results. That works—until it doesn’t: slow connections, privacy concerns, recurring fees, and inconsistent results when you’re moving fast. That’s where on device subtitles change the game, especially for iPhone creators who want a tighter script-to-video workflow.
This guide explains what on-device subtitle generation is, why it’s often better for creators, and how to build a reliable workflow that pairs recording, scripting, and captioning—without turning your editing process into a second job.
What “on-device subtitles” means (and why it’s different)
On device subtitles are captions generated locally on your phone—your iPhone performs the speech recognition and creates timed text without sending your media to the internet. In practice, this typically means:
- No upload step (faster start-to-finish for many videos)
- Better privacy (your audio/video can stay on your device)
- More reliability (works while traveling or when service is unstable)
- More predictable workflow (especially for batches of videos)
Cloud captioning can still be useful (e.g., team workflows, shared review links), but for many solo creators, local processing fits the day-to-day reality: you’re filming in your kitchen, car, office, or on-location—and you want captions done now, not after a round trip to a server.
On-device vs cloud subtitles: quick comparison
| Factor | On-device subtitles (iPhone) | Cloud subtitles |
|---|---|---|
| Privacy | Media can stay local; fewer data-sharing risks | Requires upload; policies vary by provider |
| Speed | No upload/download; processing depends on device | Depends on internet + server queue |
| Reliability | Works offline; consistent in low-signal areas | Can fail with poor connection or outages |
| Cost model | Often app-based; fewer per-minute fees | Commonly per-minute or subscription-based |
| Collaboration | Best for solo creators; sharing is manual | Often better for team review and shared assets |
Why creators are moving subtitle generation onto the phone
1) Privacy: your raw footage doesn’t need to leave your iPhone
If your videos include client work, internal demos, medical or financial topics, minors, or just personal home footage, uploading raw media can be a non-starter. On-device captioning reduces exposure because the content doesn’t have to be transmitted and stored elsewhere.
When captions are generated locally, your workflow can be both faster and more privacy-respecting—two things creators usually have to trade off.
2) Faster publishing for short-form
Short-form success often comes from consistency: filming in batches, editing quickly, and posting on a schedule. A typical cloud workflow adds time in small but painful ways: export a file, upload, wait, download, re-import, then style. On-device subtitles can remove multiple steps, which matters when you’re producing 5–20 clips per week.
3) Better capture-to-caption consistency
Captions are only as good as the audio. When you record with consistent mic placement and stable levels, on-device recognition often becomes more accurate and easier to correct. Many iPhone creator workflows already include external mics, stabilization, and controlled environments—perfect conditions for reliable local captioning.
A practical iPhone workflow: script → record → captions → publish
The most efficient captioning workflows start before you ever hit record. Here’s a creator-friendly approach that reduces mistakes and makes subtitle generation (on-device or otherwise) much easier.
Step 1: Write for captions (not just for speaking)
Captions are easier to read when your script is structured. Aim for:
- Short sentences (one idea per line)
- Clean proper nouns (brand names, product names, locations)
- Intentional pauses (natural breakpoints for caption chunks)
- Fewer filler words (reduces messy caption output)
Tip: If you use an iPhone teleprompter, format your script with line breaks where you’d want captions to “breathe.” That makes both delivery and readability stronger.
Step 2: Record clean audio (captions follow audio quality)
On-device subtitle accuracy rises dramatically with good audio. Prioritize:
- External mic (lav or shotgun via compatible adapter/interface)
- Consistent distance (avoid turning away mid-sentence)
- Quiet room (reduce HVAC, street noise, and reverb)
- Stable levels (avoid clipping; speak at a steady volume)
If you’re recording in 4K, remember that resolution doesn’t improve transcription—but it can improve perceived quality, which increases the odds viewers stay long enough to read the captions you worked for.
Step 3: Generate on-device subtitles and review strategically
Once subtitles are generated locally, don’t “proofread everything” the slow way. Instead, review in passes:
- Pass A: proper nouns (names, acronyms, places)
- Pass B: numbers (prices, dates, measurements)
- Pass C: meaning (fix only what changes interpretation)
Most creator videos don’t need literary perfection. They need clarity and credibility.
Step 4: Style captions for the platform (and for retention)
Subtitles aren’t just text—they’re a visual element. Consider:
- Safe margins for UI overlays (especially on TikTok/Reels)
- Readable size on small screens
- High contrast (outline/shadow if needed)
- Highlighting keywords sparingly (don’t overdo it)
Also decide whether you want burned-in captions (always visible) or a separate caption file (more flexible, but platform-dependent). Many short-form creators prefer burned-in captions for consistency across reposts.
Common caption issues (and how to fix them)
Problem: captions drift out of sync
Cause: variable frame rate recordings, edits that shift audio timing, or pauses trimmed after captioning.
Fix: Generate subtitles after your main trims. If your editor supports it, prefer constant frame rate exports for the final timeline.
Problem: wrong words even though you spoke clearly
Cause: uncommon product names, accents, or homophones (“their/there/they’re”).
Fix: Manually correct key terms and save a custom spelling list if your tool supports it. If not, keep a notes template with preferred spellings to check each time.
Problem: captions are too dense to read
Cause: long sentences and no pauses.
Fix: Break lines earlier, reduce words per caption, and aim for conversational pacing. If you read from a script, insert deliberate breath points.
Export formats: what to choose and when
Subtitle tools typically output either embedded captions in the video or a separate file. Here’s a simple decision guide:
- Burned-in captions: best for TikTok, Reels, Shorts reposting, and consistent appearance everywhere.
- SRT/VTT files: best for YouTube long-form, accessibility workflows, and later edits.
Here’s a minimal example of an .srt file you might export (or generate) and attach to a platform that supports it:
1
00:00:00,000 --> 00:00:02,400
Today I’ll show you a faster caption workflow on iPhone.

2
00:00:02,400 --> 00:00:05,800
The key is generating subtitles on-device for privacy and speed.
If you publish across multiple platforms, burned-in captions keep styling consistent, while SRT/VTT gives you flexibility for platforms that allow viewers to toggle captions.
SEO and discoverability: do subtitles help?
Subtitles primarily help humans, but they can indirectly help discovery:
- Higher retention from sound-off viewers can improve performance signals.
- Clearer messaging makes your hook land faster, reducing swipe-away behavior.
- Repurposing becomes easier—turn one script into multiple clips without rewriting.
For YouTube specifically, accurate captions can improve accessibility and viewer satisfaction, and they may support understanding of your content. The practical takeaway: captions are a compounding advantage, especially when your workflow makes them easy.
Checklist: a repeatable “captions in minutes” setup
- Script: short sentences, correct names, planned pauses
- Recording: external mic, stable levels, minimal noise
- Editing: trim first, then caption
- Subtitles: generate on device, review proper nouns + numbers
- Export: platform-optimized aspect ratio (9:16, 1:1, 16:9), burned-in or SRT
Choosing an on-device subtitle tool: what to look for
Not every app that claims “offline” is truly on-device end-to-end. When evaluating options, check for:
- Offline generation (no internet required to create captions)
- Language support (especially if you publish multilingual content)
- Editing controls (quick fixes, split/merge captions, timing adjustments)
- Export options (burned-in, SRT/VTT, platform presets)
- Privacy posture (clear statement about where media is processed and stored)
If your workflow also involves reading scripts while recording, it can be helpful when a teleprompter-style recording setup and on-device captioning live in the same pipeline—less app-hopping, fewer exports, fewer chances to introduce sync issues.
Wrap-up: build a workflow that protects your time (and your footage)
On-device subtitle generation is less about chasing a trend and more about removing friction: fewer uploads, faster iterations, more consistent output, and a privacy-first approach that fits modern creator workflows. Pair clean audio with a well-structured script, and captions stop being a chore—they become an automatic step on the path from idea to publish.
If you’re looking for an iPhone workflow that combines script reading, recording, and offline captioning in a privacy-friendly way, apps like CueCam are built around that script-to-video mindset.
