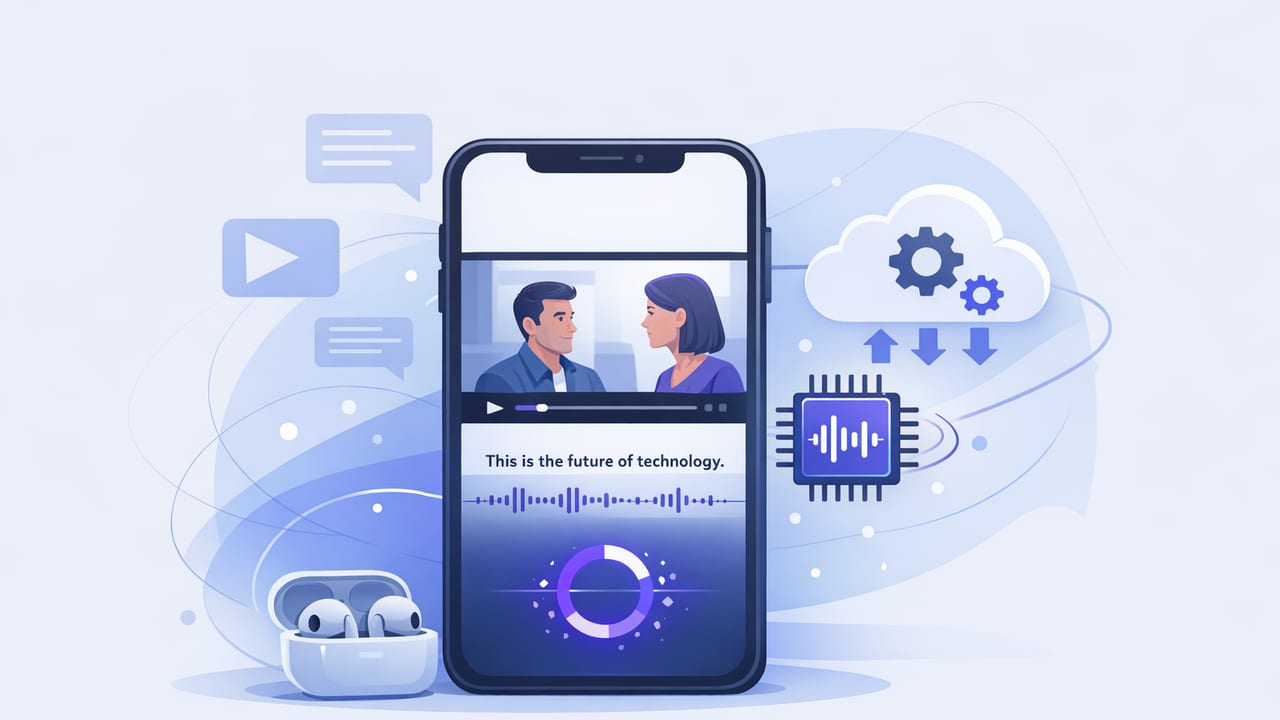
Subtitles aren’t just an accessibility add-on anymore—they’re a performance multiplier. Captions help viewers follow along in noisy environments, improve watch time, and make your videos understandable when audio is muted. For creators, educators, and small teams working on an iPhone, the best workflow is the one that’s fast, repeatable, and secure.
That’s where on device subtitles stand out. Instead of sending your audio to a server, on-device captioning generates subtitles directly on your iPhone. The result: better privacy, fewer upload delays, and a caption workflow that works anywhere—on a plane, on set, or in a place with unreliable Wi‑Fi.
What “on device subtitles” actually means
“On-device” means the speech-to-text processing happens locally on your iPhone. Your video audio is analyzed by models running on the phone, producing text plus timestamps (or caption segments) without needing a cloud API call.
In practical terms, on-device captioning typically offers:
- Offline generation (no internet required for transcription)
- Lower privacy risk (audio doesn’t need to leave your phone)
- Faster iteration (no waiting for uploads, queue times, or server processing)
- Predictable cost (often no per-minute transcription fees)
On-device vs cloud subtitles: the trade-offs
Cloud transcription can be powerful, but it changes your workflow: you upload audio, wait for processing, then download or sync results. On-device captioning keeps the loop tight—record, generate, adjust, export.
| Factor | On-device subtitles | Cloud subtitles |
|---|---|---|
| Privacy | Audio stays on phone (best for sensitive scripts) | Audio is uploaded to a third party |
| Speed | Immediate; no upload time | Depends on connection + queue |
| Reliability | Works offline | Requires stable internet |
| Cost model | Often included with the app/device | Can be pay-per-minute or subscription |
| Accuracy ceiling | High and improving; depends on device + app | Can be very high; depends on provider |
Bottom line: if your workflow values speed, privacy, and offline editing, on-device subtitles are often the better default. Cloud can still win in specialized enterprise scenarios (custom vocabularies, centralized collaboration, etc.).
A practical iPhone workflow: script → record → on-device subtitles → export
If you already plan your content with a script (or even bullet points), you can make your subtitle process faster and more accurate. Here’s a streamlined workflow that works well for talking-head videos, tutorials, and product demos.
1) Write for captions, not just for speaking
Subtitles are read, not heard—so clarity beats complexity. When you draft your script, optimize it for both delivery and scanning.
- Keep sentences short (one idea per line).
- Say names clearly (brand names, technical terms, acronyms).
- Avoid filler phrases that clutter captions.
- Include intended punctuation in your script; it often guides better segmentation later.
Caption-friendly rule: If a viewer only reads the subtitles, they should still understand the message without hearing your tone.
2) Record with clean audio (caption accuracy starts here)
Even the best transcription model struggles with noisy audio. You don’t need a studio—just a few repeatable habits:
- Get close to the mic (external mic or wired earbuds work well).
- Reduce reverb (record near soft furnishings; avoid empty rooms).
- Watch levels (avoid clipping; consistent volume improves recognition).
- Speak slightly slower than normal if you tend to rush.
If you use an iPhone teleprompter, you also reduce re-takes: you’ll deliver cleaner lines with fewer pauses and fewer “uh/um” moments—both of which make the resulting subtitles easier to edit.
3) Generate on-device subtitles and review the first pass
After recording, generate your on device subtitles. The first pass should get you close, but plan on a quick editorial sweep. Aim to correct:
- Proper nouns (people, brands, locations)
- Numbers ("four K" vs "4K", dates, prices)
- Homophones (“their/there”, “to/too”)
- Technical terms (codec names, feature labels)
4) Edit captions for readability (not verbatim perfection)
Great captions are edited captions. Viewers need time to read, and many platforms display subtitles in limited space. Use these guidelines:
- Favor meaning over filler. Remove repeated words and stutters.
- Keep lines balanced. Avoid one-word lines unless it’s a punchy emphasis.
- Break on natural pauses. Split captions at clause boundaries.
- Use consistent styling. Decide whether you’ll use “YouTube” or “YouTube™”, “4K” or “4k”, and stick to it.
5) Burn-in captions vs sidecar files (SRT/VTT)
There are two common ways to deliver subtitles:
- Burned-in captions (text is part of the video). Best for short-form platforms and fast reposting.
- Sidecar captions like SRT or WebVTT. Best for platforms that support toggling subtitles and for accessibility workflows.
If your distribution includes multiple platforms, it’s often worth exporting both: a burned-in version for social and an SRT for YouTube or archives.
Caption accuracy tips that make a real difference
On-device models are strong, but you can dramatically improve results with a few small tweaks.
Use a “caption dictionary” for recurring terms
Keep a note with your frequently used words: product names, acronyms, industry jargon, and preferred spellings. After your first transcription, search/replace those terms consistently.
Control your environment more than your equipment
A quiet room and consistent mic distance beat expensive gear used inconsistently. If you can only change one thing, reduce background noise first (fans, traffic, keyboard clicks).
Speak punctuation into your delivery (subtly)
You don’t need to say “comma,” but you can pause briefly where punctuation would go. Natural pauses help subtitle segmentation and reduce run-on captions.
Keep subtitle timing tight to your edits
If you trim your video after generating captions, make sure captions reflow with the new timing. Otherwise you’ll get drift (subtitles lagging or leading), which looks sloppy even if the text is correct.
Multilingual and offline: why on-device matters for travel and field shoots
If you create on the go—events, conferences, travel vlogs, behind-the-scenes shoots—offline generation is a major advantage. With on-device captioning, you can:
- Generate captions in the field without hotspotting.
- Draft translations faster (starting from a clean source transcript).
- Protect sensitive conversations or client details by keeping files local.
Many on-device subtitle workflows support dozens of languages. When switching languages, double-check formatting conventions (quotation marks, decimal separators, and capitalization rules) to keep captions polished.
Formatting captions for TikTok, Instagram, and YouTube
Each platform has different viewing behavior. Even if you export the same video, you’ll get better results by adapting subtitles to the context.
| Platform | Best practice | Subtitle approach |
|---|---|---|
| TikTok / Reels | Fast hook, large readable text | Burn-in captions; prioritize short phrases |
| YouTube (long-form) | Accessibility + search + binge viewing | Upload SRT/VTT; keep full meaning and punctuation |
| YouTube Shorts | Mobile-first, quick scanning | Burn-in or platform captions; keep lines brief |
Safe styling defaults: high contrast, avoid placing captions over UI elements (bottom buttons), and keep text within a mobile “safe zone” so nothing gets cropped.
Troubleshooting common on-device subtitle issues
Problem: Names and acronyms keep coming out wrong
Fix: Add them to your script, speak them slowly once, and then do a search/replace pass. If your tool supports it, create a reusable glossary.
Problem: Captions are accurate but hard to read
Fix: Shorten lines, add line breaks, and remove filler words. Remember: captions are a reading experience.
Problem: Timing drift after editing
Fix: Generate captions after the final cut, or ensure your caption layer updates with trims. If you export SRT, regenerate timestamps from the edited timeline.
Problem: Background noise causes weird words
Fix: Re-record a clean voiceover, or apply noise reduction/“clean audio” before generating subtitles. Cleaner input equals cleaner output.
Example: What an SRT subtitle file looks like
If you’ve never seen a subtitle file, here’s a small example. SRT is simple and widely supported:
1
00:00:00,000 --> 00:00:02,200
Today I’m showing you a faster iPhone filming workflow.

2
00:00:02,200 --> 00:00:04,800
We’ll record in 4K, then generate on-device subtitles.

3
00:00:04,800 --> 00:00:07,000
Finally, we’ll export versions for TikTok and YouTube.
You don’t have to hand-write SRT files, but understanding the structure helps when you’re QA-ing timing or moving captions between tools.
Quick checklist: a repeatable subtitle workflow on iPhone
- Before recording: script drafted with short sentences + correct spellings
- During recording: consistent mic distance, low noise, steady pacing
- After recording: generate on device subtitles, correct proper nouns + numbers
- Readability pass: break long lines, remove filler, keep consistent style
- Export: burn-in for short-form, SRT/VTT for YouTube/accessibility
- Final QA: watch once with audio muted to confirm clarity
Why this approach is creator-friendly (and privacy-friendly)
On-device subtitles are less about one magical feature and more about removing friction: fewer steps, fewer dependencies, and fewer reasons to postpone publishing. If you’re filming scripted content, pairing a tight script, clean audio, and offline subtitle generation can turn “I’ll post later” into a same-day workflow.
If you’re looking for a streamlined iPhone setup that combines script reading, recording, and offline caption generation in one place, an app like CueCam is designed around that privacy-first, on-device approach.
