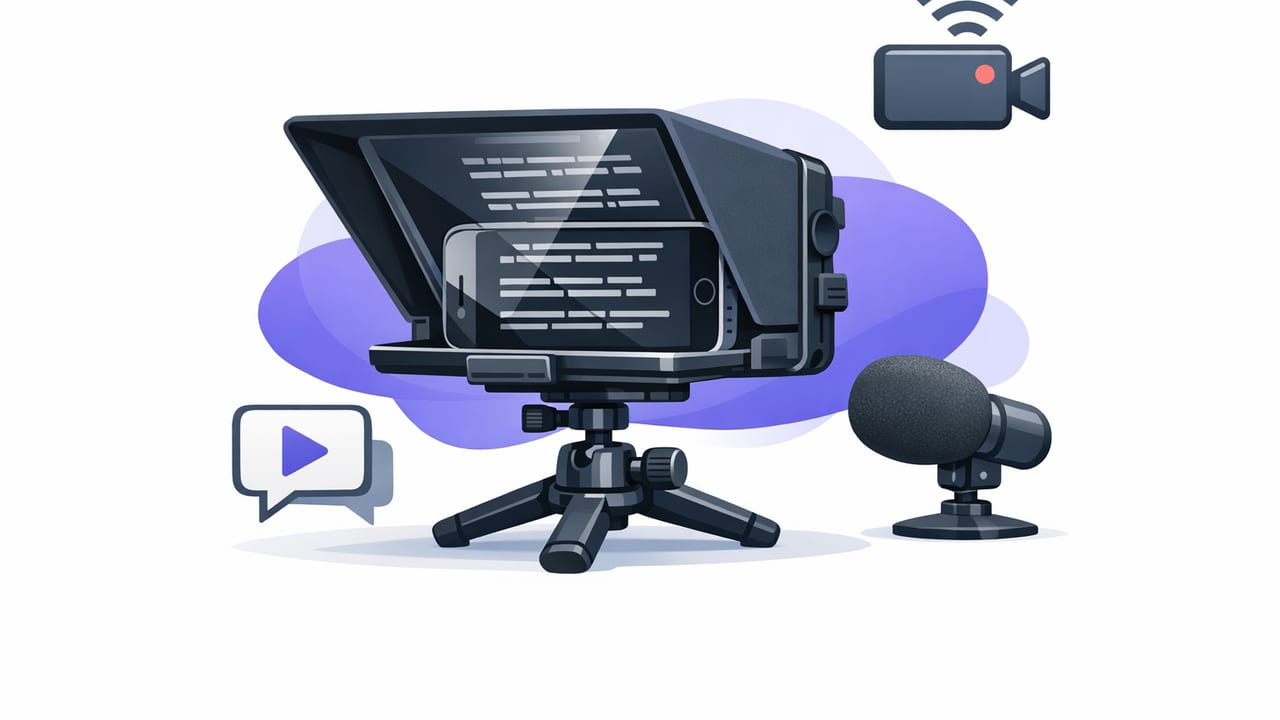
Using an iphone teleprompter is one of the simplest ways to sound polished on camera without memorizing lines or doing endless retakes. The best results come from a repeatable workflow: write for spoken delivery, set up your phone so your eyes stay near the lens, choose the right scrolling mode, record with clean audio, then add subtitles and export in the correct format.
This guide walks through a creator-friendly process you can use for tutorials, talking-head content, product demos, interviews, and client updates—entirely on iPhone.
Why an iPhone teleprompter changes on-camera performance
Most “camera nerves” are really working memory problems: you’re trying to remember what to say while also framing, monitoring audio, and staying expressive. An iphone teleprompter reduces that load so you can focus on delivery. The key benefits:
- Stronger eye contact (your gaze stays close to the lens)
- Faster recording (fewer resets when you forget a line)
- More consistent messaging (especially for brand, legal, or sales scripts)
- Better pacing (you can control scroll speed and pauses)
Step 1: Pick the right teleprompter scrolling mode
Teleprompter apps generally offer a few scrolling approaches. Choosing the right one prevents the two most common problems: reading too fast and sounding monotone.
| Mode | Best for | Pros | Watch out for |
|---|---|---|---|
| Fixed-speed scroll | Short scripts, consistent tempo | Simple, predictable | If you pause, the text keeps moving |
| Timed scroll | Reels/TikTok with a strict duration | Helps hit 30s/60s targets | Can feel rushed if you add ad-libs |
| Voice-following | Conversational delivery, natural pauses | Scroll adapts to your pace | Needs reasonably clean audio input |
Practical rule: If you want the most natural delivery, start with voice-following. If you want the most consistent timing, use timed scroll. If you’re new, fixed-speed is easiest to learn.
Step 2: Set up your phone so your eyes stay near the lens
The “teleprompter look” happens when your eyes drift left/right or down. You can minimize this even without special hardware by controlling distance, font size, and where the text sits on screen.
Simple positioning tips
- Raise the text closer to the camera lens area (many apps let you adjust the reading window).
- Increase font size so you can read with smaller eye movement.
- Move the phone slightly farther away (even 10–20 cm can reduce noticeable eye shifts).
- Use a tripod at eye level; avoid holding the phone (micro-jitters amplify “reading eyes”).
Lighting that helps you read naturally
Good lighting improves both video quality and readability. A basic setup:
- Key light in front of you (a ring light or softbox works).
- Screen brightness high enough to read, but not so bright it reflects in glasses.
- Background separation (stand 1–2 meters from the background to reduce shadows).
Step 3: Audio first (it’s the real “pro” signal)
Viewers will tolerate average video, but they click away from bad audio. Before you worry about 4K, get the sound right:
- Use an external mic when possible (wired lav or wireless system).
- Record in a quiet space (turn off fans/AC if you can).
- Keep the mic close (distance is the enemy of clarity).
- Do a 10-second test and listen with headphones before recording the full take.
Step 4: Write scripts that sound like you (not like an essay)
A teleprompter doesn’t automatically make delivery natural—the script has to be written for speaking. Here are patterns that work well for an iphone teleprompter:
Script formatting rules that reduce stumbles
- Short lines (aim for 6–10 words per line).
- One idea per sentence; avoid long clauses.
- Add breathing marks where you want pauses.
- Write contractions (you’ll, it’s, don’t) to sound conversational.
- Spell out tricky names phonetically.
A copy-and-paste teleprompter template
Use this structure for most short-form or talking-head videos:
[HOOK]
Say what this video is about in one sentence.

[CONTEXT]
Why this matters (one sentence).

[POINT 1]
Explain it simply.
(Pause)

[POINT 2]
Give an example.
(Pause)

[POINT 3]
Common mistake + fix.

[CLOSE]
Summarize in one line.
Call to action (comment / follow / link).
Step 5: Rehearse without “performing”
Rehearsal is not about acting. It’s about removing friction so you can be present on camera. Try this:
- One silent run: scroll through and mark confusing lines.
- One spoken run: aim for clarity, not energy.
- Record the real take: add energy, smiles, and emphasis.
If you keep stumbling on a sentence, it’s usually a writing problem. Simplify it instead of “trying harder.”
Step 6: Record with settings that fit the platform
Modern iPhones can produce excellent results. Choose settings based on your final destination:
- Vertical short-form (TikTok/Reels/Shorts): record vertical, prioritize good lighting and audio.
- YouTube talking head: consider 4K for sharper detail and easier cropping.
- Motion or hand-held: use stabilization if your app/camera supports it.
4K/60fps: when it helps (and when it doesn’t)
Recording in 4K/60fps can look very smooth and gives you room to crop, but it increases file size and may not be necessary for static talking-head shots. If you have good lighting and want the cleanest motion, 60fps can help; otherwise, 30fps is often fine.
Step 7: Add subtitles (fast) without breaking privacy
Subtitles are a retention tool, not just an accessibility feature. Many viewers watch on mute, and captions help them follow along. When choosing your workflow, consider on-device subtitles if privacy matters—especially for client scripts, internal updates, or unreleased product info.
Caption style tips that look professional
- Keep lines short (1–2 lines max).
- Use high contrast (white text with a subtle background or outline).
- Highlight keywords sparingly for emphasis.
- Respect safe areas so UI elements don’t cover text.
Optional: if you need an SRT file
Some workflows require exporting captions as a separate file. Here’s a tiny example of the SRT format:
1
00:00:00,000 --> 00:00:02,200
Today I’ll show you a simple iPhone teleprompter setup.

2
00:00:02,200 --> 00:00:05,000
So you can record a clean take without losing eye contact.
Step 8: Export once, publish everywhere
A big time-saver is exporting in the sizes you actually need instead of re-editing for each platform.
Common export sizes
- 9:16 for TikTok, Instagram Reels, YouTube Shorts
- 16:9 for YouTube standard videos
- 1:1 for some feed posts and ads
If your editor supports it, create one “master” and then export multiple crops. Keep subtitles inside safe margins for each aspect ratio.
Troubleshooting: common iphone teleprompter problems
“My eyes look like I’m reading”
- Make the font bigger and move the phone slightly farther away.
- Raise the text window closer to the lens area.
- Shorten lines so your eyes don’t travel as much.
“My delivery sounds flat”
- Add intent notes like (smile) or (serious) in the script.
- Underline or bold key words in your script for emphasis.
- Pause more often than you think you need; it reads as confidence.
“I keep falling behind the scroll”
- Switch from fixed-speed to voice-following or reduce scroll speed.
- Edit the script: remove filler and complex sentences.
- Do a short rehearsal and adjust before the real take.
“Captions are wrong”
- Speak a touch slower and more clearly.
- Fix names/terms with manual edits, then reuse your corrected style.
- Use on-device generation if you can’t upload sensitive audio.
A one-take checklist (copy this)
- Script formatted for speech (short lines, clear pauses).
- Phone on tripod at eye level; text window near the lens.
- External mic connected; 10-second audio test complete.
- Choose scroll mode (voice-following / timed / fixed-speed).
- Lighting set; background clean; screen brightness comfortable.
- Record the full take; don’t stop for tiny mistakes.
- Trim, add subtitles, export in 9:16 or 16:9 as needed.
Putting it all together
The most effective iphone teleprompter workflow is the one you can repeat every time: script for spoken delivery, set your phone to preserve eye contact, prioritize audio, then add subtitles and export in the right format. Once those steps are routine, your “one-take” rate climbs fast—and so does your consistency.
If you’re looking for an iPhone teleprompter that combines script reading, 4K recording, and on-device subtitles with a privacy-first approach, you can explore CueCam as one option.
