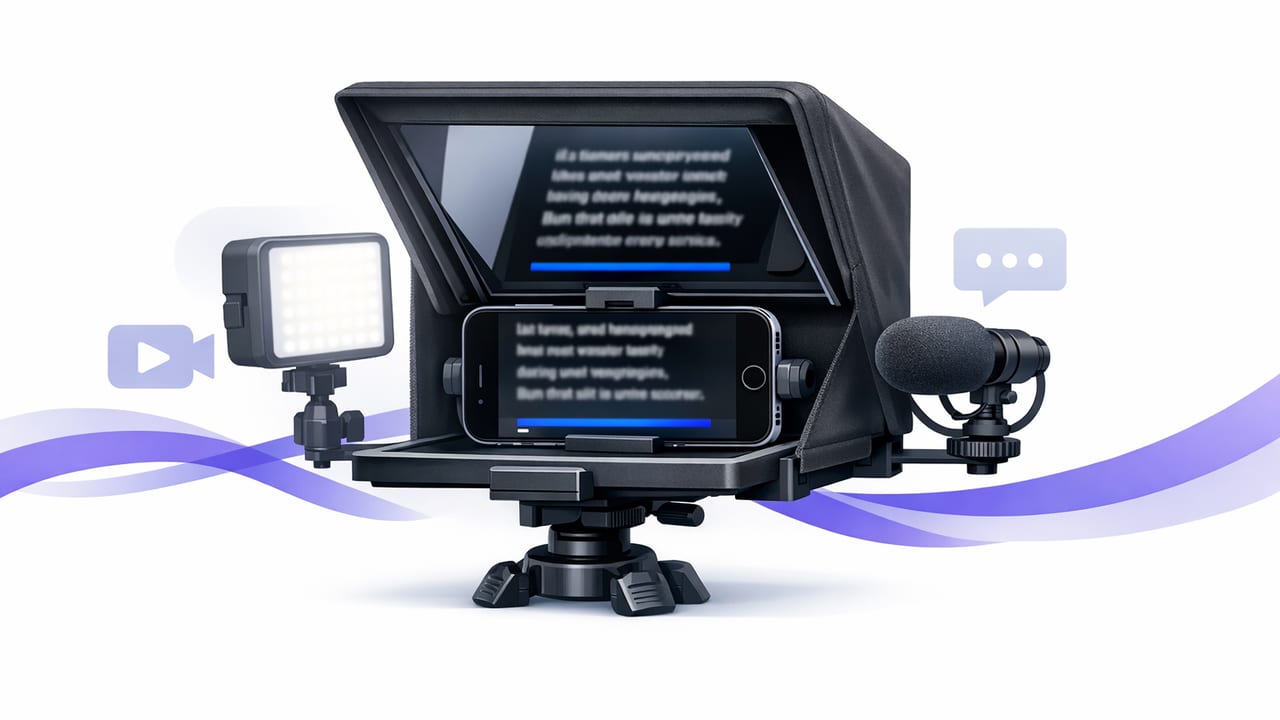
Using an iPhone teleprompter isn’t just about reading words on a screen—it’s about delivering a scripted message that still feels human, confident, and conversational. When your workflow is dialed in, you can record faster, reduce retakes, keep eye contact with the lens, and publish consistently without sacrificing quality.
This guide walks through a complete, practical workflow: preparing a script that sounds natural out loud, choosing the right prompting mode and scroll speed, recording in high quality (including 4K), capturing clean audio, generating subtitles, and exporting for the major platforms.
Why creators rely on an iPhone teleprompter
There are three common problems scripted creators face:
- Drifting eye line (glancing at notes off-camera).
- Inconsistent delivery (rushing, stalling, losing your place).
- Retake overload (time lost repeating takes because of missed lines).
An iPhone teleprompter solves those by putting the script near the camera while giving you predictable pacing. The best results come when the prompting method matches your delivery style.
Step 1: Set up your recording environment (so the teleprompter looks “invisible”)
The goal is to make your on-camera read look like spontaneous speech. Before you touch scroll speed, fix your environment:
Framing and lens choice
- Use the rear camera when possible for sharper video and better low-light quality.
- Frame at eye level: align the lens with your eyes to avoid looking down (even slightly).
- Use a natural focal length: 1x is a safe default; 2x can look more flattering if you have enough space and light.
Lighting that supports eye contact
- Place a soft key light slightly above and in front of you.
- Avoid bright windows behind you (they cause exposure shifts that look amateur).
- If you wear glasses, raise the light and angle it down to reduce screen reflections.
Audio setup (more important than 4K)
Viewers will tolerate average video before they tolerate bad audio. If your iPhone teleprompter workflow supports it, record with an external mic:
- Lavalier mic for talking-head videos (consistent, close voice pickup).
- Shotgun mic if you want a cleaner frame without a visible mic.
- Monitor levels if your setup allows it; aim to avoid clipping on loud words.
Step 2: Write a script that sounds like you (not like an article)
Most “teleprompter voice” happens in the writing stage. Scripts written like blog posts tend to be too long per sentence, too formal, and too dense for spoken delivery.
A simple structure that works for most creator videos
- Hook (1–2 lines): the promise or problem.
- Context (2–4 lines): why it matters.
- Main points (3–5 sections): one idea per beat.
- Close (1–2 lines): recap + next step.
Script formatting template (copy/paste)
Use spacing and punctuation to control breathing and emphasis. This is a practical spoken-word template you can adapt:
[HOOK]
One quick change will make your videos sound more confident.

[CONTEXT]
If you’re reading a script, the goal isn’t perfect memorization.
It’s natural delivery while you keep eye contact with the lens.

[POINT 1]
Keep sentences short.
If a line takes one breath to say, it’s probably fine.

[POINT 2]
Add pauses on purpose—
so your delivery doesn’t feel rushed.

[CLOSE]
Set your scroll speed to match your speaking pace,
then record one “warm-up” take before the real one.
Make it conversational with three edits
- Cut long sentences into two lines (your eyes track better and your tone relaxes).
- Add “spoken connectors” (e.g., “Here’s the thing,” “So,” “Now,”) to smooth transitions.
- Underline emphasis words (or use italics) so your voice has shape.
Delivery rule: If you wouldn’t say it to a friend, rewrite it until you would.
Step 3: Choose the right prompting mode (voice-following vs fixed vs timed)
Different iPhone teleprompter modes fit different content types. Choosing the right one reduces retakes dramatically.
Voice-following (word tracking)
Best for: creators who like to improvise a little, add asides, or vary pacing.
- Pros: adapts to your speed; easier to sound natural.
- Watch-outs: needs reasonably clean audio pickup; can struggle in noisy rooms.
Fixed-speed scrolling
Best for: consistent reads (news-style, tutorials, policy updates, product explainers).
- Pros: predictable; easy to repeat for multiple takes.
- Watch-outs: requires you to match the speed; can feel rushed if set too fast.
Timed scrolling
Best for: content with a strict duration (ads, reels with a beat, timed announcements).
- Pros: locks to your target runtime.
- Watch-outs: if you stumble, you may need to restart the take.
Step 4: Dial in scroll speed (the “no teleprompter voice” setting)
Scroll speed is where most people go wrong. Too fast makes your eyes dart; too slow makes you drag words unnaturally.
A quick calibration method (takes 2 minutes)
- Record a 15–20 second test reading at your most natural speaking pace.
- Adjust scroll speed until your eyes move smoothly—no jumping, no panic.
- Re-test with one “energy bump” take (as if you’re slightly more excited than normal).
Tip: design your script for eye movement
- Use short lines (your eyes track line breaks more comfortably than long lines).
- Add intentional pauses using punctuation and blank lines.
- Keep paragraphs to 1–3 sentences for on-camera delivery.
Step 5: Record in high quality without slowing down your workflow
A strong iPhone teleprompter workflow balances quality with speed. You don’t need cinematic complexity—you need consistent settings that always work.
Practical 4K settings
- 4K/30fps: a great default for talking-head content (sharp and manageable file sizes).
- 4K/60fps: useful for motion, demonstrations, or if you plan to reframe/punch in while keeping smoothness.
- Lock exposure and focus when possible to avoid brightness shifts mid-sentence.
Stabilization
If you’re filming handheld, stabilization helps. But for teleprompter-style reads, a simple tripod often looks more professional than aggressive stabilization.
Background and composition
- Keep the background simple and intentional (bookshelf, plant, clean wall, studio corner).
- Separate yourself from the background by a few feet to create depth.
- Leave headroom, but not too much—your eyes are the focal point.
Step 6: Add subtitles (without creating a privacy headache)
Subtitles increase watch time, accessibility, and comprehension—especially on short-form platforms where many viewers watch muted. For a privacy-first workflow, consider tools that can generate captions on-device so your scripts and recordings don’t need to be uploaded to a server.
Subtitle workflow that stays fast
- Generate captions after your final take (avoid captioning drafts).
- Scan for proper nouns (brand names, locations) and correct them.
- Use 1–2 lines per caption with a readable size for mobile screens.
Multilingual subtitles (when it’s worth it)
If your analytics show international viewership, adding one extra language can outperform posting more often. Start with the language that represents the largest non-native segment of your audience.
Step 7: Export for each platform (without crushing quality)
Export settings matter because platforms re-encode aggressively. A clean starting file helps your video survive compression.
| Platform | Aspect Ratio | Recommended Resolution | Notes |
|---|---|---|---|
| TikTok | 9:16 | 1080×1920 | Keep text in safe areas; subtitles shouldn’t touch the bottom UI. |
| Instagram Reels | 9:16 | 1080×1920 | Watch top/bottom overlays; avoid tiny caption fonts. |
| YouTube Shorts | 9:16 | 1080×1920 | Sharper footage holds up well; keep hooks extremely tight. |
| YouTube (standard) | 16:9 | 3840×2160 or 1920×1080 | Consider a longer intro rhythm; fewer jump cuts than Shorts. |
Troubleshooting: common iPhone teleprompter issues (and fixes)
| Problem | What it looks like | Fix |
|---|---|---|
| Eyes “ping-pong” left to right | Viewers sense you’re reading | Narrow the text column, increase line spacing, slow scroll slightly |
| Rushed delivery | Words blur together | Insert more punctuation and blank lines; reduce scroll speed 5–10% |
| Monotone tone | Sounds like reading | Mark emphasis words (italics), rewrite long sentences into two lines |
| Frequent stumbles | Many retakes | Rewrite tongue-twisters, swap jargon for simpler words, rehearse once aloud |
| Captions inaccurate | Names/brands wrong | Correct proper nouns manually; record closer to the mic; reduce background noise |
A repeatable checklist you can use every time
- Script: short lines, clear beats, emphasis marked
- Camera: eye-level framing, clean lens, exposure stable
- Audio: external mic if possible, quiet room, no clipping
- Teleprompter mode: voice-following for flexible reads, fixed for consistent pacing, timed for strict durations
- Scroll speed: calibrated with a 20-second test
- Subtitles: generate after final take, correct proper nouns
- Export: match platform aspect ratio, keep captions in safe areas
Putting it together: a simple script-to-video routine
Here’s a creator-friendly routine that stays efficient:
- Write the script in beats (hook → points → close).
- Format for spoken delivery (short lines, pauses, emphasis).
- Do one warm-up take to settle your voice and pace.
- Record 2 “real” takes back-to-back without stopping for perfection.
- Trim, add subtitles, and export per platform.
Consistency beats complexity. A stable iPhone teleprompter workflow makes it easier to publish frequently while keeping your on-camera presence confident and natural.
If you’re looking for an iPhone teleprompter app that combines voice-following prompting, 4K recording, on-device subtitles, and privacy-first design (no sign-up), CueCam is one option to explore.
