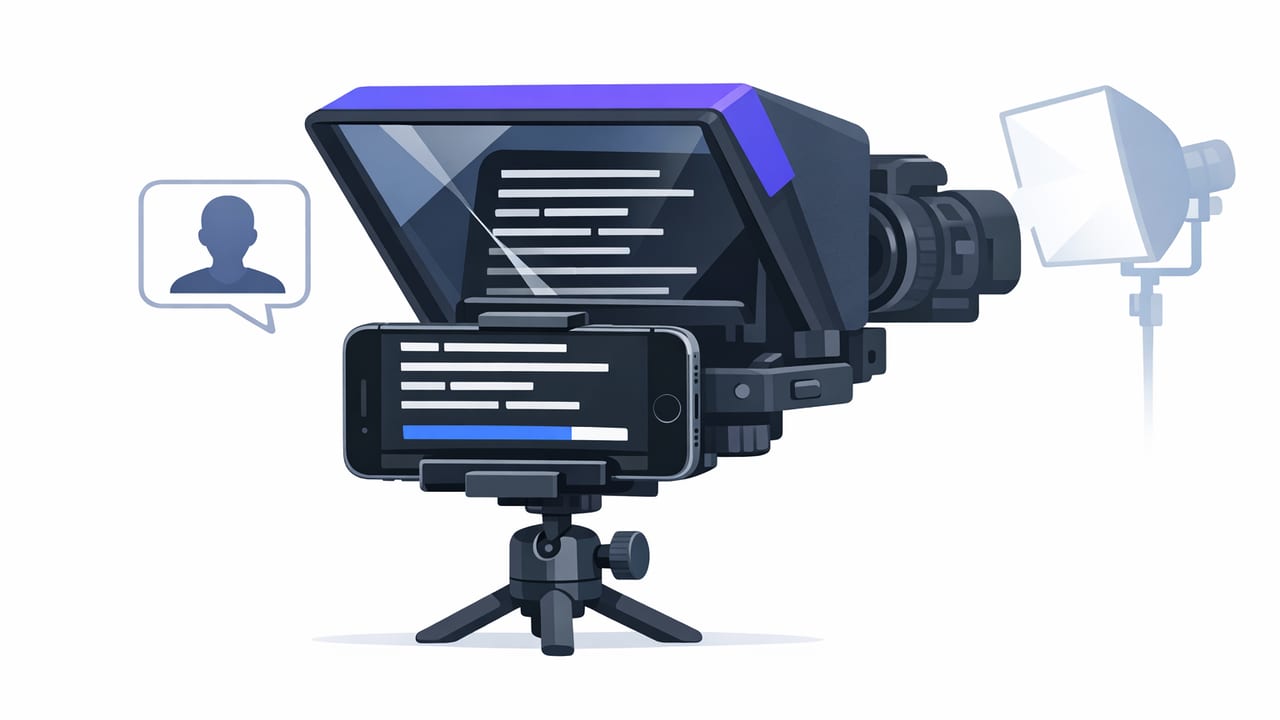
An iPhone teleprompter is one of the fastest ways to level up scripted videos without sacrificing eye contact. But results vary wildly depending on setup: where the text sits, how you pace, how you capture audio, and how you finish with subtitles for retention. This guide walks through a practical, repeatable workflow you can use for talking-head videos, tutorials, product demos, and social clips—without turning your recording space into a studio.
Why an iPhone teleprompter changes your on-camera delivery
Most creators can write better than they can improvise. A teleprompter keeps your best phrasing, structure, and calls-to-action intact, while letting you look into the lens (not down at notes). The key is to make reading feel like speaking. That comes from:
- Eye-line control: keeping your gaze close to the lens
- Pacing control: matching scroll speed to your natural cadence
- Audio clarity: making your voice easy to understand on small speakers
- Post workflow: quick trims + captions so you publish consistently
Step 1: Script for spoken delivery (not reading)
Before you touch settings, fix the script. If a script is written like an email, it will sound like an email. Aim for short lines, contractions, and clear beats.
Formatting rules that make teleprompter reading natural
- One idea per sentence. If you have two clauses, split them.
- Front-load the subject. “Here’s what you’ll learn…” beats “In this video, we will…”
- Add breath marks. Use em dashes (—) or line breaks to remind yourself to pause.
- Write like you talk. Use “you” and “I.” Keep jargon optional.
- Mark emphasis. Put KEY WORDS in caps or bold in your notes.
Here’s a simple template you can paste into your notes or teleprompter script editor:
[HOOK]
If your videos sound scripted, it’s usually not your voice—
it’s your pacing.

[VALUE]
Today I’ll show you a 3-step iPhone teleprompter setup
that keeps eye contact and makes takes faster.

[STEPS]
Step 1: Put the text close to the lens.
Step 2: Use voice-follow or timed scroll.
Step 3: Record clean audio and add captions.

[CLOSE]
Try this once, and your next video will feel more confident.
Step 2: Get lens alignment right (the #1 eye contact fix)
Eye contact is mostly geometry. If your eyes move left-right across wide lines of text, viewers notice. Your goal is to keep your gaze moving minimally while still reading comfortably.
Text placement guidelines
- Place the text as close to the camera lens as possible. The farther it is, the more your eyes “drop.”
- Use larger font + fewer words per line. Big text reduces eye travel and squinting.
- Keep the script in a narrow column. Narrow width = less side-to-side movement.
- Raise the text slightly above center. Many people look better with a subtle upward eye-line.
Rule of thumb: If you can screenshot your frame and draw a circle around your pupils, you want that circle to stay close to the lens area while you read.
Step 3: Choose a scrolling mode that fits your style
Most iPhone teleprompter apps offer multiple scroll behaviors. Pick the one that matches how you speak and how “live” your delivery needs to feel.
Mode comparison
| Mode | Best for | Pros | Watch-outs |
|---|---|---|---|
| Voice-following | Conversational delivery, dynamic pacing | Feels natural; fewer “speed panic” moments | Needs clean audio input; avoid noisy rooms |
| Fixed-speed | Highly rehearsed scripts, consistent cadence | Predictable; easy to repeat across takes | Can feel robotic if you speed-match instead of speak |
| Timed scrolling | Exact runtime targets (ads, lessons, intros) | Great for hitting 30s/60s/90s | Requires timing practice and tight editing |
If you’re not sure where to start: use voice-following for educational and personal content, and timed scrolling for scripts with strict duration constraints.
Step 4: Dial in pacing so your read sounds like you
The most common teleprompter tell is “broadcast voice” with no breathing room. Fix that by planning your pace instead of fighting it.
A practical pacing workflow
- Do a cold read to find awkward lines. If you stumble twice, rewrite.
- Mark pauses after hooks, before lists, and after key claims.
- Record a 10-second test and listen back with eyes closed. Does it sound human?
- Adjust scroll settings to match your natural speed, not your “performer speed.”
- Leave space for emphasis (a half-beat pause often sells confidence).
Quick pacing targets (as a starting point)
- Short-form hooks: 160–200 words/min (snappy, but clear)
- Tutorials: 140–170 words/min (comfortable teaching pace)
- Thought leadership: 130–160 words/min (more room to land points)
These are not rules—use them to spot extremes. If you’re at 220+ WPM, you’ll likely rush. If you’re at 110 WPM, you may sound overly deliberate unless it’s a dramatic style.
Step 5: Record cleaner audio (so your teleprompter read feels professional)
Viewers forgive imperfect video faster than muddy audio. If your script is crisp but your audio is thin, you’ll still look “amateur.”
Audio essentials for iPhone recording
- Use an external mic when possible. A small lav or compact shotgun improves clarity dramatically.
- Get the mic close. Distance is the enemy; 6–10 inches beats any software fix.
- Control the room. Soft surfaces (curtains, rugs) reduce echo more than expensive gear.
- Monitor clipping. If peaks distort, lower input gain and re-test.
If your app supports it, enable basic cleanup (noise reduction or “clean audio”) lightly. Over-processing can create weird artifacts that sound like underwater warbling.
Step 6: Use 4K wisely (quality without workflow pain)
Recording in 4K can look great, but it’s only worth it if your workflow stays fast. The real benefit of 4K for talking-head content is flexibility: you can crop for vertical clips, punch in for emphasis, or reframe without losing sharpness.
Recommended capture settings for most creators
- 4K/30fps for most speaking videos (balance of detail and manageable file sizes)
- 4K/60fps if you move a lot or plan to slow down b-roll (larger files)
- Lock exposure and focus after you frame (prevents brightness “breathing” mid-take)
- Stabilization on if handheld, off if on a stable tripod and it causes warping
Step 7: Add subtitles for retention—without breaking privacy
Subtitles aren’t just an accessibility feature; they’re a retention tool. Many viewers watch on mute, and captions help your hook land even in noisy environments. If you can generate captions on-device, you also keep sensitive scripts, client info, or unreleased product details off external servers.
Captioning checklist
- Accuracy first: Fix names, numbers, and brand terms.
- Readable styling: High-contrast text, safe margins, and consistent line breaks.
- Don’t over-caption: Remove filler words if it improves clarity.
- Match platform formats: Vertical safe zones for TikTok/Reels, wider margins for YouTube.
Step 8: Build a repeatable “one-take” recording checklist
The difference between occasional good videos and consistent publishing is a checklist you actually use. Here’s a compact pre-flight you can save:
| Stage | What to confirm |
|---|---|
| Framing | Lens at eye level; headroom consistent; background not distracting |
| Teleprompter | Text near lens; large font; narrow column; correct scroll mode |
| Lighting | Face evenly lit; no blown highlights; avoid mixed color temperatures |
| Audio | External mic connected; levels not clipping; room echo controlled |
| Performance | Smile on first line; pause after hook; emphasize 1–2 key phrases |
| Export | Trim dead air; add captions; export optimized for target platform |
Troubleshooting: common iPhone teleprompter problems (and fixes)
“My eyes look like they’re scanning.”
- Increase font size and reduce line width.
- Move the script closer to the lens area.
- Rewrite long sentences into two lines.
“I keep rushing to keep up with the scroll.”
- Switch from fixed-speed to voice-following (or slow fixed-speed).
- Add more line breaks and pauses so the scroll has “rest points.”
- Practice the first 20 seconds until it feels automatic.
“My audio sounds echoey.”
- Move closer to the mic and lower room reflections (soft furnishings help).
- Turn off aggressive noise reduction if it’s creating artifacts.
- Record in a smaller space or face a curtain instead of a wall.
A simple workflow you can follow every time
- Write for speech: short lines, clear beats, marked emphasis.
- Set text near the lens, big font, narrow column.
- Choose the right scroll mode (voice-follow, fixed-speed, or timed).
- Test 10 seconds for pacing and audio clarity.
- Record in 4K if you plan to crop; lock exposure/focus.
- Finish with trims and on-device subtitles when privacy matters.
Once you’ve done this a few times, an iPhone teleprompter stops feeling like “reading” and starts feeling like a confidence tool—because it frees you to focus on tone, presence, and clarity.
If you’re looking for a privacy-focused iPhone teleprompter and script-to-video workflow that stays on-device, CueCam is one option to explore.
