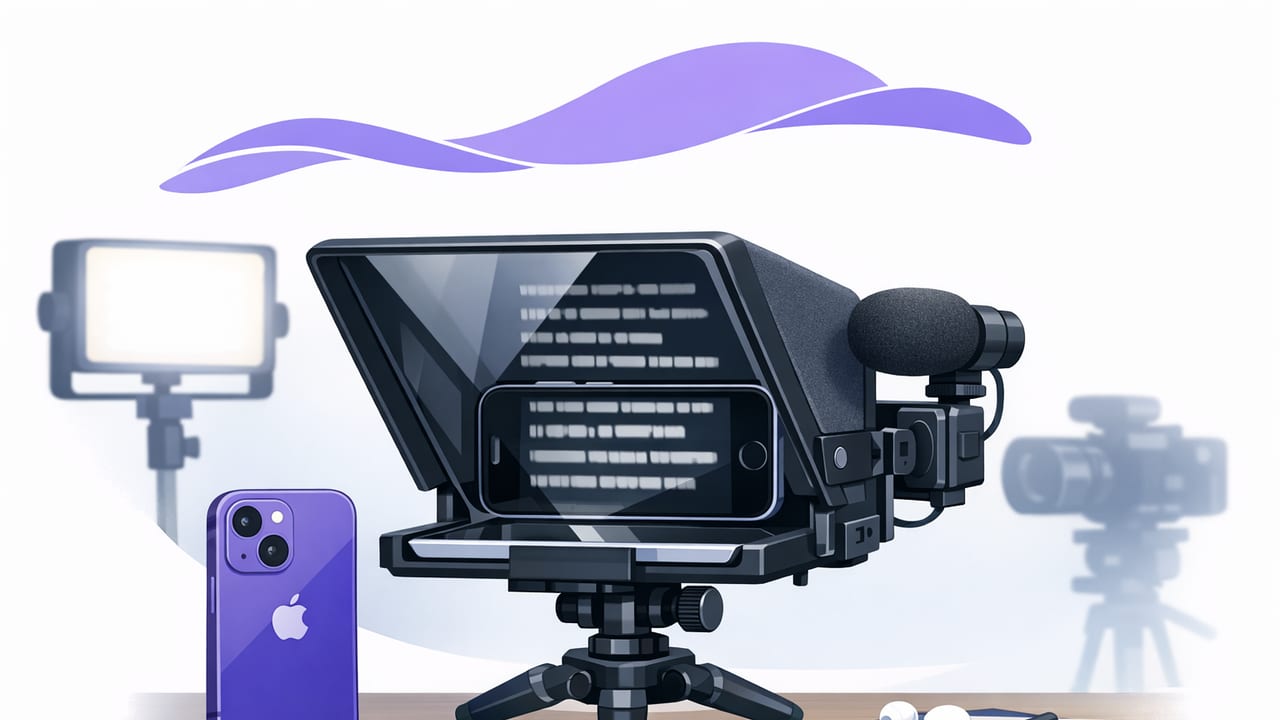
Using an iPhone teleprompter is one of the fastest ways to sound clear, stay on-message, and keep eye contact—without memorizing lines. But “turn it on and read” rarely produces the best results. Natural delivery comes from a small set of decisions: how you format your script, where you place your phone, which scrolling mode you choose, and how you capture audio, subtitles, and exports.
This guide is an educational, creator-friendly checklist you can reuse every time you record. It’s designed for talking-head videos, tutorials, UGC-style product demos, Shorts/Reels/TikTok, and any script-to-video workflow on iPhone.
Checklist Overview (Save This)
- Script: shorten lines, add breaths, mark emphasis, build in pauses
- Prompter settings: font size, line length, scroll mode (voice-following vs fixed)
- Camera: lens choice, framing, 4K/60 where it helps, stabilization
- Audio: external mic when possible, consistent distance, quick room treatment
- Subtitles: generate accurately, validate names/keywords, export in the right format
- Privacy: prefer on-device processing when scripts are sensitive
1) Script Prep: Write for the Ear, Not the Page
A teleprompter script should sound like you, not like an article. The goal is conversational clarity. Before you touch any iPhone teleprompter settings, make your words easier to say out loud.
Make these quick script edits
- Cut long sentences into two. If you need commas, you probably need periods.
- Front-load the point: put the key idea in the first 5–10 seconds.
- Use contractions (you’re, it’s, don’t) unless the tone must be formal.
- Swap complex words for simpler ones you’ll say smoothly.
- Add stage directions for pauses and emphasis (but keep them minimal).
Delivery tip: If you can’t say a line naturally on the first read-through, it’s usually a writing issue—not a teleprompter speed issue.
Use lightweight markup for pacing
Even if your teleprompter app doesn’t support special formatting, writing with consistent markers helps you rehearse and control rhythm.
[HOOK]
Stop losing eye contact on camera.

[PAUSE]
Here’s my 3-step checklist for a natural read.

[EMPHASIS]
Keep sentences short.

[BREATH]
(beat)
During recording, those markers remind you to slow down, smile, or breathe—so the delivery feels human instead of “read.”
2) Format for Readability on a Small Screen
An iPhone teleprompter works best when the text is optimized for glance-reading. Your eyes should move minimally. Aim for a narrow column and comfortable font size.
Recommended formatting defaults
- Font size: large enough to read without squinting (usually 28–40 depending on distance)
- Line length: keep it short to reduce side-to-side eye movement
- Paragraphs: 1–2 sentences per paragraph for frequent “mental resets”
- Highlighting: bold only key words; too much emphasis becomes noise
Make your script “teleprompter-friendly” in one pass
- Insert line breaks after every sentence.
- Bold 1–3 words per paragraph (the intent of the sentence).
- Replace lists inside sentences with real lists.
- Add a short pause after important claims.
3) Choose the Right Scrolling Mode (and When to Switch)
Most iPhone teleprompter apps offer multiple scroll behaviors. The best choice depends on how stable your speaking pace is.
Voice-following tracking (best for most creators)
- Pros: adapts to your pace; reduces “speed anxiety”; supports natural pauses
- Watch-outs: very noisy rooms or music can affect tracking; practice your mic placement
Fixed-speed scrolling (best for rehearsed scripts)
- Pros: predictable; good for timed segments or consistent presenters
- Watch-outs: if you stumble, you may rush to “catch up,” which sounds unnatural
Timed scrolling (best for structured deliverables)
- Pros: great for matching a required duration (ads, intros, VO timing)
- Watch-outs: requires editing the script to fit the time, not forcing your voice to fit
Practical workflow: rehearse once with voice-following to find your natural pace, then switch to fixed-speed only if you want extra consistency.
4) Camera Setup: Framing That Preserves Eye Contact
Even with a teleprompter, your eyes can drift if the text sits too far from the lens. The goal is to keep the reading area close to the camera so your gaze looks like direct eye contact.
Framing checklist
- Put the text near the lens (ideally close to the camera cutout area).
- Use a slightly wider lens if you’re recording handheld or close to the phone.
- Lock focus/exposure to avoid brightness pulsing mid-take.
- Leave headroom for captions if you publish vertically.
When 4K/60 helps (and when it doesn’t)
Higher resolution and frame rate can be useful, but only when your lighting and storage can support it.
- Use 4K if you plan to crop, reframe, or pull vertical clips from a horizontal master.
- Use 60fps if you’ll stabilize in post, move the camera, or want smoother motion.
- Stick to 30fps for classic talking-head content in normal indoor lighting (often cleaner with less noise).
5) Audio: The Fastest Way to Sound “Professional”
Viewers tolerate average video faster than they tolerate unclear audio. If you upgrade one thing in your iPhone teleprompter workflow, make it audio.
Quick audio wins
- Use an external mic (wired lav, wireless lav, or small shotgun) when possible.
- Keep mic distance consistent across takes to avoid volume changes.
- Reduce reflections: record near curtains, a couch, or a closet of clothes.
- Do a 10-second test and listen with headphones before a full take.
Room noise checklist
- Turn off fans/AC if possible.
- Silence notifications and vibrations.
- Close windows (traffic is harder to remove than you think).
- Record “room tone” (5 seconds of silence) for smoother edits.
6) Subtitles: Accuracy, Speed, and Multilingual Reach
Subtitles aren’t just accessibility—they’re retention. Many creators watch with sound off. A reliable subtitles workflow also helps you repurpose content across platforms.
Subtitle workflow checklist
- Generate captions after you lock the cut (otherwise you’ll re-do them).
- Review proper nouns: product names, brand terms, people, and locations.
- Break long lines into short phrases (readable on mobile).
- Choose placement to avoid UI overlays (platform buttons, usernames, etc.).
On-device vs cloud subtitles (privacy and reliability)
If your script includes sensitive information (client details, internal metrics, unreleased products), consider an on-device workflow where transcription and processing can happen without uploading your content. This also helps when you’re traveling or offline and still need to ship.
7) Export Settings: Match the Platform Without Guessing
Exporting is where sharp videos become soft—or where captions get cut off. Use a repeatable preset approach.
| Platform | Aspect Ratio | Recommended Resolution | Notes |
|---|---|---|---|
| TikTok | 9:16 | 1080×1920 | Keep captions above the bottom UI area |
| Instagram Reels | 9:16 | 1080×1920 | Center key text; avoid edge-to-edge titles |
| YouTube Shorts | 9:16 | 1080×1920 | Strong hook in first second; louder perceived audio helps |
| YouTube (standard) | 16:9 | 3840×2160 (4K) or 1920×1080 | Export higher if you plan to crop later |
Quality control before posting
- Watch the export with sound on and captions visible.
- Check for clipped words at the start/end (add a tiny buffer if needed).
- Confirm skin tones and exposure look consistent across scenes.
- Verify that watermarking (if any) matches your intended destination.
8) A Repeatable “One-Take” Recording Routine
If you want confident one-takes, standardize a short warm-up routine. It reduces nerves and makes your delivery consistent.
5-minute routine
- Read the hook twice without recording to find your natural pace.
- Set your scroll mode (voice-following for most people).
- Record a 15-second test and check eye line + audio.
- Do one full take without stopping for small mistakes.
- Do one safety take immediately (often the best version).
Small flubs are often easier to trim than a performance that feels tense from constant restarting.
9) Troubleshooting: Common iPhone Teleprompter Problems
“My eyes look like they’re reading.”
- Make the text column narrower and closer to the lens.
- Increase font size so your eyes don’t scan.
- Use shorter paragraphs; glance less, speak more.
“I keep rushing.”
- Insert pause markers after key lines.
- Switch to voice-following if you’re using fixed-speed.
- Slow your first 10 seconds by intention—viewers will follow.
“Captions are wrong for technical terms.”
- Speak acronyms clearly and slightly slower.
- Do a quick post-pass for names, products, and keywords.
- Consider adding those words to your script exactly as spoken.
10) Privacy Considerations for Script-to-Video Workflows
Teleprompter scripts often include private material: client details, medical or legal information, pricing, or internal strategy. A privacy-minded workflow keeps control on your phone whenever possible:
- Prefer on-device features for transcription and editing if available.
- Avoid unnecessary accounts for quick recordings or sensitive projects.
- Organize scripts locally and delete drafts you no longer need.
- Be intentional about backups (cloud sync is helpful, but not always appropriate).
Conclusion: Your Best Teleprompter Setting Is a Better System
The difference between “robotic” and “confident” is rarely one magic speed setting. It’s a repeatable system: conversational script formatting, a scroll mode that matches your speaking style, stable camera/audio basics, and a clean subtitle + export workflow.
If you’re testing iPhone teleprompter tools that combine prompting with on-device subtitles, 4K recording, and lightweight editing in one place, CueCam is one option to explore—just use the checklist above to evaluate any app and build a workflow you can repeat.
