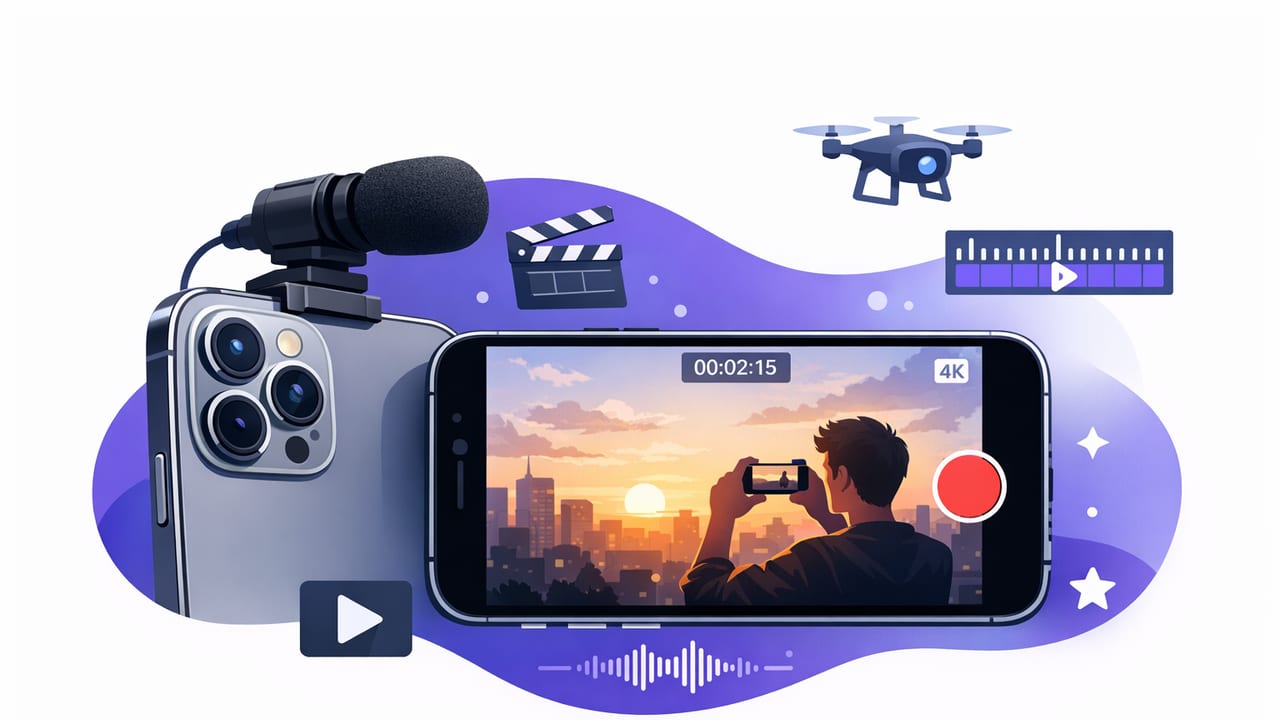
“iPhone pro video” isn’t just about switching to 4K. It’s a repeatable workflow that makes your footage look intentional: consistent framing, readable delivery, clean audio, stable motion, accurate captions, and exports that match each platform. When you combine those pieces, you can record faster and still publish something that feels polished.
This guide breaks down an end-to-end workflow for creators recording on iPhone: from script setup to camera settings, audio capture, and subtitles—while keeping your files organized and your process efficient.
What “pro” really means on iPhone
Professional-looking video is usually the result of consistency, not complexity. The most common differences between casual and “pro” iPhone videos are:
- Stable exposure and color (no brightness pumping, no mixed lighting surprises).
- Clean, close audio (less room echo, less wind, fewer spikes).
- Intentional framing (headroom, eye line, background control).
- Scripted delivery that still sounds natural.
- Fast post: trims, resize, captions, export presets.
Rule of thumb: Viewers will forgive slightly imperfect video. They will not forgive hard-to-understand audio or a message that rambles.
Pre-record checklist: nail the setup in 3 minutes
1) Choose your format: vertical or horizontal
Decide first, because it affects framing, lens choice, and where captions sit.
- Vertical (9:16): TikTok, Reels, Shorts. Easier reach, tighter framing.
- Horizontal (16:9): YouTube long-form, courses, interviews.
2) Control your background and lighting
- Use a single “key” light (window or soft light) at ~45° to your face.
- Avoid mixed color temps (daylight + warm lamp) unless you can match them.
- Keep the background simple; add depth by standing 3–6 feet from it.
3) Lock your framing
- Eye level lens height, not below your chin.
- Leave space for captions in the lower third (especially vertical).
- Use grid lines to keep your eyes on the upper third line.
Best iPhone pro video camera settings (practical, not extreme)
Exact menus vary by iPhone model and camera app, but these principles hold across most setups.
Resolution and frame rate: pick based on output
- 4K/30fps: best default for talking-head and most content.
- 4K/24fps: “cinematic” motion; great if you light well.
- 4K/60fps: smoother motion, higher file sizes; useful for movement, demos, sports, or when you want to slow down in editing.
HDR and Log: only if you’ll manage color
- HDR can look great but may complicate editing and matching clips.
- Log preserves highlight detail but requires color correction/LUTs to look right.
Stabilization and lens choice
- For talking-head: stabilization is fine either way; prioritize a stable tripod.
- For handheld: use stabilization and consider a wider lens (less jitter).
- Avoid digital zoom; move the camera closer or switch lenses.
Exposure: avoid the “auto hunting” look
If your camera app allows it, do these two things:
- Set exposure once (based on your face), then lock it.
- Keep ISO low by adding light instead of brightening in-camera.
Quick settings table (copy/paste decisions)
| Use case | Suggested settings | Why |
|---|---|---|
| Talking-head (vertical) | 4K/30, standard color, locked exposure, tripod | Sharp, easy edit, consistent look |
| Product demo (hands + movement) | 4K/60, stabilization on, brighter lighting | Smoother motion, clean slow-mo options |
| Low-light indoor | 4K/24 or 30, add light, avoid high ISO | Less noise and smearing |
| Outdoor bright | 4K/30, lock exposure, watch highlights | Prevents exposure pumping and blown skies |
Audio: the fastest way to level up iPhone pro video
Audio quality is mostly about distance. A $40 mic placed 6 inches away often beats a $400 mic three feet away.
Mic options (in order of reliability)
- Wired lavalier: consistent, simple, low latency.
- Wireless lav: best freedom; monitor battery and interference.
- Shotgun mic: good on a boom or close to camera; less ideal in echoey rooms.
Record clean levels
- Aim for peaks around -6 dB (if you can see meters).
- Avoid clipping (distortion you can’t truly fix later).
- Reduce room echo: soft furnishings, curtains, a rug, or record closer.
Script-to-camera delivery without losing eye contact
Scripts are not the enemy—stiff scripts are. The goal is a structure that keeps you on-message while sounding like you.
A proven script structure for short-form and talking-head
- Hook: one sentence that creates curiosity or stakes.
- Promise: what they’ll learn and how long it’ll take.
- 3–5 beats: simple steps, each one sentence.
- Close: recap + one next action (comment, save, subscribe, link).
Format your script so it reads naturally
Small formatting changes dramatically improve delivery speed and tone.
[HOOK]
Stop doing this one iPhone setting if your video looks “cheap.”

[PROMISE]
In 30 seconds, I’ll show the exact setup I use for clean iPhone pro video.

[BEAT 1]
Set 4K at 30fps for talking-head.

[BEAT 2]
Lock exposure on your face.

[BEAT 3]
Use a mic close to your mouth.

[CLOSE]
Save this checklist and try it on your next shoot.
Teleprompter scrolling modes (and when to use them)
- Voice-following: best for natural pacing and small ad-libs.
- Fixed-speed: best when your script is rehearsed and tight.
- Timed: best for ads, compliance reads, or sync to slides.
Recording workflow: get “one-take” results without pressure
1) Record in sections
Instead of chasing a perfect 2-minute take, record 10–20 second segments. You’ll reduce resets and keep energy consistent.
2) Use a reset phrase
If you mess up, pause and say a distinct word like “reset”, then repeat the line. It makes editing faster because the waveform shows the mistake point.
3) Capture “safety” footage
- Record 5 seconds of room tone (helps noise reduction).
- Get 2–3 B-roll clips: hands typing, product close-up, over-the-shoulder.
On-device subtitles: faster edits and better privacy
Captions are not optional for most platforms. They improve retention, accessibility, and comprehension—especially when viewers watch muted.
Best practices for readable captions
- Keep lines short (1–2 lines max).
- Highlight keywords with bold or color if your editor supports it.
- Avoid covering your mouth in vertical framing.
- Check names and numbers manually—common error points.
Why on-device processing matters
Generating subtitles on your phone can be a strong choice if you want to keep drafts, client scripts, and raw footage private. It also helps when you’re traveling or working without reliable internet.
Export settings for TikTok, Reels, Shorts, and YouTube
Export mismatches (wrong resolution, weird frame rate conversion, over-compression) can ruin otherwise great footage.
Platform-friendly export defaults
- Vertical short-form: 1080×1920 (or 2160×3840 if you truly need 4K), 30fps, high bitrate.
- YouTube long-form: 3840×2160 (4K) or 1920×1080, 24/30fps, high bitrate.
A simple quality check before posting
- Play the exported file full-screen on your phone.
- Listen on earbuds for clicks, hiss, or pumping noise reduction.
- Check that captions are inside the “safe” area (not cut off by UI).
Troubleshooting: common iPhone pro video issues
Video looks noisy or soft
- Add light or move closer to the light source.
- Avoid heavy digital zoom.
- Clean the lens (a tiny smudge can soften everything).
Exposure keeps changing
- Lock exposure/focus once you’re framed.
- Avoid recording with windows behind you (backlight triggers hunting).
Audio sounds echoey
- Move the mic closer; distance is the big lever.
- Soften the room (curtains, couch, blanket off-camera).
Putting it all together: a repeatable 20-minute workflow
- 5 minutes: decide format, set framing, set light, plug in mic.
- 5 minutes: paste script, format beats, choose scroll mode.
- 7 minutes: record in segments + quick B-roll.
- 3 minutes: trim, add captions, export preset for the platform.
If you want a single iPhone app that combines a teleprompter with pro recording options and on-device captions, a privacy-focused option like CueCam can fit neatly into the workflow above—especially if you prefer keeping scripts and videos on your phone.
