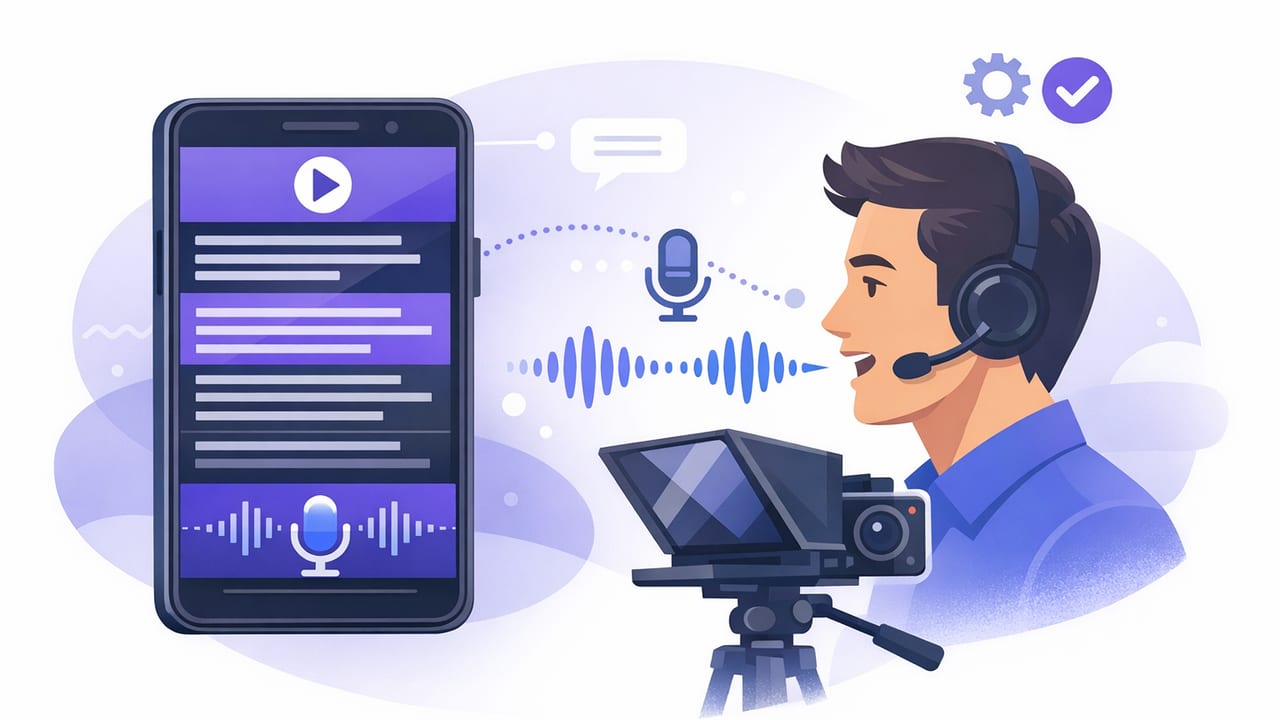
Scripted video is one of the fastest ways to sound clear, stay on-message, and produce consistent content—but it’s also where creators often look least natural. The common problem isn’t the script; it’s the workflow: glancing off-camera, losing your place, rushing lines, or restarting every time your pacing changes.
A teleprompter app that follows your voice solves the pacing problem by letting the scroll speed adapt to how you actually speak. Instead of trying to match a fixed scroll rate, you speak naturally and the text advances with you. Done well, the result is more eye contact, fewer retakes, and a delivery that sounds human rather than “read.”
This guide walks through a practical iPhone setup and creator workflow—from script formatting to recording modes, audio, subtitles, and privacy—so you can reliably record clean takes on the first few tries.
Why voice-following matters (and when it doesn’t)
Traditional teleprompters typically rely on a fixed scroll speed. That can work for broadcasters trained to deliver at a consistent pace, but most creators vary speed when emphasizing points, pausing for effect, or reacting to the camera. Voice-following removes the need to “perform to the scroll.”
Voice-following is ideal for:
- Explainers and tutorials where you naturally pause to think or gesture.
- Product demos where you stop to show something on-screen.
- Short-form hooks where timing and emphasis change take to take.
- Creators who dislike memorizing but still want eye contact.
Fixed-speed or timed scrolling is better for:
- Highly rehearsed reads where pacing is already consistent.
- Exact timing requirements (e.g., a 30-second ad read).
- Voice-over capture where you don’t need to look at camera.
Teleprompter scrolling modes (quick comparison)
| Mode | How it scrolls | Best for | Watch out for |
|---|---|---|---|
| Voice-following | Advances based on your speech | Natural delivery, pauses, emphasis | Needs decent mic input; noisy rooms can confuse tracking |
| Fixed-speed | Constant speed you set | Rehearsed scripts, consistent cadence | Forces you to match the scroll (rushing or waiting) |
| Timed | Finishes in a set duration | Ads, time-boxed segments | Less flexible if you ad-lib or pause |
Step-by-step workflow: from script to camera-ready take
1) Write a script that’s meant to be spoken
Voice-following works best when the text resembles natural speech. If your script reads like an article, you’ll sound stiff—even if the scroll follows you perfectly.
- Use short sentences (aim for 12–18 words).
- Write contractions (“you’ll,” “don’t”) to keep cadence conversational.
- Mark emphasis with simple cues like slow, pause, or stress this.
- Break long thoughts into separate lines so your eyes don’t travel far.
If you want a repeatable structure for short-form videos, try this template:
HOOK (1 line)
Promise / outcome (1 line)
Context (1–2 lines)
Steps (3–5 short lines)
Proof / example (1–2 lines)
CTA (1 line)
2) Format the script for teleprompter reading
Formatting is a hidden superpower. The goal is to keep your gaze centered and minimize eye movement.
- Increase font size until you can read comfortably at camera distance.
- Use generous line spacing to reduce “line-hopping.”
- Keep lines short (think subtitle-width).
- Add breathing room between sections so you can pause naturally.
Pro tip: If you notice your eyes darting left-to-right, your lines are too long. Tighten the line length before you blame your delivery.
3) Set up your iPhone camera for natural eye contact
To look like you’re speaking directly to the viewer, you need your eyes close to the lens while reading.
- Place the text near the camera (ideally just under or around the lens).
- Use the rear camera when possible for the best image quality, especially in low light.
- Lock exposure and focus so brightness doesn’t pump mid-take.
- Frame with headroom: leave a little space above your head; center your eyes around the upper third.
4) Choose the right voice-following sensitivity
Most voice-following systems work by listening for speech and tracking progress. Your goal is to make the app “confident” about what it hears.
- Record in a quieter room (HVAC and street noise matter).
- Use an external mic if you have one—cleaner input improves tracking and the final audio.
- Do a 10-second calibration read before your real take to check pacing.
5) Record in short sections (the creator-friendly way)
Even with voice-following, long scripts can invite mistakes. A high-output approach is to record in modular chunks.
- Batch the hook: record 3–5 hook variations first.
- Record the body in 15–30 second sections.
- Save the CTA for last so it matches what you actually delivered.
When you edit, you can stitch the best sections together, keeping energy high and downtime low.
Audio: the biggest quality upgrade for voice-following and for viewers
Voice-following performance and viewer retention both improve with clean audio. If your mic input is muddy, the tracking can become less reliable—and the video will feel less professional even if the visuals are sharp.
Simple audio checklist
- Mic distance: keep it consistent (6–10 inches for many mics).
- Room tone: record 5 seconds of silence for noise reduction if you edit later.
- Plosives: angle the mic slightly off-axis to reduce “p” pops.
- Levels: avoid clipping; a slightly quieter clean signal is better than distortion.
Video settings that pair well with a teleprompter workflow
You don’t need cinema gear, but consistency matters.
- Resolution/frame rate: 4K at 30fps is a common sweet spot; 4K at 60fps is useful for motion or stabilization-heavy shots.
- Shutter/lighting: prioritize good light so you can keep ISO low (less noise, sharper detail).
- Stabilization: use a tripod when reading; it keeps framing steady and reduces “nervous” movement.
Subtitles: turn scripted clarity into scroll-stopping retention
Scripted videos and subtitles complement each other: your wording is already concise, so captions tend to be cleaner. If you create subtitles directly on your phone, you can keep the workflow fast—especially when you can generate captions on-device for privacy and speed.
Caption styling tips that look professional
- Break lines by meaning, not by character count.
- Highlight key words sparingly to guide scanning.
- Keep safe margins for platform UI (especially vertical video).
- Match pacing: captions should appear when the phrase starts, not a beat later.
Privacy considerations: your scripts are often sensitive
Creators regularly read content that shouldn’t live on a random server: client briefs, unreleased product info, personal stories, pricing, or brand talking points. If privacy matters to you, prioritize a workflow that keeps scripts and recordings on your device and doesn’t require a login just to function.
On-device processing (for example, subtitles generated locally) can also reduce dependency on an internet connection, which is helpful when you’re traveling or recording on location.
Troubleshooting: common issues with voice-following teleprompters
Your eyes still look like they’re reading
- Shorten line length and increase font size.
- Move the text closer to the lens (or adjust layout so the active line sits nearer the camera).
- Memorize the first sentence of each section so you can start with direct eye contact.
The scroll lags or jumps
- Reduce background noise and re-test.
- Use a better mic source (external mic or closer placement).
- Switch to fixed-speed for that section if the room is unpredictable.
You keep restarting after small mistakes
- Keep rolling: pause, repeat the sentence, continue. You can cut the mistake later.
- Record in chunks so mistakes don’t cost a full take.
- Add script anchors: bold the first 2–3 words of each paragraph so you can re-enter quickly.
A repeatable “script-to-video” checklist
- Script: short lines, spoken language, clear beats.
- Format: big font, wide spacing, short line length.
- Setup: lens-level text placement, locked focus/exposure, stable mount.
- Mode: use a teleprompter app that follows your voice for flexible pacing; switch modes only when needed.
- Audio: quiet room + clean mic input.
- Record: sections, not monologues.
- Edit: trim, resize for platforms, add captions, export.
Putting it all together
A voice-following teleprompter on iPhone is less about “reading perfectly” and more about building a system that supports natural delivery: well-formatted scripts, lens-adjacent text, reliable audio, and a mode that adapts to your real pacing. Once you lock in this workflow, you can produce more videos per session with fewer restarts—and your on-camera presence will look more confident because your attention stays on the viewer, not on the scroll.
If you’re evaluating tools, look for voice-following, multiple scrolling modes, solid camera recording options, and privacy-friendly on-device features; for example, CueCam is one iPhone option that combines teleprompter reading with recording and on-device subtitle workflows.
