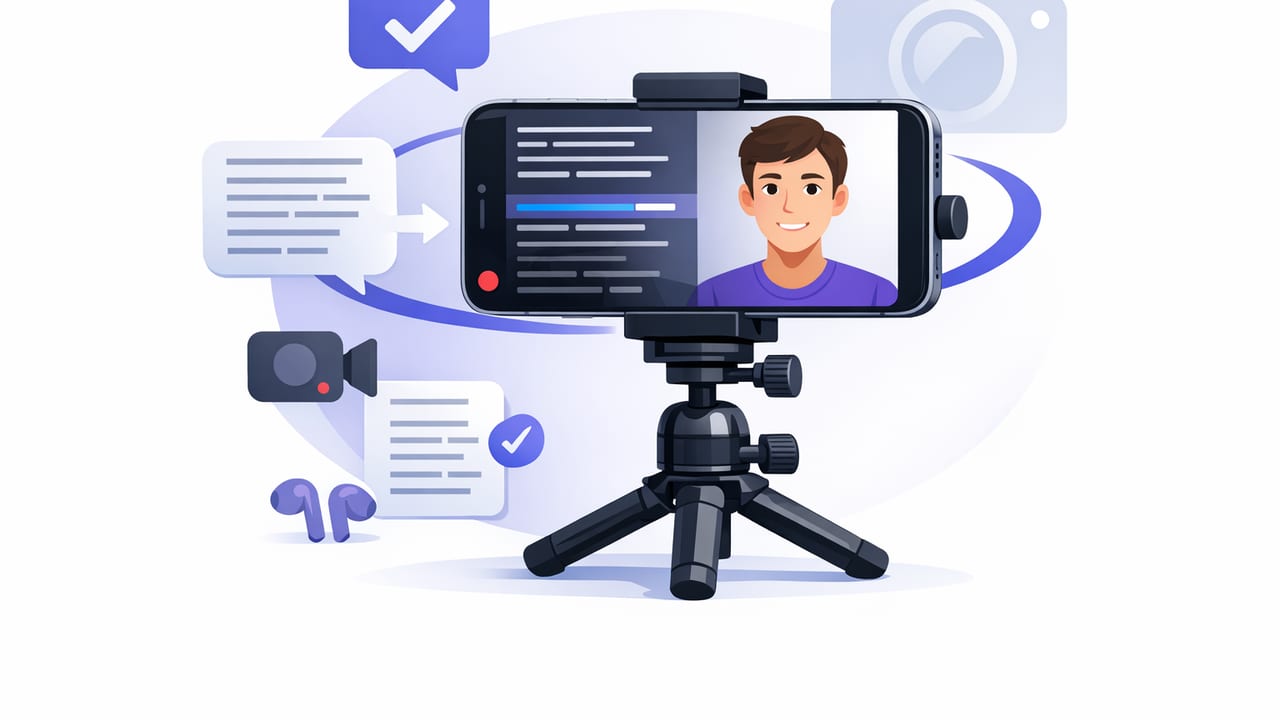
Recording on iPhone is fast—until you need to say something precisely, stay on-message, and still look like you’re talking naturally to a real person. That’s where a teleprompter app for iPhone camera becomes a creator’s best tool: it lets you read a script while maintaining eye contact, reducing retakes, and making your delivery more confident.
This guide walks through a practical, repeatable workflow: how to set up your iPhone, format your script for spoken delivery, choose the right scrolling mode (voice-following vs fixed-speed vs timed), and finish with clean audio and subtitles—while keeping your process efficient and privacy-friendly.
Why a teleprompter changes your iPhone creator workflow
A teleprompter isn’t just for news anchors. For creators, educators, founders, and marketers, it helps you:
- Stay accurate with product names, numbers, and claims.
- Reduce cognitive load so your tone sounds relaxed, not strained.
- Maintain eye contact with the camera (your audience).
- Record faster with fewer restarts and less improvisation drift.
The goal isn’t to sound “scripted.” The goal is to sound clear, human, and consistent—especially when filming multiple takes, multiple angles, or multiple videos in a batch.
Step 1: Choose the right iPhone recording setup
Front vs rear camera
Use the front camera when you need to stay aligned with the script and keep framing easy (talking-head, tutorials, quick updates). Use the rear camera when image quality and lens choice matter most (cinematic b-roll cut-ins, product demos, wider shots). Many creators write scripts that work for either, then pick the camera based on the platform.
Stability first
Stabilize before you perfect anything else. A stable frame makes your delivery look more confident and reduces distraction.
- Use a tripod or stable mount at eye level.
- Keep the lens roughly at eye height to avoid the “looking down” effect.
- Leave headroom, but don’t float in the frame—center your eyes.
Audio: the fastest way to level up
If you’re using a teleprompter workflow, your words matter—so audio matters. Consider:
- Lavalier mic (wired or wireless) for consistent voice level.
- Shotgun mic for desk setups and wider shots.
- Record in a soft room (curtains, carpet) to reduce reverb.
Tip: Do a 10-second test recording and listen with headphones. Fixing audio later is possible, but preventing problems is faster.
Step 2: Write scripts that sound spoken (not read)
The biggest giveaway of teleprompter use isn’t eye movement—it’s writing that reads like an essay. Spoken scripts are shorter, more rhythmic, and structured for breath.
Script structure that performs well on camera
- Hook (5–10 seconds): the promise or problem.
- Context: one sentence on why it matters.
- Steps or points: keep them parallel and punchy.
- Proof: example, quick demo, or result.
- Close: one clear takeaway or next action.
Formatting tips for smoother delivery
- Use short lines (like poetry). It helps your eyes track faster.
- Bold the words you must hit (names, numbers, CTA).
- Add pause markers (… or [pause]) where you want emphasis.
- Write contractions (“you’ll” instead of “you will”) unless formal tone is required.
- Say it out loud once, then rewrite anything that feels awkward.
Example: teleprompter-friendly script snippet
HOOK:
If your iPhone videos feel "rambling," try this one change.

POINT 1:
Write in short lines.
[pause]
Your eyes track better.

POINT 2:
Underline the one sentence you can't mess up.

CLOSE:
Do one take focusing on clarity—not perfection.
Step 3: Pick the best scrolling mode for your video type
Most iPhone teleprompter tools offer a few core modes. Choosing the right one is the difference between a relaxed take and a constant “catching up” feeling.
| Mode | Best for | Pros | Watch-outs |
|---|---|---|---|
| Voice-following (word tracking) | Talking-head, tutorials, long scripts | Natural pacing; fewer restarts; handles pauses | Needs clear audio input; may require a quick calibration |
| Fixed-speed | Short promos, rehearsed reads | Simple; predictable; good for consistent cadence | If you stumble, text keeps moving |
| Timed (duration-based) | Ads, strict runtime content, voiceover planning | Hits exact length targets; useful for batching | Less forgiving if you improvise or pause |
Practical rule of thumb
If you want to sound conversational, choose the mode that adapts to you—not the one that forces you to chase the text.
Step 4: Optimize the prompter view for natural eye contact
Even with great writing, your eyes can “scan” if the prompter isn’t tuned. The goal is tiny, smooth eye movement that reads as direct eye contact.
Prompt window settings that usually work best
- Font size: large enough to read comfortably without squinting.
- Line spacing: slightly increased to reduce skipping lines.
- Speed: slower than you think; spoken clarity beats speed.
- Mirroring: only if you’re using a physical teleprompter mirror setup.
- Margins: keep text centered near the lens area to reduce side-to-side eye travel.
Behavioral tricks that make you look natural
- Memorize the first sentence so your opening feels direct.
- End each paragraph with a micro-glance toward the lens, not the text.
- Record in chunks (one section per take) if your content allows it.
- Leave room for breathing—don’t remove every pause in your script.
Step 5: Record in 4K without slowing your workflow
Creators often default to the highest resolution, then regret storage or export time. The best practice is to choose settings that match your final platform.
Recommended capture settings (general guidance)
- 4K/30fps: great balance for talking-head and most social content.
- 4K/60fps: useful for motion-heavy shots or if you want smoother movement; larger files.
- 1080p/30fps: fine for daily content and faster turnaround.
Whatever you choose, prioritize consistent lighting and clean audio. Viewers forgive imperfect video more than they forgive hard-to-hear speech.
Step 6: Add subtitles that match your spoken delivery
Subtitles increase watch time, comprehension, and accessibility—especially in sound-off environments. For a script-based video, captions can also double as a final quality check: if the subtitles look confusing, your phrasing may be too complex.
Subtitle best practices for creators
- Keep lines short (avoid long sentences spanning the screen).
- Prefer sentence case for readability.
- Correct names, brand terms, and numbers.
- Place captions where they won’t collide with UI overlays (platform buttons, lower-thirds).
On-device vs cloud subtitle generation
If privacy matters in your workflow (client work, internal comms, sensitive drafts), consider tools that generate subtitles on-device, meaning your audio/video doesn’t need to leave your phone for transcription.
Step 7: Export for TikTok, Instagram, and YouTube (without surprises)
Export settings can quietly ruin a great take—cropped framing, muffled audio, or soft-looking video after upload. Before you export, decide where the video will live.
Platform framing checklist
- 9:16 vertical: TikTok, Reels, Shorts (most common creator format).
- 1:1 square: some feed posts and ads.
- 16:9 horizontal: YouTube long-form, courses, presentations.
Tip: If you record once and repurpose, frame with “safe zones” so your face and captions won’t be cut off in vertical crops.
Troubleshooting: common teleprompter problems (and quick fixes)
“I look like I’m reading.”
- Move text closer to the lens area (reduce eye travel).
- Increase font size so your eyes don’t dart.
- Rewrite into shorter lines and simpler sentences.
“My pacing feels robotic.”
- Add intentional pauses and emphasis markers.
- Switch to a mode that follows your voice if available.
- Smile slightly at transitions—your tone will follow.
“I keep losing my place.”
- Use larger line spacing and fewer words per line.
- Break the script into sections with headings.
- Record in segments and stitch together.
A simple repeatable workflow (copy/paste checklist)
- Write in short lines; bold key words.
- Set up tripod + eye-level lens + clean background.
- Test audio (10 seconds) and adjust mic/room.
- Choose mode: voice-following for natural pacing, fixed-speed for rehearsed reads, timed for strict length.
- Record the first sentence from memory, then flow into the script.
- Edit: trim, crop for platform, light audio cleanup.
- Subtitles: generate, correct terms, place safely.
- Export with the right aspect ratio and bitrate defaults.
Final thoughts
A teleprompter app for iPhone camera works best when you treat it as a performance aid, not a crutch. Write for the ear, tune the prompter so your eyes barely move, and pick a scrolling mode that matches your shooting style. Add subtitles and export intentionally, and you’ll end up with videos that feel effortless—even when every word is precise.
If you’re looking for an iPhone teleprompter workflow that combines script reading, pro camera recording, and on-device subtitle generation with a privacy-first approach, you can explore CueCam as one option.
