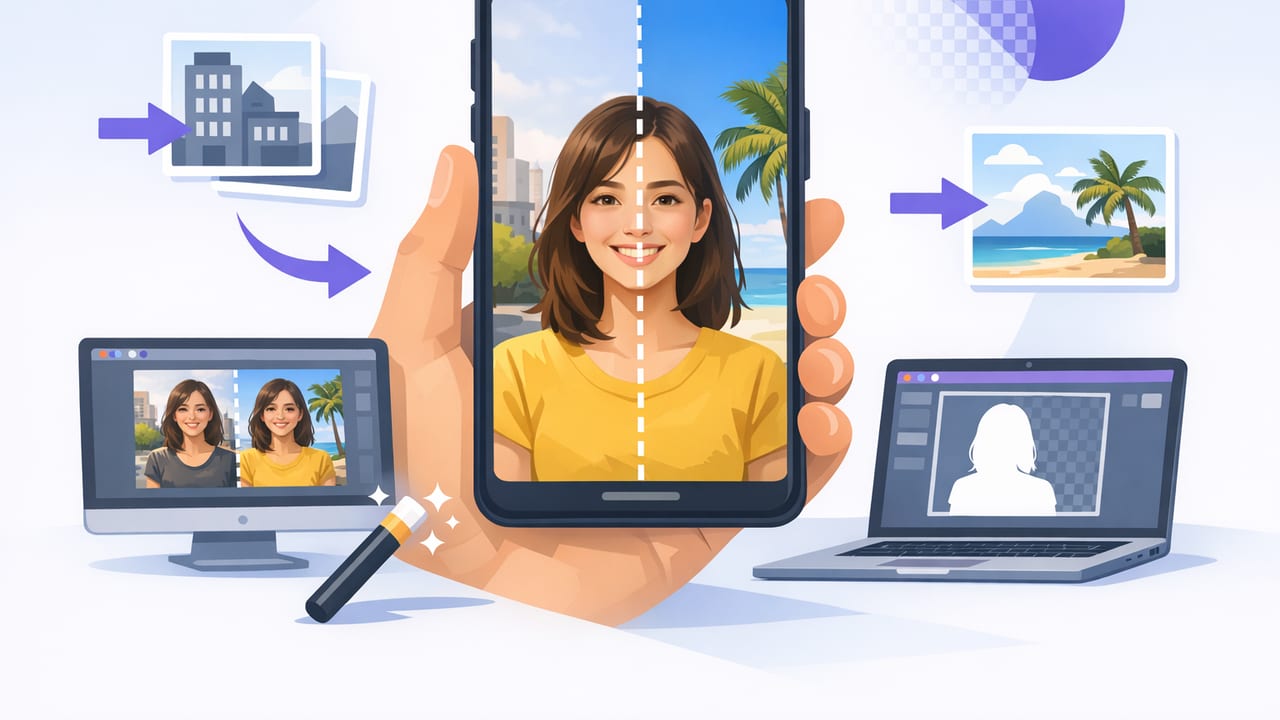
A background replacement app can turn an ordinary iPhone recording into a polished talking-head video—without renting a studio or redesigning your room. But the difference between “good enough” and “looks real” usually comes down to planning: lighting, wardrobe, camera settings, and how you structure your script-to-video workflow.
This guide explains how background replacement works on iPhone, how to record footage that keys cleanly, and how to integrate it into a creator workflow that includes scripted delivery, 4K capture, and subtitles—while keeping on-device privacy in mind.
What a background replacement app actually does
Most iPhone background replacement tools fall into two categories:
- Green screen / chroma key: You film in front of a solid color (usually green). The app removes that color and replaces it with another background.
- AI segmentation: The app detects the subject (you) and separates you from the background using machine learning—no green screen required.
Both methods can look great, but each has trade-offs. The best choice depends on your setup, your content style, and how much time you want to spend fixing edges and halos.
Quick comparison: green screen vs AI segmentation
| Method | Best for | Main risk | How to improve results |
|---|---|---|---|
| Green screen (chroma key) | Consistent, studio-like replacements | Wrinkles/shadows cause patchy cutouts | Even lighting + distance from screen |
| AI segmentation | Fast workflows, small spaces | Hair/hand edges may shimmer or blur | Strong separation lighting + simple wardrobe |
| Background blur (partial replacement) | Subtle cleanup without full compositing | Artifacts around shoulders/hair | Stable framing + good contrast vs background |
Step 1: Choose a background that matches your video style
Before opening any background replacement app, decide what your background should communicate. A mismatch between subject and background is the #1 reason replacements look fake—even if the cutout is technically clean.
- Education/tutorials: clean office, subtle gradient, or a simple “set” that doesn’t compete with on-screen text.
- Product reviews: real-looking desk/studio backgrounds that match your lighting direction.
- Short-form hooks: bold colors or motion backgrounds (use sparingly; compression can create artifacts).
Rule of realism: If your background looks like it was shot at noon from the left, but your face is lit from the right with warm light, viewers will feel the edit—even if they can’t explain why.
Step 2: Record footage that keys cleanly (lighting matters more than apps)
The app can’t invent detail that wasn’t captured. Clean background replacement starts with lighting designed for separation—making you stand out from whatever is behind you.
Lighting checklist (works for both green screen and AI)
- Key light: your main light, 30–45° to one side of the camera, slightly above eye level.
- Fill light (optional): softer light on the opposite side to reduce harsh shadows.
- Back/rim light: a small light behind you aimed at your shoulders/hair. This is a “secret weapon” for cleaner edges.
- Background light (green screen only): light the screen separately to reduce hotspots and wrinkles.
Distance and framing
- Stand 4–8 feet from the background (or green screen) when possible. More distance means less shadow spill and fewer edge artifacts.
- Keep hands inside frame if you gesture often. Fast hands + motion blur can confuse AI segmentation.
- Lock your exposure so brightness doesn’t drift mid-take (drift can create flicker around edges during replacement).
Wardrobe tips to avoid “cutout” problems
- Avoid green with a green screen (obvious, but also avoid neon/yellow-green tones).
- Avoid thin stripes or tiny patterns; they can shimmer after compression and make edges look noisy.
- Choose contrast: if your background is dark, wear lighter tones (or add a rim light) so the subject boundary is clear.
Step 3: Use iPhone camera settings that preserve edge detail
Background replacement relies on fine details—hair, glasses, and the boundary between your face and the background. Those details are easiest to preserve when you record at higher quality and avoid heavy noise reduction.
Recommended capture settings
- Resolution: 4K when possible (more pixels = cleaner edges).
- Frame rate: 30fps for talking head; 60fps if you gesture a lot (less motion blur can improve cutouts).
- Lens: use the main wide camera for best quality in most lighting conditions.
- Stability: tripod first; stabilization second. A steady frame reduces edge “crawl.”
If you’re filming scripted content, consider recording in a setup that helps you maintain eye contact while reading. Teleprompter-style recording keeps your gaze stable, which also makes AI segmentation more consistent (fewer sudden head turns and profile angles).
Step 4: Build a script that supports replacement (not fights it)
A strong script reduces retakes. Fewer retakes means fewer chances to change lighting, framing, or exposure—three things that can make replacements inconsistent.
Use simple formatting to remind yourself when to gesture or when on-screen elements appear. Here’s a script structure you can paste into your notes app:
HOOK (0:00-0:03)
- One sentence, big promise.

POINT 1 (0:03-0:20)
- Explain the problem.
[Gesture: open palms]

POINT 2 (0:20-0:40)
- Show the solution.
[On-screen text: 3-step checklist]

CTA (0:40-0:50)
- One clear next step.
[Pause 1 beat, smile]
This kind of structure pairs well with script-to-video workflows: record cleanly, replace background consistently, then add subtitles and resize for the platform.
Step 5: Replace the background without “halo” edges
Regardless of which background replacement app you use, you’ll typically see similar controls. The trick is to adjust them in the right order.
Order of operations for cleaner edges
- Pick the background first (color/brightness affects how noticeable your edges are).
- Adjust tolerance/strength until the background is removed—stop as soon as it’s clean enough.
- Refine edges (feather/softness). Too much feather creates a glow; too little looks jagged.
- De-spill / color correction (green screen): remove green cast on skin/hair and neutralize shadows.
- Match color temperature: make your skin tones feel like they belong in the new environment.
Common problems and fixes
- Green edge on hair (spill): increase de-spill, add rim light during recording, and avoid over-bright green screens.
- Flickering cutout: lock exposure when filming, avoid auto white balance shifts, and use a steady tripod.
- Hands disappearing: record at 60fps (less motion blur), slow your gestures slightly, and keep good contrast between hands and background.
- Soft “portrait mode” look: reduce feathering and increase sharpness slightly after replacement (but don’t oversharpen skin).
Step 6: Add subtitles and export for each platform
Subtitles make background replacement videos perform better because viewers often watch on mute. If your app can generate on-device subtitles, you also avoid uploading raw footage and scripts to a server—important if you record client work, internal training, or personal stories.
Subtitle tips for replaced backgrounds
- Use a high-contrast style (white text with dark stroke) so captions remain readable over any background.
- Keep captions away from edges where platform UI elements appear.
- Limit lines: 1–2 lines max for short-form; viewers should read instantly.
Export checklist (quality + compatibility)
- Match aspect ratio: 9:16 for vertical shorts, 16:9 for long-form, 1:1 for square.
- Keep bitrate healthy if your editor allows it; background replacement can introduce gradients that compress poorly.
- Do a “final watch” looking only at edges (hair, shoulders, hands) and any moving background elements.
On-device privacy: what to check before choosing an app
Not every background replacement app processes video the same way. If privacy matters in your workflow, look for clear answers to these questions:
- Does it process on-device or upload to the cloud?
- Does it require a sign-up (and if so, what data is collected)?
- Are scripts, captions, and footage stored locally or synced automatically?
- Can you delete project data easily from within the app?
Even if your background replacement is local, subtitles, voice enhancement, and “AI improvements” sometimes trigger uploads. Skim settings menus for language like “cloud processing,” “improve accuracy,” or “enhanced mode.”
A fast creator workflow: script → record → replace → subtitle → export
Here’s a practical workflow that keeps quality consistent without turning your edit into a weekend project:
- Write a tight script with clear beats and minimal rambling.
- Set lighting once and mark your floor position (tape works).
- Record in 4K on a tripod, lock exposure/white balance if possible.
- Replace background and do light color matching.
- Trim and resize for the platform (vertical/horizontal).
- Generate subtitles on-device, then style them for readability.
- Export with a platform-appropriate preset and do a final edge check.
When you should NOT use background replacement
A background replacement app is powerful, but it’s not always the best choice. Skip it when:
- Your hair/wardrobe is extremely detailed (fine curls, fringes, or lace can be difficult in fast-paced short-form).
- You need perfect realism for high-end client work and don’t have controlled lighting.
- Your background is already good: a real, tidy space can feel more authentic than a virtual set.
Sometimes a simple cleanup—better lighting, a lamp in the background, and a consistent framing—beats any replacement.
Wrap-up
Getting professional results from a background replacement app is less about finding a “magic” tool and more about capturing footage that makes replacement easy: stable camera, consistent lighting, strong subject-background separation, and a script that reduces retakes. Add on-device subtitles and smart exports, and you’ll have a repeatable workflow for crisp, platform-ready videos.
If you want to combine scripted delivery (teleprompter-style recording), background replacement, and on-device subtitles in a single iPhone workflow, an app like CueCam can fit neatly at the end-to-end production stage without complicating your setup.
