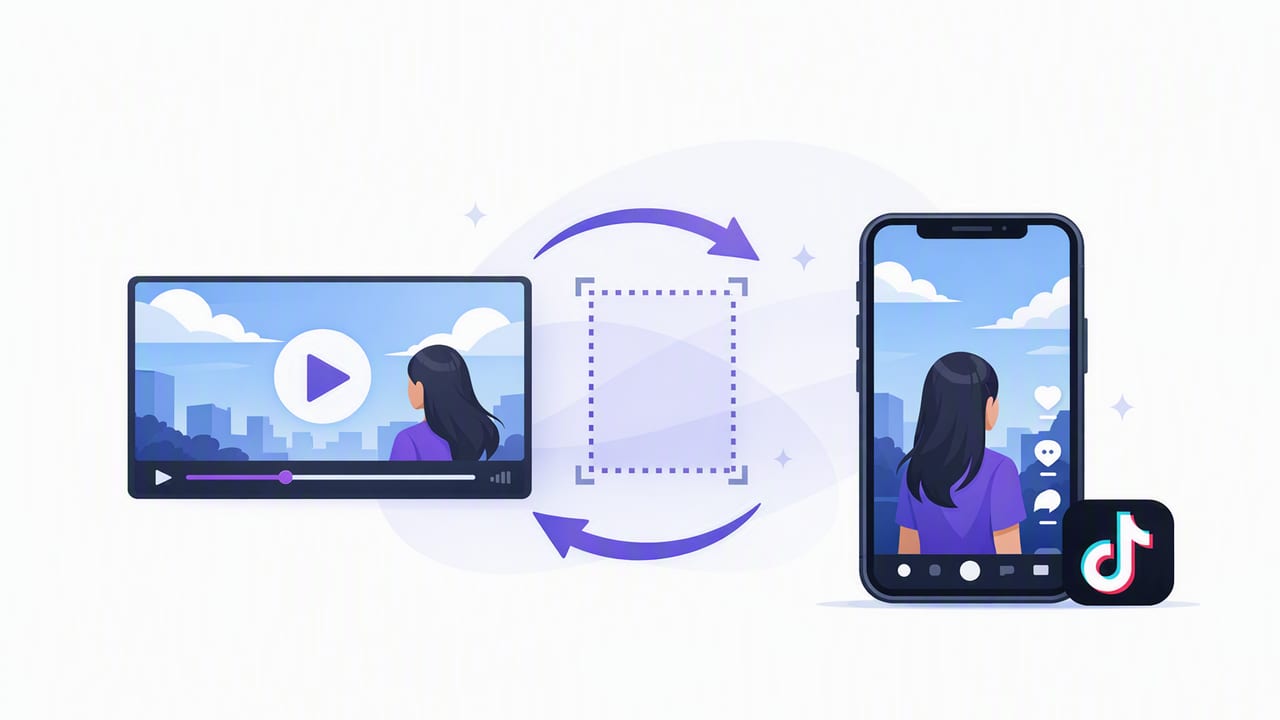
If your video looks zoomed-in, cropped awkwardly, or surrounded by black bars after upload, the issue usually isn’t your camera—it’s the aspect ratio, safe area, and export settings. TikTok is optimized for vertical viewing, so a horizontal clip (or even the “wrong” vertical framing) can lose important details like your face, on-screen text, or product shots.
This guide walks you through a practical, creator-friendly workflow to resize video for TikTok on an iPhone while protecting image quality, keeping captions readable, and avoiding common framing mistakes.
TikTok sizing basics: aspect ratio vs resolution
Two concepts get mixed up constantly:
- Aspect ratio: the shape of the frame (e.g., 9:16, 1:1, 16:9).
- Resolution: the pixel dimensions (e.g., 1080×1920).
You can have the right aspect ratio but export at a low resolution (blurry), or export at a high resolution with the wrong aspect ratio (cropped/letterboxed). TikTok prefers vertical 9:16, commonly exported as 1080×1920.
Recommended sizes (TikTok + cross-posting reference)
Use the table below to pick the best target depending on whether you’re posting only to TikTok or also repurposing to other platforms.
| Platform placement | Aspect ratio | Common export resolution | Notes |
|---|---|---|---|
| TikTok feed (full screen) | 9:16 | 1080×1920 | Best default; avoids side bars. |
| Instagram Reels / YouTube Shorts | 9:16 | 1080×1920 | Same as TikTok; easiest for repurposing. |
| Square (legacy feeds) | 1:1 | 1080×1080 | Useful if your footage is centered and text-heavy. |
| Landscape (YouTube standard) | 16:9 | 1920×1080 | Not ideal for TikTok; requires reframing. |
The two ways to resize: crop vs fit (and when to use each)
When you convert a clip to 9:16, you’ll make one of two tradeoffs:
Option A: Crop (fills the screen)
- Pros: Looks native on TikTok, no black bars, most “pro” look.
- Cons: You may cut off hands, product, captions, or a second speaker.
Best for: talking-head videos, demos where the subject is centered, scripted content where you can reframe intentionally.
Option B: Fit with padding (keeps everything)
- Pros: Keeps the full frame—nothing is cut off.
- Cons: Adds blurred/colored background or black bars; can look less native.
Best for: tutorials with important on-screen details, screen recordings, interviews where both people must remain visible.
Rule of thumb: If the viewer needs every pixel to understand the content, use fit. If the viewer needs immersion and you can control framing, use crop.
Step-by-step: resize video for TikTok on iPhone
The exact buttons vary by app, but the workflow is consistent. Here’s a reliable process you can apply in most iPhone editors (including built-in tools and popular third-party editors).
1) Choose your target first (usually 9:16)
Before trimming or adding text, set the project canvas to 9:16. If you add captions first and then resize, you’ll often end up with cut-off text or awkward placement.
2) Decide: crop or fit
Look at your original clip:
- If it’s 16:9 landscape, cropping to 9:16 is aggressive—be ready to reframe around your subject.
- If it’s 4:3 (common in older footage), cropping is easier but still needs careful framing.
- If it’s already vertical but not perfect, you may only need a small zoom-out/in and reposition.
3) Reframe with intent (keep the face and key action in the “safe area”)
TikTok’s interface overlays (captions, buttons, username, CTA) can cover edges of the frame. To avoid placing important details under UI elements:
- Keep faces and key objects closer to the center, not the extreme bottom-right.
- Leave comfortable margins at the bottom for captions and at the right for icons.
- If you add on-screen text, place it higher than you think you need.
If your editor supports “guides,” “safe zones,” or “grid,” turn them on. If not, use the iPhone grid as a visual reference and avoid the lower third on the right side.
4) Preserve quality: avoid repeated re-exports
Quality loss happens most often when creators export multiple times (e.g., export from Editor A, import to Editor B, export again). Instead:
- Do your resizing and trimming in one project.
- Add captions/titles next.
- Export once at your final resolution.
5) Set export settings that TikTok won’t punish
Export recommendations that generally hold up well:
- Resolution: 1080×1920 (vertical)
- Frame rate: Match your source (commonly 30 fps or 60 fps)
- Codec: H.264 (widely compatible) or HEVC if your workflow supports it cleanly
- Bitrate: High enough to preserve detail (many apps label this as “High” or “Best”)
If your footage was shot in 4K, don’t assume TikTok needs 4K delivery. Often, a clean 1080×1920 export looks better than a messy 4K-to-vertical conversion with heavy compression artifacts.
Common resizing scenarios (and what to do)
Scenario 1: Landscape talking-head → vertical TikTok
Goal: Fill the screen without chopping off your eyes or captions.
- Choose crop to 9:16.
- Position your face slightly above center.
- If your hands matter (gestures, product), zoom out a bit and accept some background.
- Keep captions in the lower-middle (not the lower-right).
Scenario 2: Screen recording → vertical TikTok
Goal: Keep UI readable.
- Choose fit and add a background (blurred duplicate of the video works well).
- Alternatively: split the layout—screen on top, your face cam below.
- Add a zoom/pan on key steps if text is small.
Scenario 3: Vertical clip but text is cut off
Goal: Stop captions/titles from hitting edges after upload.
- Reduce text size slightly and move it upward.
- Keep important text inside an invisible “inner rectangle” (center 70–80% of the frame).
- Preview with TikTok UI in mind: bottom area is the danger zone.
Captions and subtitles: resize-friendly readability
Captions help retention, but resizing can wreck them if you place them too low or too wide. Use these guidelines:
- Limit line length: 2 lines max is easier to read on phones.
- Use contrast: add a subtle shadow or semi-transparent background box.
- Position wisely: place captions above the bottom UI area; center-aligned is often safest.
- Language workflow: if you publish in multiple languages, generating subtitles on-device can be convenient for privacy and speed.
Quick checklist before you post
- Canvas set to 9:16
- No important content in bottom-right UI region
- Captions readable (contrast + safe placement)
- Exported at 1080×1920 (or your chosen target), single final export
- Audio is clean (voice level consistent; no clipping)
Advanced option: resizing with FFmpeg (for creators who batch process)
If you sometimes move clips to a computer for batch processing, FFmpeg can resize and crop precisely. This example converts a 16:9 clip into a centered 9:16 crop at 1080×1920:
ffmpeg -i input.mp4 -vf "crop=in_h*9/16:in_h,scale=1080:1920" -c:a copy output_tiktok.mp4Note: This crops based on height and centers the crop by default. If the subject isn’t centered, you’ll want a more advanced crop expression or manual reframing in an editor.
FAQ
Why does my TikTok look blurry after resizing?
Most blur comes from exporting too low a resolution, exporting multiple times, or heavy compression from the editor. Export once at 1080×1920 with “High/Best” quality, and avoid re-saving through several apps.
Should I record in 4K if I’m posting to TikTok?
Recording in 4K can help if you plan to crop/reframe (more pixels to work with). Just make sure your final export is clean and your phone has enough storage and processing headroom.
Is it better to resize before or after adding subtitles?
Resize first. Then add subtitles so you can place them correctly for the final frame and avoid cut-offs.
Putting it all together: a clean iPhone creator workflow
A fast, repeatable workflow looks like this: script → record → resize to 9:16 → add captions → export once. If you use a teleprompter-style recording app that keeps scripts and subtitle generation on-device, you can streamline the whole process while staying privacy-minded (for example, CueCam offers on-phone scripts, recording, and subtitles in one place).
