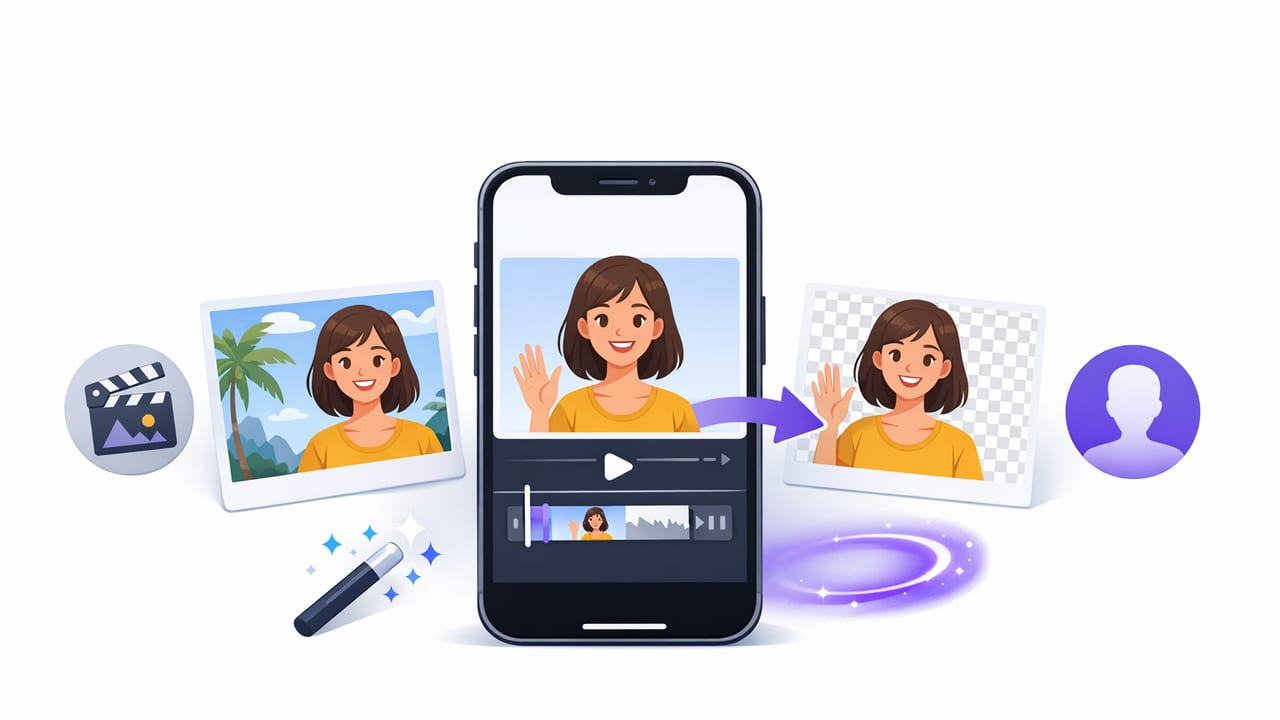
Learning to remove background from videos on iPhone is one of the fastest ways to level up your content—without buying a studio. Whether you’re making product demos, talking-head lessons, UGC ads, or TikTok/Shorts/Reels, background removal lets you drop yourself onto a clean color, a branded graphic, a blurred room, or a custom scene.
The tricky part isn’t tapping an effect—it’s getting clean edges (hair, hands, fast motion), avoiding flicker, and exporting in the right format so your final video still looks sharp after social compression. This guide walks through practical methods that work on iPhone, when to use each, and how to film for the best results.
What “background removal” really means
On iPhone, background removal typically happens in one of two ways:
- AI segmentation: the app detects the person (foreground) and masks everything else.
- Chroma key (green screen): you record in front of a solid color (usually green) and the editor removes that exact color.
Rule of thumb: AI is fastest for casual workflows. Green screen is most reliable when you need crisp edges (especially for hair and fast movement).
4 reliable ways to remove background from videos on iPhone
Method 1: Use an AI “Remove Background” tool (fastest)
Many iPhone video editors include an AI cutout feature (often called Remove Background, Cutout, Auto Mask, or Portrait). The exact steps vary, but the workflow is usually:
- Import your clip into a video editor that supports AI background removal.
- Tap the clip → choose Cutout/Remove Background.
- Add a replacement background: solid color, image, gradient, or another video layer.
- Refine edges if available: feather, spill suppression, edge smooth, and shadow controls.
- Export in the correct resolution (see export section below).
Best for: talking-head videos, tutorials, UGC, quick social posts.
Watch out for: edge shimmer on hair, holes around hands, and flicker when lighting changes.
Method 2: Use green screen (best quality control)
If you can control your setup, green screen is still the most predictable way to remove a background on iPhone.
Simple green screen steps:
- Hang a smooth green backdrop (fabric or paper). Avoid wrinkles and shiny material.
- Light it evenly (more on lighting below).
- Record your subject with separation from the screen.
- In an editor that supports Chroma Key / Green Screen, apply the effect and adjust strength.
- Add your replacement background layer underneath.
Best for: hair detail, full-body shots, product presenters, consistent edges.
Watch out for: green spill on skin/clothing, wrinkles, and shadows on the screen.
Method 3: Use platform-native effects (fast, but limited)
TikTok, Instagram, and other apps often include a background removal or green screen effect. This can be great when speed matters more than control.
- Pros: quick, no extra apps, built for that platform’s output.
- Cons: fewer edge controls, quality varies, and re-editing later is harder.
Best for: trends, quick reactions, low-stakes posts.
Method 4: Record clean + remove background later (best for serious edits)
If you want maximum flexibility, record your video at high quality first, then do background removal in a dedicated editor later (still on iPhone, or on desktop if needed). This reduces the chance that a “social effect” locks you into one look.
Best for: creators repurposing one clip across multiple platforms, branded templates, or client work.
Which method should you pick? (Quick comparison)
| Method | Speed | Edge Quality | Best Use Case | Downsides |
|---|---|---|---|---|
| AI background removal | Very fast | Good (varies) | Talking-head, UGC, daily posts | Hair flicker, edge shimmer |
| Green screen (chroma key) | Medium | Excellent | Pro looks, full-body, motion | Needs setup + lighting |
| Platform effects | Fastest | Fair to good | Trends, quick edits | Limited controls, harder to reuse |
| Record clean, edit later | Slower | Best possible | Repurposing, branded series | More steps, more storage |
How to film so background removal looks clean
1) Light the subject and background separately
Bad lighting is the #1 reason masks look messy. Aim for:
- Even lighting on your face (soft key light slightly above eye level).
- Even lighting on the backdrop (if using green screen), minimizing bright hot spots.
- No harsh shadows falling on the wall/screen behind you.
2) Add separation (distance matters)
Stand 4–8 feet (1.2–2.4 m) from the background when possible. This reduces shadows and prevents the background color from reflecting onto your skin and hair (spill).
3) Avoid clothing that confuses the mask
- If using green screen, avoid green clothing (and reflective jewelry).
- For AI tools, avoid tops that match the wall behind you.
4) Stabilize your shot
Background removal is easier when the camera doesn’t wobble. Use a tripod or stable surface. If you must handhold, use stabilization, but note that heavy stabilization can slightly blur edges.
5) Record higher quality than you think you need
Compression artifacts make cutouts look crunchy. If your workflow allows it, record at 4K and export down to 1080p after background replacement—edges usually look smoother.
Step-by-step: a practical iPhone workflow (AI cutout)
- Record your clip with good lighting and a clean background (plain wall works).
- Open an editor with AI background removal and import the clip.
- Apply Remove Background to the clip.
- Add a background (image/video/gradient) on a lower layer.
- Refine edges:
- Add a small feather (too much looks blurry).
- If the background color bleeds onto hair/skin, enable spill suppression if available.
- If your hands create holes, try edge expand or slightly reduce sensitivity.
- Color match: warm/cool the subject or background so they feel like the same scene.
- Export using platform-friendly settings (below).
Step-by-step: a practical iPhone workflow (green screen)
- Set up the screen: stretch fabric tight or use paper to avoid wrinkles.
- Light the screen evenly: two lights aimed at the screen from the sides works well.
- Light the subject separately (soft key + optional fill).
- Record with separation from the screen (reduce spill and shadows).
- In your editor, apply Green Screen / Chroma Key.
- Tune the key:
- Increase key strength until the green disappears, but stop before edges break apart.
- Use spill suppression to remove green tint on hair/skin.
- Add a tiny blur/feather to avoid a cutout look.
- Add your replacement background and match brightness between layers.
Common problems (and fixes)
Problem: Hair looks jagged or flickers
- Increase lighting on your face to reduce noise/grain.
- Try recording at a higher bitrate setting (where available) or in 4K.
- Use a green screen if hair detail is critical.
- In editing: add slight feather + a subtle shadow behind the subject.
Problem: Hands create holes or disappear
- Avoid fast motion close to the camera.
- Improve contrast between hands and background (different color than your skin tone).
- Adjust sensitivity/threshold or expand the mask edge slightly.
Problem: Green spill on skin or shoulders
- Move farther from the screen.
- Reduce screen brightness and light the subject separately.
- Use spill suppression and warm the subject slightly.
Problem: The cutout looks “pasted on”
- Add a subtle drop shadow or contact shadow.
- Match background blur/grain to your subject.
- Match color temperature (warm vs cool) between subject and background.
Export settings that keep edges sharp
After you remove background from videos on iPhone, exporting correctly prevents re-compression from destroying your edges.
- Resolution: 1080×1920 for vertical (9:16) is a solid default; use 4K vertical if your platform and workflow support it.
- Frame rate: keep what you shot (30 or 60 fps). Don’t convert unless necessary.
- Codec: H.264 is widely compatible; HEVC can look great but may vary by platform.
- Bitrate: higher bitrate reduces edge mush; choose the editor’s “High” quality option when available.
Optional: a simple “edit checklist” you can reuse
- Is the subject well-lit and in focus?
- Do edges hold up during hand gestures and head turns?
- Is there spill (green tint) on hair/skin?
- Do subject and background match in brightness and color?
- Did you export at the right aspect ratio (9:16, 1:1, 16:9)?
If you want a repeatable creator workflow
Background removal gets even easier when your workflow is consistent: a saved lighting setup, a repeatable framing mark, and an editing template (same background, same text style, same export preset). If your process also includes reading a script while recording, using an iPhone teleprompter-style recorder can help you stay on-message while capturing clean footage for background replacement—apps like CueCam combine script reading with recording and basic edits so your cutout-ready clips are easier to produce end-to-end.
// Quick template idea (not code you run):
// 1) Record clip (consistent framing)
// 2) Apply background removal preset
// 3) Drop in branded background
// 4) Add subtitles/title card
// 5) Export 9:16 @ 1080x1920
With the right filming setup and the right removal method, you can reliably remove background from videos on iPhone and get clean, professional results—without leaving your phone.
