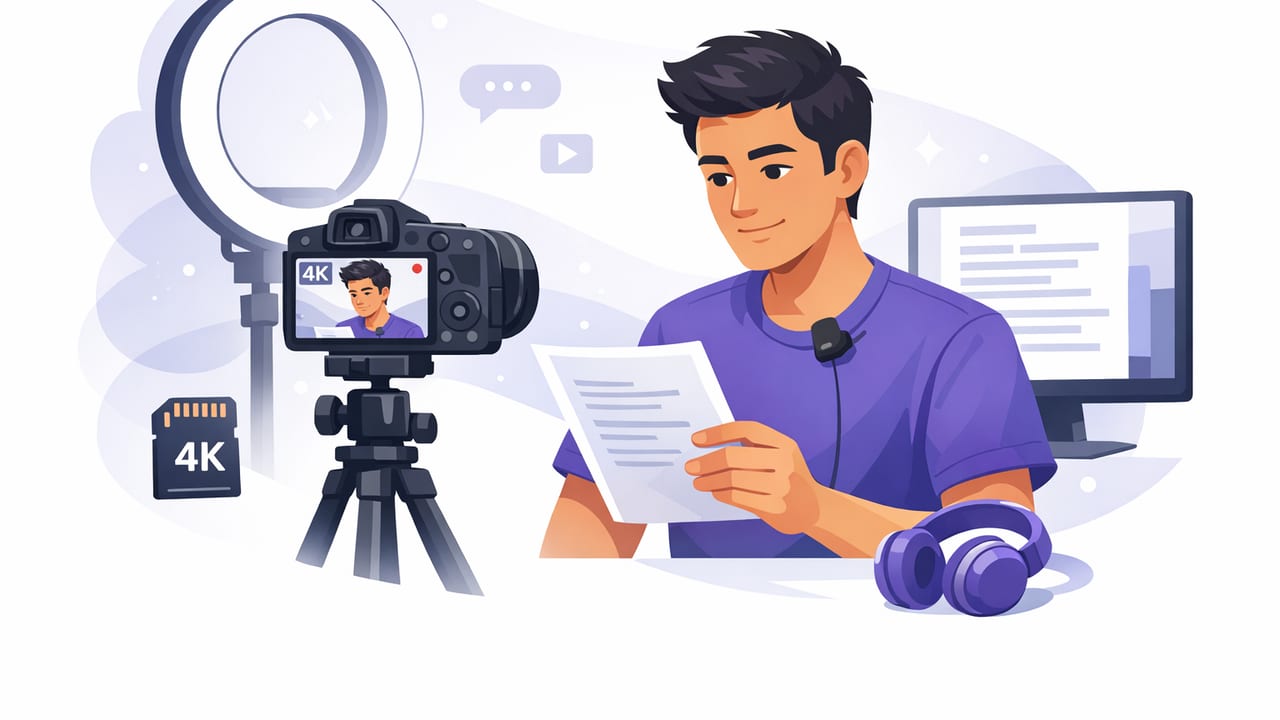
If you’ve ever tried to record 4K video while reading script on an iPhone, you’ve probably run into the same problems: your eyes drift off-camera, your pacing sounds robotic, and the “perfect take” takes forever. The good news: with the right setup and workflow, you can read naturally, maintain eye contact, and still capture crisp 4K footage—without turning your process into a technical project.
This guide walks through a creator-friendly workflow: script formatting, teleprompter placement, iPhone camera settings, audio, lighting, and a post-production checklist (including subtitles). Use it for YouTube, courses, client videos, product demos, or any talking-head format.
Why 4K + teleprompter reading is tricky (and how to fix it)
When you read from notes below the lens, viewers notice the “down-and-away” eye movement immediately. And when you increase video quality to 4K, everything becomes more obvious: eye drift, poor lighting, and audio issues.
To record 4K while reading a script successfully, you need three things working together:
- Eye line: the script must sit as close to the camera lens as possible.
- Pacing: scrolling must match your speaking style (not the other way around).
- Stability + audio: 4K makes micro-shakes and noisy audio more noticeable.
Step 1: Set up your iPhone for true 4K capture
Start by confirming you’re actually recording in 4K (not “HD that looks fine on your phone”).
Recommended 4K settings
- Resolution: 4K
- Frame rate: 30fps for most talking-head; 60fps if you want extra smooth motion or plan to add subtle slow-mo
- Lens: use the main rear camera when possible (it’s often sharper with better low-light performance). If you must use selfie, prioritize good lighting.
- Stabilization: enable stabilization in your recording app if available; otherwise stabilize physically (tripod) and in editing if needed.
Storage note: 4K files are large. Before recording, free space so you don’t get interrupted mid-take. As a rule of thumb, aim for several GB of free space for longer sessions.
Step 2: Place the script so your eyes stay on the lens
The simplest eye-contact rule is: the closer the text is to the lens, the more natural you look. You have a few practical options depending on your budget and environment:
- App-based teleprompter overlay: text sits near the camera preview so you read “into” the lens.
- Phone + mirror teleprompter rig: best eye contact for longer scripts; more gear.
- Second device as script monitor: acceptable in a pinch, but eye drift is likely unless it’s positioned very close to the camera.
If you’re filming with the rear camera (often best quality), position the script just above or beside the lens—close enough that your gaze only moves slightly.
Step 3: Choose a scrolling mode that matches how you speak
Most teleprompter workflows succeed or fail on scrolling. Pick a mode that supports natural delivery rather than forcing you into “announcer voice.”
| Scrolling mode | Best for | Pros | Watch outs |
|---|---|---|---|
| Fixed-speed | Short scripts, consistent pacing | Simple, predictable, repeatable | You may rush or pause unnaturally |
| Voice-following | Conversational delivery, variable pacing | Feels natural; accommodates pauses | Needs clear audio input; noisy rooms can affect tracking |
| Timed scrolling | Ads, voiceovers, scripted timing | Perfect for matching beats and cues | Less forgiving if you change your phrasing |
Practical pacing tip
Record a 20–30 second test read and listen back without watching. If it sounds like you’re reading, slow the scroll, add more line breaks, and shorten sentences.
Step 4: Format your script for spoken delivery
Most scripts are written like essays. Spoken scripts need whitespace, rhythm, and clear emphasis. This reduces stumbles and makes your eyes move less while reading.
A teleprompter-friendly formatting template
[HOOK]
Say the outcome in one sentence.

[CONTEXT]
One short paragraph.
Pause.

[POINT 1]
Keep sentences short.
Add line breaks where you would breathe.

[CALL TO ACTION]
Tell them what to do next.
- Use short lines: long paragraphs increase eye travel.
- Mark emphasis: bold or ALL CAPS for key words (sparingly).
- Write like you talk: contractions, simple words, fewer clauses.
- Add “breath punctuation”: line breaks where you would naturally pause.
Step 5: Lock in sharp focus and consistent exposure
Nothing ruins a 4K talking-head shot faster than pulsing brightness or focus hunting. Your goal is consistency across the entire take.
- Frame your shot (headroom + eye line).
- Tap to focus on your eyes/face.
- Lock exposure/focus if your app supports it (often shown as AE/AF lock).
- Control brightness by adjusting exposure slightly down if highlights are clipping.
If you’re using a teleprompter overlay, avoid constantly re-tapping focus, which can cause visible exposure shifts.
Step 6: Capture clean audio (more important than 4K)
Viewers will tolerate “good enough” video; they won’t tolerate noisy, echoey audio. If you’re reading a script, audio clarity is what makes you sound confident and professional.
Audio checklist
- Use an external mic when possible (wired lav, wireless lav, or small shotgun mic).
- Record in a quiet room: soft furnishings reduce echo.
- Keep mic distance consistent: moving closer/farther changes tone and volume.
- Do a 10-second room test: listen for HVAC hum, street noise, or clothing rustle.
If you can, record a short “silence” sample too; it helps with noise reduction in editing.
Step 7: Stabilize the shot (4K shows every shake)
Even mild hand movement looks worse in high-resolution footage. Use one of these stability levels:
- Best: tripod + stable surface
- Good: phone clamp on a desk stand + weight (to reduce wobble)
- Emergency: lean your arms on a table and keep elbows locked (still not ideal)
If you plan to crop vertical clips from horizontal footage, stabilization plus extra framing space (“shoot wide”) gives you room to reframe.
Step 8: Record in segments for faster “perfect takes”
Long, one-take scripts increase mistakes and fatigue—especially when reading. A faster workflow is to record in short sections, then stitch together.
- Segment by idea: hook, point 1, point 2, summary.
- Use a reset ritual: stop, breathe, smile, re-start—so the energy stays consistent.
- Leave a pause before and after each segment to make editing easier.
This method also helps if you’re producing multiple platform versions (YouTube + Shorts + Reels) from the same script.
Step 9: Add subtitles efficiently (without compromising privacy)
Subtitles aren’t optional for most platforms anymore. They improve retention, accessibility, and comprehension—especially for educational or product content.
When choosing a caption workflow, consider:
- Accuracy: does it handle names/terms you use often?
- Speed: can you generate captions without round-tripping through multiple apps?
- Privacy: does your video/audio leave your device, or can it be processed on-device?
- Style: readable font, safe margins, and consistent timing.
Even if you plan to burn in captions, keep an exported caption file (like SRT) when possible for reuse across platforms.
Common problems when you record 4K video while reading script (and fixes)
Problem: You still look like you’re reading
- Fix: increase font size and reduce words per line.
- Fix: rewrite sentences to be shorter and more conversational.
- Fix: move the text closer to the lens (or reposition your rig).
Problem: You keep losing your place
- Fix: use voice-following scrolling or add more visual anchors (headings like [POINT 2]).
- Fix: add deliberate pauses and line breaks where you breathe.
Problem: Video looks soft even in 4K
- Fix: improve lighting (a soft key light is often the biggest upgrade).
- Fix: clean the lens (surprisingly common).
- Fix: avoid digital zoom; move the camera closer instead.
Problem: Export looks worse on TikTok/Instagram
- Fix: export in the platform’s preferred aspect ratio (often 9:16) and a reasonable bitrate.
- Fix: avoid multiple recompressions (don’t re-upload, re-download, re-edit if you can help it).
A simple end-to-end checklist (copy/paste)
- Script: conversational, short lines, emphasis marked
- Teleprompter: text close to lens, font size comfortable
- Camera: 4K set, framing locked, AE/AF locked if possible
- Audio: external mic, quiet room, test recording
- Stability: tripod/stand, no handheld
- Workflow: record in segments, leave edit pauses
- Post: trim, light cleanup, subtitles, export per platform
Creator rule: If you have to choose between “perfect video” and “perfect audio,” choose audio. Your script will land better.
Putting it together: the fastest “script-to-4K” workflow
Once you have the basics, the most efficient routine looks like this:
- Draft and format a spoken script (with breath-friendly line breaks)
- Do one short test read to calibrate scroll speed and tone
- Lock focus/exposure and record in segments
- Edit quickly (trim starts/ends, remove flubs, normalize audio)
- Generate subtitles and export for your target platform
If you prefer a single iPhone workflow that combines teleprompter reading, 4K recording, and on-device subtitle generation, an app like CueCam can cover those steps while keeping scripts and footage on your phone.
