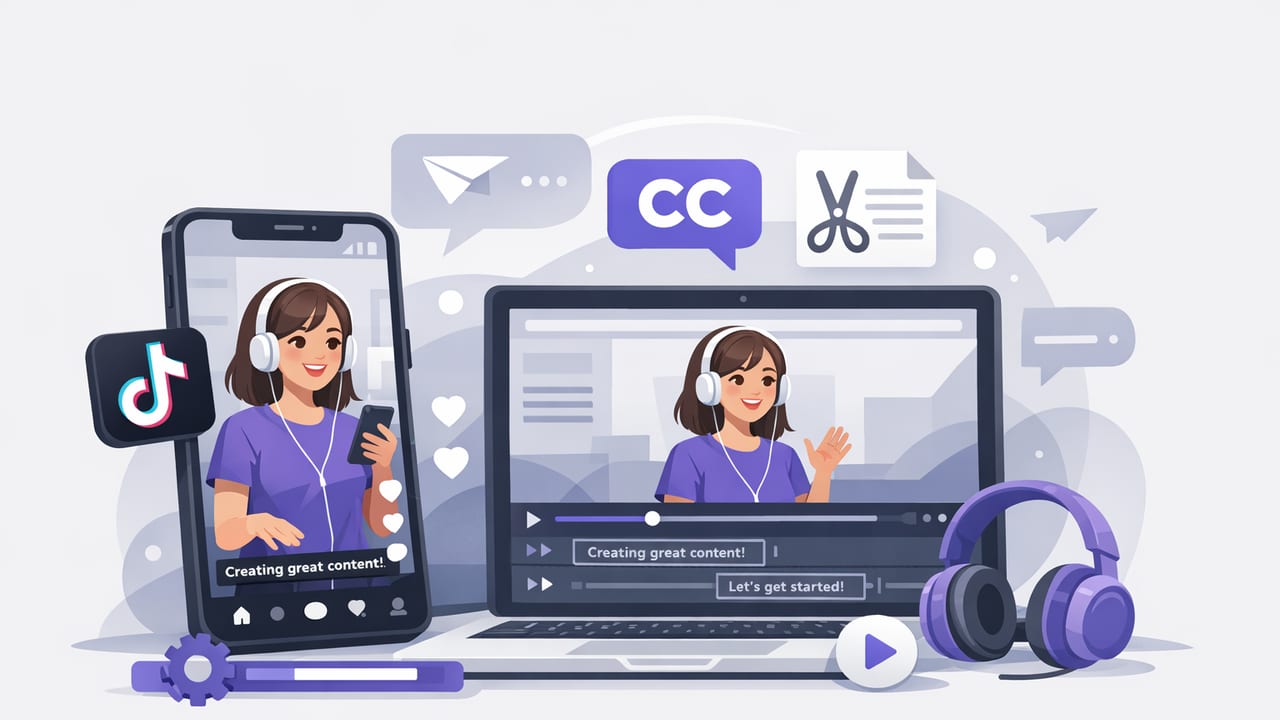
Subtitles aren’t just an accessibility feature anymore—they’re a performance feature. Many viewers watch TikTok on mute, in public, or while multitasking. If your video relies on spoken words, captions can be the difference between a swipe and a full watch-through. This guide shows a practical, creator-friendly process to create tiktok videos with subtitles on an iPhone, from planning the script to exporting the final vertical video.
Rule of thumb: if the viewer can understand your message with the sound off, you’ve made your content easier to watch—and easier to finish.
Why subtitles help TikTok videos perform better
Subtitles improve comprehension and retention, especially for fast-paced content. They also help in these common scenarios:
- Mute-first viewing: people scroll with sound off and only turn it on if they’re hooked.
- Non-native speakers: captions reduce effort and increase watch time.
- Accessibility: subtitles support viewers who are deaf or hard of hearing.
- Clarity in noisy environments: even with sound on, captions keep your message intact.
Step 1: Start with a “captionable” script
The easiest way to generate clean subtitles is to record clean speech. The easiest way to record clean speech is to use a script that’s built for spoken delivery.
Make your script TikTok-friendly
- Write in short sentences: captions display best in 1–2 lines.
- Say numbers clearly: “twenty-five” is easier than “2-5” when auto-captioning.
- Avoid tongue twisters: mispronunciations lead to caption errors.
- Front-load the hook: put the main promise in the first sentence so it appears immediately in captions.
Format a script for smooth reading
If you plan to read on-camera, format your script so it’s easy to follow:
- Use double line breaks between ideas.
- Write emphasis words in ALL CAPS (you’ll naturally stress them).
- Add (pause) notes where you want breathing room for captions.
Step 2: Record clean audio (captions depend on it)
Auto-captions are only as good as your audio. Before you worry about fonts and styling, improve the input.
Quick iPhone recording setup tips
- Get close to the mic: 12–18 inches from the phone is a good start.
- Use an external mic if you can: a wired or wireless lav reduces room echo.
- Record in a soft room: curtains, carpet, and furniture reduce reverb.
- Lock exposure/focus: so the image doesn’t pulse while you talk.
- Use 4K only if it helps your workflow: 1080p is often plenty for TikTok and is easier to edit.
Teleprompter vs. memorizing: which is better for captions?
Memorizing can sound natural, but it often creates more restarts and filler words. Reading a well-formatted script can reduce takes and make captioning faster—especially if you keep your cadence steady.
Step 3: Choose a subtitle method (and know the tradeoffs)
There are three common approaches to subtitles on iPhone. Your best choice depends on your privacy needs, turnaround time, and how much styling control you want.
| Method | Pros | Cons | Best for |
|---|---|---|---|
| In-app TikTok captions | Free, quick, native look | Less control, may require redoing if you re-edit elsewhere | Fast posts, minimal editing |
| Third-party online caption tools | Good accuracy, lots of styles | Uploads required, privacy considerations, internet dependency | Teams, heavy styling, desktop workflows |
| On-device iPhone captioning | Privacy-friendly, works offline, fast iteration | Style options vary by app, may require cleanup for names/brands | Creators who want speed + control + privacy |
Step 4: Generate subtitles, then do a “meaning edit” pass
Auto-captions are a draft. Your job is to make sure they communicate the right meaning quickly.
A simple subtitle editing checklist
- Fix proper nouns: brand names, tools, and people’s names.
- Remove filler words: “um,” “like,” “you know” (unless they’re part of your style).
- Correct numbers: “50%” vs “fifty percent.” Choose one consistently.
- Split long lines: if a caption feels dense, break it into two captions.
- Keep the hook readable: the first caption should be short and punchy.
Readable caption timing basics
- Too fast: viewers can’t finish reading before the next line appears.
- Too slow: captions lag behind the audio and feel “off.”
- Goal: match natural speech while keeping each caption bite-sized.
Step 5: Style subtitles for TikTok without blocking your video
Captions should be easy to read and should not cover key visuals or TikTok UI elements.
Placement and safe zones
- Avoid the bottom edge: TikTok overlays can cover lower-third captions.
- Keep text centered: center placement usually survives UI overlays better.
- Leave headroom for faces/hands: if you gesture a lot, raise captions slightly.
Font, size, and contrast
- Use high contrast: white text with a dark outline/shadow is the most reliable.
- Don’t go too small: many viewers watch on smaller phones.
- Limit styles: one style throughout improves readability and brand consistency.
When to use word-by-word highlighting
Word highlighting can increase engagement for tutorial-style videos because it guides the eye. Use it when your pacing is steady and your message is dense. Skip it for casual storytelling where a clean two-line caption is easier to follow.
Step 6: Export settings that preserve subtitle clarity
Blurry exports can make captions hard to read. Prioritize a clean vertical format and enough bitrate so text edges remain crisp.
- Aspect ratio: 9:16 vertical
- Resolution: 1080×1920 is typically ideal; 4K vertical can be overkill unless you crop heavily
- Frame rate: match your recording (commonly 30 or 60 fps)
- Keep captions burned in if you want guaranteed display across reposts
If you plan to repurpose for other platforms, consider exporting a version with subtitles and one without (so you can re-style later).
Step 7: A repeatable “script-to-video” workflow (template)
Here’s a simple workflow you can repeat in under an hour once you’re practiced:
- Write a 90–150 word script (15–35 seconds).
- Record 2 takes with clean audio.
- Pick the best take and trim the first 0.5–1 second of dead air.
- Generate subtitles and correct names/numbers.
- Style captions for readability (contrast + safe placement).
- Export 9:16 at 1080×1920.
- Upload and add a caption line that matches your on-screen hook.
Troubleshooting: common subtitle problems (and fixes)
Problem: captions are inaccurate
- Speak slightly slower and reduce background noise.
- Re-record difficult lines instead of over-editing a messy take.
- Pronounce product names clearly, or substitute a simpler phrase.
Problem: captions cover important on-screen elements
- Move captions upward into a safe zone.
- Reframe your shot with more headroom.
- Use fewer words per caption so the text block is smaller.
Problem: captions look soft or pixelated
- Export at 1080×1920 (or higher) and avoid excessive recompression.
- Increase text outline/shadow thickness for better edge definition.
- Keep background replacement effects subtle (heavy blur/noise can reduce legibility).
Optional: keep an SRT version for repurposing
If your tool allows exporting captions as an SRT file, it can save time when republishing on other platforms (or when you want to redesign captions later). An SRT looks like this:
1
00:00:00,000 --> 00:00:02,200
Here’s how to write captions that people actually read.

2
00:00:02,200 --> 00:00:05,000
Keep them short, high-contrast, and on-screen early.
Even if you burn captions into the TikTok version, storing an SRT alongside your project gives you flexibility.
Privacy note: on-device subtitles vs. cloud processing
Some creators prefer tools that generate subtitles on-device so scripts and recordings don’t need to be uploaded to a server—useful for client work, drafts, or sensitive topics. If privacy matters in your workflow, look for captioning that works offline and keeps files local.
Wrap-up: the simplest way to create TikTok videos with subtitles
To consistently create tiktok videos with subtitles, focus on a repeatable system: write a clean script, record clear audio, generate captions, do a quick meaning edit, and export in a crisp vertical format. Once you dial in your caption styling and safe placement, you’ll spend less time fixing subtitles and more time publishing.
If you prefer reading scripts while maintaining eye contact and generating private, on-device subtitles in the same iPhone workflow, an app like CueCam can fit neatly into that process.
