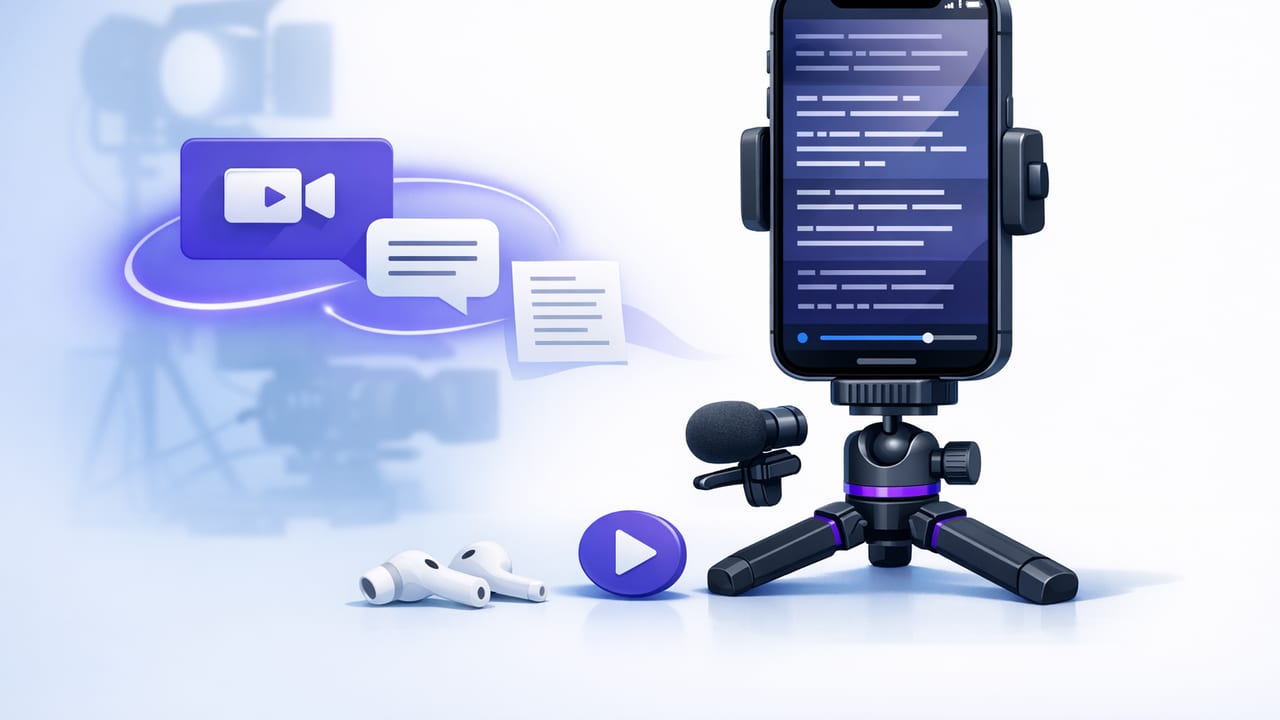
Scripted video performs because it’s clear, concise, and repeatable. The challenge is delivering a script naturally while keeping eye contact with the lens. That’s exactly what a teleprompter app iPhone setup is for: it turns your phone into a script-to-camera workflow so you can record confidently, reduce retakes, and publish more consistently.
This guide breaks down what to look for in a teleprompter app, how different scrolling modes affect delivery, and how to build a fast end-to-end workflow (script → record → subtitles → export) that works for TikTok, Instagram, and YouTube.
Why a teleprompter app on iPhone changes your filming workflow
Creators often start with memorization or reading notes off-screen. Both create common problems: wandering eye line, inconsistent pacing, and lots of cuts. A teleprompter solves that by putting your script where your eyes already need to be—near the camera—so the delivery feels direct and intentional.
- Fewer retakes: You’re not guessing lines or restarting when you forget a phrase.
- More consistent pacing: Better for viewer retention and easier for captions.
- Cleaner edits: Fewer jump cuts and less “uh/um” cleanup.
- Scalable production: Record batches of videos with repeatable formatting.
Key features to evaluate in a teleprompter app iPhone creators actually need
Not all teleprompter apps are designed for modern creator workflows. Here are the capabilities that matter most when you’re recording content regularly.
1) Scrolling modes: voice-following vs fixed-speed vs timed
The scrolling mode is the heart of the experience. Different modes suit different types of content.
| Mode | Best for | Pros | Watch-outs |
|---|---|---|---|
| Voice-following | Talking-head explainers, tutorials, longer takes | Adapts to your pace; fewer restarts | Needs clear audio; can feel jumpy if you pause a lot |
| Fixed-speed | Short scripts, repeatable performance, consistent cadence | Simple and reliable | May force you to rush or slow unnaturally |
| Timed scrolling | Exact duration goals (e.g., 30s, 60s, 90s) | Great for platform constraints and ad reads | Requires a well-edited script; less flexible mid-take |
2) Pro recording controls (especially if you shoot in 4K)
If your teleprompter app also records video, look for options that match how you publish:
- 4K recording (and ideally high frame rates) for sharp exports and cropping flexibility.
- Stabilization if you shoot handheld or move slightly while talking.
- External mic support for lav or shotgun mics—audio quality often matters more than resolution.
- Manual camera options (when available) to avoid exposure pumping and focus hunting.
3) Built-in editing: just enough to publish fast
A full editor isn’t always necessary, but a few tools inside your teleprompter workflow can save hours:
- Trim/cut the start/end (and remove obvious mistakes).
- Resize/reframe for vertical (9:16), square (1:1), or horizontal (16:9).
- Background replacement for a clean, consistent look.
- Audio cleanup for noise reduction and voice clarity.
- Optional watermark controls depending on your publishing needs.
4) Subtitles: speed, accuracy, and offline support
Captions aren’t optional anymore. When evaluating subtitle features, prioritize:
- On-device generation (no uploads) if you handle sensitive scripts or client work.
- Language support if you publish multilingual content.
- Style controls (font size, placement, safe margins) to avoid UI overlays on TikTok/IG.
- Burned-in vs exportable captions depending on your editing pipeline.
5) Privacy and file control
Many creators read client scripts, product launch info, or personal stories. A privacy-first teleprompter workflow should:
- Keep scripts and recordings on your phone by default.
- Avoid mandatory account creation for basic use.
- Offer clear export controls so you know where files go.
A practical script-to-video workflow (that stays consistent)
Here’s a repeatable workflow that works whether you’re recording one video or batching ten.
Step 1: Write for the ear, not the page
Most “stiff” teleprompter delivery comes from scripts written like essays. Write the way you speak: short sentences, active voice, and intentional pauses.
Rule of thumb: If you wouldn’t say it out loud in a conversation, rewrite it.
Step 2: Format your teleprompter script for readability
Good formatting reduces mistakes and makes your delivery look natural. Use line breaks, emphasize key words, and mark pauses.
[HOOK]
If you’re reading your script off-screen,
your audience can tell.

[VALUE]
Put the words near the lens.
Then slow down on the key point:
"one idea per sentence."

[CTA]
If you want the checklist,
comment “PROMPT”.
- Use caps sparingly for emphasis (not whole paragraphs).
- Add beats like “(pause)” where you want breathing room.
- Highlight names/numbers so you don’t stumble on specifics.
Step 3: Choose the right scrolling mode for the script type
Match the mode to the content:
- Voice-following: Great for educational content where you might add a quick aside.
- Timed: Best for strict runtime (ads, reels with tight pacing, speaking slots).
- Fixed-speed: Best when you’ve rehearsed and want consistent cadence across multiple takes.
Step 4: Dial in camera, audio, and framing before you hit record
Small setup tweaks dramatically improve results:
- Lens height: Put the camera at eye level to avoid “looking down” energy.
- Distance: Frame head-and-shoulders for talking head; leave space for captions.
- Light: Face a window or soft light; avoid overhead shadows.
- Audio: Use an external mic when possible; do a 5-second test recording.
- Background: Keep it simple—visual noise competes with your message.
Step 5: Record in batches (and plan your retakes)
Batching reduces setup time and helps you publish consistently. A simple system:
- Record three takes max per script.
- If you mess up, pause, repeat the sentence, and continue—don’t restart.
- Clap once after a mistake to create a visible spike for easier trimming.
Captioning and export: the “final 10%” that makes videos feel pro
Caption placement checklist (avoid being covered by UI)
Every platform overlays buttons and descriptions. Keep captions inside safe areas:
- Vertical video: keep captions slightly above the bottom and away from the right edge.
- Two-line max: more lines can feel cramped on smaller screens.
- High contrast: white text + subtle shadow/outline is usually the most legible.
Export settings to keep quality without giant files
If you record in 4K, you don’t always need to export in 4K—especially for quick social posts. A practical approach:
- Keep 4K if you’re cropping, punching in, or repurposing across formats.
- Export 1080p for most vertical social posts to reduce upload time and storage.
- Maintain consistent frame rate to avoid jittery motion.
Common mistakes that make teleprompter delivery look “read”
If you’ve tried a teleprompter app and didn’t like the results, it’s usually one of these issues—not the concept itself.
- Text too small: you squint, and your eyes dart. Increase font size and move the phone closer.
- No breathing room: long paragraphs force rushed delivery. Break lines more often.
- Script too formal: rewrite into spoken language with contractions and shorter phrases.
- Scrolling too fast: you “chase” the words. Slow it down and add line breaks.
- Over-editing: removing every pause can make you sound unnatural. Leave some cadence.
A simple checklist for choosing the right teleprompter app iPhone setup
Use this checklist when comparing options:
- Scrolling: voice-following, timed, and fixed-speed options
- Recording: supports high-quality video and stable performance
- Audio: external mic support and basic cleanup tools
- Subtitles: fast generation, styling, and (ideally) offline/on-device
- Editing: trim + resize/reframe built in for quick publishing
- Privacy: local storage, no forced sign-up, clear export control
Putting it all together
A strong teleprompter app iPhone workflow isn’t just about reading lines—it’s about building a repeatable system that improves delivery, speeds up production, and keeps quality consistent across platforms. Start with a script written for speech, choose the scrolling mode that fits the content, record with solid audio, then finish with captions and an export that matches where you’re posting.
If you want an iPhone teleprompter workflow that combines voice-following, 4K recording, on-device subtitles, and a privacy-first approach, you can explore CueCam as one option.
