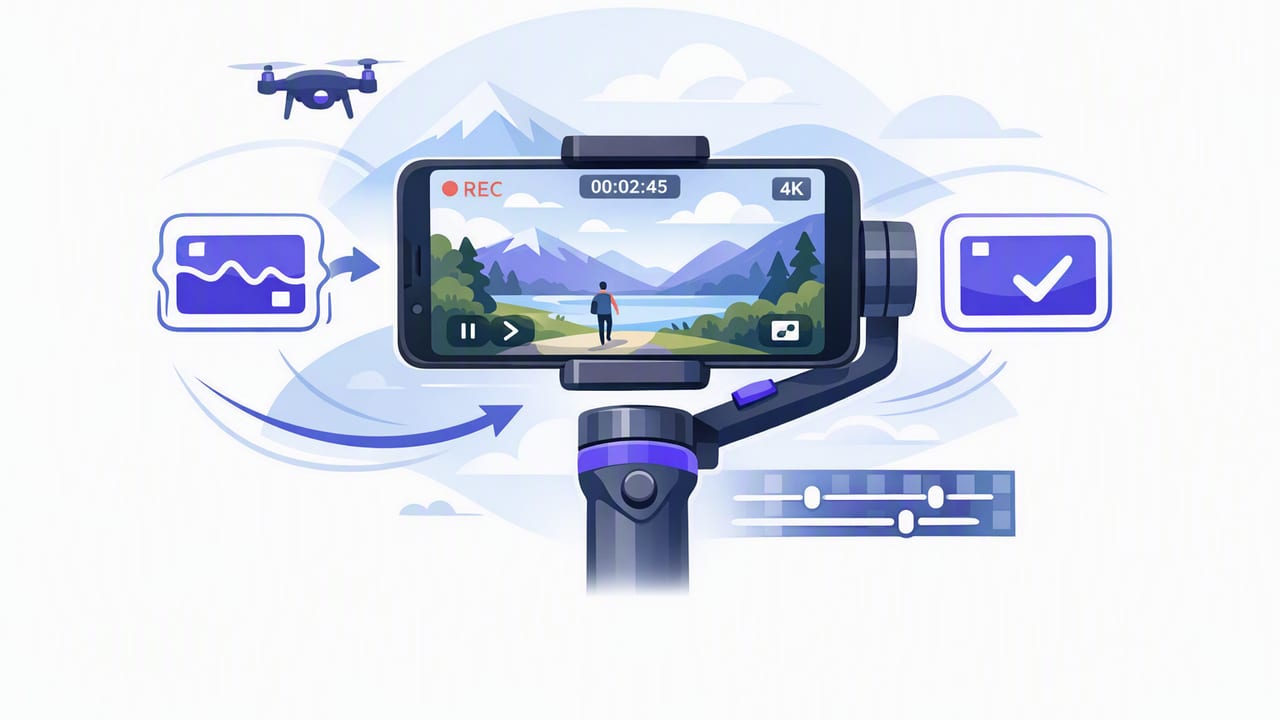
Smooth video is one of the fastest ways to make your content feel “pro,” even if you’re filming at home with an iPhone. The challenge is that shake creeps in everywhere: handheld shooting, walking intros, desk setups that bounce when you gesture, or even the subtle movement that happens when you read a script and unconsciously shift your posture.
A stabilized video recording app can help you reduce that shake, but stabilization isn’t a single on/off feature. It’s a combination of capture settings, stabilization modes, lenses, lighting, audio choices, and (most overlooked) how you physically hold and move the phone. This guide walks through what to look for in an iPhone recording app, how to set it up for real-world creator workflows, and how to troubleshoot the most common causes of shaky footage.
What “stabilized recording” actually means on iPhone
When creators say they want stabilization, they usually mean one (or more) of these outcomes:
- Less micro-jitter in handheld shots (the tiny shake that makes footage look nervous).
- Smoother motion when you pan or tilt (fewer abrupt bumps and “stiction”).
- More usable walking footage without a gimbal (limited, but possible with the right approach).
- Stable framing while you present or read a script (so the viewer focuses on your message).
iPhone stabilization can come from multiple layers:
- Optical stabilization (hardware in the lens/sensor system).
- Electronic stabilization (software smoothing during capture or processing).
- Post stabilization (editing-phase smoothing, sometimes with a crop).
The best results typically come from combining sensible capture settings with stabilization that’s appropriate for your shot type, rather than maxing out stabilization for every clip.
Checklist: what to look for in a stabilized video recording app
Not every camera app gives you the controls that matter for stability. If you want a practical way to evaluate options, use this checklist.
1) Reliable stabilization options (and clarity about trade-offs)
A good app should work well with the iPhone’s built-in stabilization and make it easy to maintain stable results. Ideally, it also helps you avoid “stabilization surprises,” such as:
- Unexpected cropping that cuts off your composition.
- Warping artifacts around hands or edges during movement.
- Stabilization that fails in low light due to slow shutter speeds.
Look for an app that makes it straightforward to keep your framing consistent and your motion predictable.
2) 4K and high frame rate recording (with stable performance)
Stabilization is easier when motion is captured cleanly. Many creators prefer 4K for sharper detail and more flexibility to crop, and 60fps for smoother motion (especially if you move your hands a lot or do quick pans). A strong recording app should handle 4K/60 without overheating, crashing, or creating stuttery playback.
3) Manual exposure tools (especially shutter control or exposure lock)
Here’s a counterintuitive truth: shaky video often looks worse because of motion blur and exposure fluctuations. In low light, the iPhone may use a slower shutter speed, which increases blur. Even if stabilization reduces camera movement, the blur can still make the clip feel messy.
At minimum, look for:
- AE/AF lock so exposure and focus don’t “hunt.”
- Exposure compensation so you can brighten or darken without constant changes.
4) External mic support that doesn’t complicate stability
Many creator setups add an external mic, which can inadvertently increase shake (extra cables, adapters, handling noise). A creator-friendly app should support external microphones and make it easy to monitor audio. Better audio reduces the temptation to “fix it in post,” which can lead to heavy processing that accentuates video artifacts.
5) Workflow features that prevent re-takes (scripts, teleprompter, subtitles)
Stability isn’t only a camera problem; it’s a workflow problem. If you’re doing multiple takes because you forgot lines, your body posture changes each take, your framing drifts, and you’re more likely to settle for a shaky clip. Apps that support script-to-video workflows (teleprompter tools, subtitles, quick trims) help you get a stable take faster.
Common causes of shaky footage (and how to fix them)
Before you blame stabilization, diagnose the real source of shake. This table covers the most frequent culprits.
| Problem you see | Likely cause | Fix |
|---|---|---|
| Micro-jitter while handheld | Grip tension, unsupported elbows, too much zoom | Hold with two hands, tuck elbows, use 1x lens, exhale slowly during lines |
| Wobble/warping on movement | Over-aggressive electronic stabilization or fast panning | Slow pans, avoid quick direction changes, consider reducing stabilization strength if available |
| Shaky look in low light | Slow shutter speed causing motion blur | Add light, lock exposure, avoid dim rooms; prioritize brighter scenes for stable-looking motion |
| Frame “breathes” in and out | Autofocus hunting or auto exposure shifts | Use AE/AF lock; set focus on eyes; keep lighting consistent |
| Tripod shot still looks unstable | Flexible tripod, desk vibrations, touching the phone | Use a sturdier mount, don’t touch the desk, start/stop recording hands-free (timer/remote) |
Best practice settings for stability (without overthinking it)
You don’t need a film-school setup. You need repeatable defaults.
Resolution and frame rate
- Talking head: 4K/30 is often enough and can be more forgiving with light. Use 4K/60 if you move a lot or want smoother hand motion.
- Handheld B-roll: 4K/60 can look noticeably smoother, especially for small movements.
Lens choice
- Avoid heavy digital zoom. Zoom amplifies shake.
- If your iPhone offers multiple lenses, start with the main 1x lens for the most predictable stabilization and low-light performance.
Lighting
If you only improve one thing for stability, improve lighting. Brighter scenes let the camera use faster shutter speeds, which reduces motion blur and makes stabilization look more effective. A simple soft light in front of you (or a window plus a reflector) can make handheld shots feel dramatically steadier.
Stability tips for scripted videos (the “teleprompter problem”)
Scripted videos create a unique stability issue: your eyes and head want to move as you read, and your posture can subtly shift line by line. That movement can translate into:
- Small framing changes (shoulders drifting left/right)
- Micro shakes if you’re holding the phone
- Worse perceived shake because viewers focus intensely on your face
Use these tactics:
- Lock your stance: Place feet shoulder-width, knees relaxed, and keep your elbows close if handheld.
- Reduce the “reading sweep”: Format your script in shorter lines and larger font so your eyes don’t travel far.
- Anchor your hands: If you gesture, gesture from the shoulders minimally. For punchy lines, gesture after the sentence, not during it.
- Record in segments: Instead of one long take, capture 15–30 second blocks. It’s easier to stay physically stable and keep energy up.
Stable video isn’t only a camera setting. It’s a performance habit: consistent posture, consistent lighting, consistent pacing.
A simple “stable take” workflow you can repeat
When you’re filming frequently, the goal is not perfection; it’s consistency. Here’s a compact workflow that works for tutorials, hooks, and talking-head content.
Step 1: Set your frame and lock it
- Mount the phone at eye level (stack books if you have to).
- Set the lens (usually 1x) and compose with a little headroom.
- Lock focus and exposure on your face if your app supports it.
Step 2: Stabilize the environment
- Don’t rest the tripod on a wobbly desk.
- Turn off fans or anything that vibrates the surface.
- If you must film handheld, brace your elbows against your torso.
Step 3: Record audio cleanly (to avoid “fixes” that reveal shake)
- Use an external mic if you have one, but secure cables to avoid handling noise.
- Do a 5-second test: speak your loudest line and your quietest line.
Step 4: Capture in short sections, then assemble
Short sections reduce fatigue and keep your delivery natural. They also reduce the odds you’ll accept a shaky clip “because the performance was good.”
Stable Take Template

1) Hook (10–15s)
2) Key point #1 (20–30s)
3) Key point #2 (20–30s)
4) Key point #3 (20–30s)
5) CTA / wrap (10–15s)

Rule: If you feel yourself shifting or fidgeting, stop and reset posture.
How subtitles and editing affect perceived stability
Creators often add subtitles, jump cuts, and punch-ins. These choices can either help or hurt stability:
- Jump cuts hide small shakes because the viewer expects a cut. But if each cut changes framing slightly, it can feel jittery overall.
- Punch-ins amplify shake because you’re effectively zooming. If you punch in, try to do it consistently (same scale each time) and only on the steadiest segments.
- Subtitles stabilize attention. When text is readable and well-placed, viewers focus on your message instead of scanning the frame for imperfections.
If your workflow supports on-device subtitle generation, it can be a practical bonus: you can iterate faster without uploading raw footage to a cloud service, and you’ll be more likely to keep your process consistent from script to export.
Quick buying/choosing guide: decide based on your most common shot
Use your primary content format to choose features in a stabilized video recording app:
- Talking head (tripod): prioritize exposure lock, reliable 4K recording, external mic support, and fast trimming.
- Handheld tutorials: prioritize smooth stabilization, 60fps support, and predictable framing (minimal warping).
- Scripted delivery: prioritize teleprompter-style script reading, pacing controls, and subtitle workflow to reduce re-takes.
Final thoughts
Stabilization works best when you treat it as a system: lighting + lens choice + steady posture + consistent settings + a workflow that reduces re-takes. Once you have repeatable defaults, you’ll spend less time fighting shaky footage and more time improving the parts that actually grow your channel: the hook, the clarity of your script, and the pace of your delivery.
If you want a single iPhone workflow that combines scripted recording, stabilization-friendly capture, and on-device subtitles, an app like CueCam can fit naturally into that process without requiring cloud uploads or accounts.
