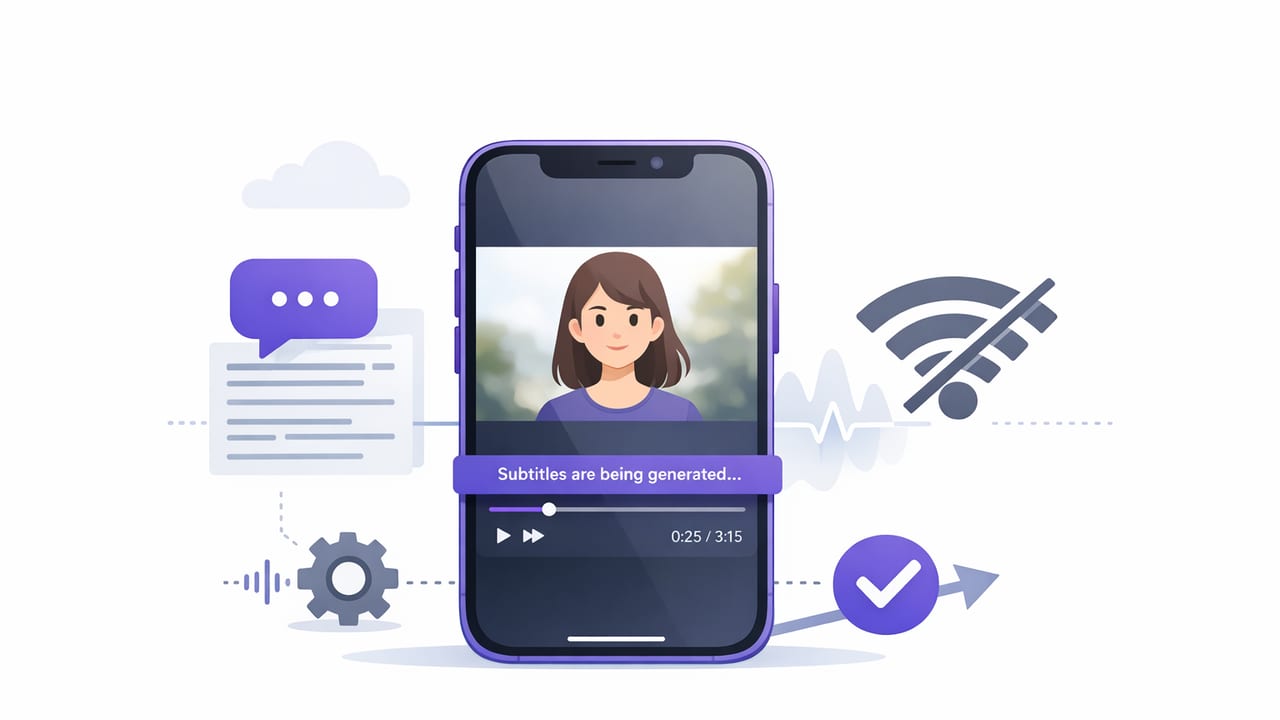
If you want to add subtitles on iPhone without internet, you’re usually doing it for one of three reasons: you’re traveling, you’re on a spotty connection, or you don’t want your video or script uploaded anywhere. The good news is that modern iPhones are powerful enough to generate and edit captions on-device, so you can create readable, platform-ready subtitles without sending audio to the cloud.
This guide walks through an offline-first caption workflow—from recording choices that improve accuracy, to editing and styling captions for TikTok, Instagram Reels, and YouTube—while keeping your content private.
Why offline subtitles matter (beyond convenience)
- Privacy: On-device captioning can keep your audio and video local to your phone.
- Reliability: No waiting for uploads, processing queues, or connectivity issues.
- Speed: For short-form content, on-device transcription can be fast enough to iterate immediately.
- Control: You choose what gets exported (burned-in captions vs. sidecar subtitle files).
What you need for offline captioning on iPhone
You don’t need a laptop. You do need three things:
- A clear recording: Clean speech dramatically improves transcription accuracy.
- An app that supports on-device subtitles: Look for language support, offline processing, and timing edits.
- A plan for delivery: Decide whether you want burned-in captions (visible everywhere) or a subtitle file (like SRT) for platforms that support it.
Recording tips that boost subtitle accuracy (offline or not)
- Use an external mic if possible (wired or wireless). Even a small upgrade reduces background noise.
- Record in a quieter space and avoid music during the take (add music later).
- Speak in complete phrases and pause briefly between ideas—this helps segmentation.
- Keep the phone stable so the mic isn’t rubbing or handling noise isn’t introduced.
Offline subtitle workflow: step-by-step
The exact buttons vary by app, but the offline workflow is typically the same. Use this as a checklist you can apply to any on-device subtitle tool.
1) Record your video (optimize for speech)
Before you generate captions, make the audio easy to transcribe:
- Choose a consistent distance from the mic (roughly 6–12 inches for many setups).
- Avoid clipping: if your audio sounds distorted, lower input gain.
- If you’re reading a script, aim for natural pacing—captions are easier to read when your sentences aren’t rushed.
2) Generate subtitles on-device
In your subtitle-capable video editor, choose the option that indicates offline transcription such as “On-device subtitles”, “Offline captions”, or “No internet required”. Then:
- Select the spoken language (and dialect if available).
- Start caption generation.
- Wait for the timeline to populate with caption segments.
Tip: If your app offers it, choose a mode that detects punctuation automatically. It makes captions easier to scan.
3) Fix the “high-impact errors” first
Don’t try to perfect every word at the start. Prioritize the errors that affect meaning or trust:
- Names, brands, places (viewers notice these most)
- Numbers (prices, dates, measurements)
- Negations (e.g., “can” vs “can’t”)
- Technical terms you’re teaching
Editing rule of thumb: Fix meaning first, then fix polish. A perfectly styled caption with one wrong number can tank credibility.
4) Adjust timing and line breaks for readability
Offline subtitle engines often get the words right but the display wrong. Great captions have comfortable timing and clean line breaks.
- Keep lines short: 1–2 lines per caption segment is easiest to read.
- Break on natural pauses: split captions at commas, conjunctions, or topic changes.
- Avoid rapid flashing: if captions appear for less than ~0.8 seconds, consider merging or slowing.
5) Choose burned-in captions vs. an SRT file
There are two common subtitle outputs:
- Burned-in (open captions): captions are permanently visible in the video. Best for short-form and maximum compatibility.
- Sidecar subtitles (e.g., SRT): captions can be toggled on/off on supported platforms. Best for long-form YouTube and multilingual workflows.
If your priority is consistent display across TikTok/IG/Shorts, burned-in is usually the safer choice.
Platform-safe subtitle styling (so UI doesn’t cover your text)
On vertical platforms, captions can collide with on-screen UI (buttons, descriptions, usernames). Use conservative placement and sizing.
| Platform | Best Aspect Ratio | Caption Placement Tip | Common Mistake |
|---|---|---|---|
| TikTok | 9:16 | Keep captions slightly above the bottom UI; center-lower is often safest | Text too low, covered by description/music |
| Instagram Reels | 9:16 | Avoid extreme bottom; consider mid-lower placement | Captions collide with UI and profile elements |
| YouTube Shorts | 9:16 | Use high-contrast captions, keep margins generous | Too-small font on bright backgrounds |
| YouTube (long-form) | 16:9 | Bottom-center is standard; ensure safe margins for TV playback | Captions too wide or hugging screen edges |
Quick styling checklist
- Contrast: white text + dark stroke/shadow is the most reliable.
- Font size: big enough to read on a phone at arm’s length.
- Consistent casing: sentence case is generally easiest to scan.
- Highlight sparingly: emphasize 1–3 key words per sentence, not every other word.
Accessibility and retention: what good captions do differently
Subtitles help viewers in noisy environments, non-native speakers, and anyone watching with sound off. But the biggest performance gains usually come from making captions easier to follow.
Use “idea-based” captions
Instead of matching captions to every breath, match them to ideas. If you’re teaching, captions should land with the structure of your explanation.
- One caption = one point
- New step = new caption
- Punchline or takeaway = its own line
Don’t caption filler words unless it’s your style
Removing repeated “um,” “like,” and false starts can make captions cleaner and faster to read—especially in short-form.
Optional: exporting an SRT file (and what it looks like)
If your workflow includes sidecar subtitles, here’s the basic structure of an SRT file. You may never need to hand-edit one, but understanding the format helps when troubleshooting.
1
00:00:00,000 --> 00:00:02,200
Today I'll show you how to add subtitles offline.

2
00:00:02,200 --> 00:00:04,900
Everything stays on your iPhone—no internet required.
Common issues:
- Timing drift: usually caused by trimming the video after exporting the SRT. Edit first, export last.
- Encoding problems: if accents/characters break, ensure UTF-8 encoding.
Common offline subtitle problems (and fixes)
Problem: Captions are inaccurate in certain sections
- Fix: cut out dead air and re-run subtitle generation on the trimmed clip.
- Fix: reduce background noise using an on-device “clean audio” or noise reduction tool, then regenerate.
Problem: Captions appear too late / too early
- Fix: look for a global “offset” setting to shift all captions by milliseconds.
- Fix: if only certain lines are off, split that segment and nudge timing handles.
Problem: Captions get covered by UI on TikTok/IG
- Fix: move captions slightly upward and add margins.
- Fix: test by exporting a short draft and viewing it in the target app’s preview.
Problem: Offline transcription doesn’t start
- Fix: confirm the language is supported for on-device processing.
- Fix: ensure you have enough free storage—on-device models and caches can require space.
- Fix: restart the app/phone if the subtitle engine is stuck.
A practical workflow for scripted creators
If you record scripted videos, you can improve both delivery and captions by tightening the script first. Here’s a simple approach:
- Write for speech: shorter sentences, fewer parentheses, more contractions.
- Rehearse once: your second take usually captions better.
- Record clean audio: treat the mic as your “caption accuracy” lever.
- Generate offline subtitles: then correct names/numbers first.
- Style for the platform: adjust placement to avoid UI overlap.
- Export once: avoid re-encoding multiple times to keep quality high.
Final checklist: add subtitles on iPhone without internet
- Record in a quiet space (or use an external mic)
- Generate on-device subtitles (offline mode)
- Edit high-impact errors (names, numbers, negations)
- Fix timing and line breaks for readability
- Choose burned-in captions or SRT based on your platform
- Place captions to avoid UI and export in the correct aspect ratio
Choosing an offline subtitle tool (what to look for)
When comparing apps that claim offline captions, check for:
- True on-device processing (no upload requirement)
- Language coverage for your audience
- Editable segments (text, timing, splitting/merging)
- Export controls (resolution, frame rate, aspect ratios)
- Privacy posture (clear statement that media stays local)
If you already use a teleprompter-style iPhone workflow, some apps combine script reading, recording, and offline caption generation in one place; for example, CueCam includes on-device subtitles as part of a scripted creator workflow.
