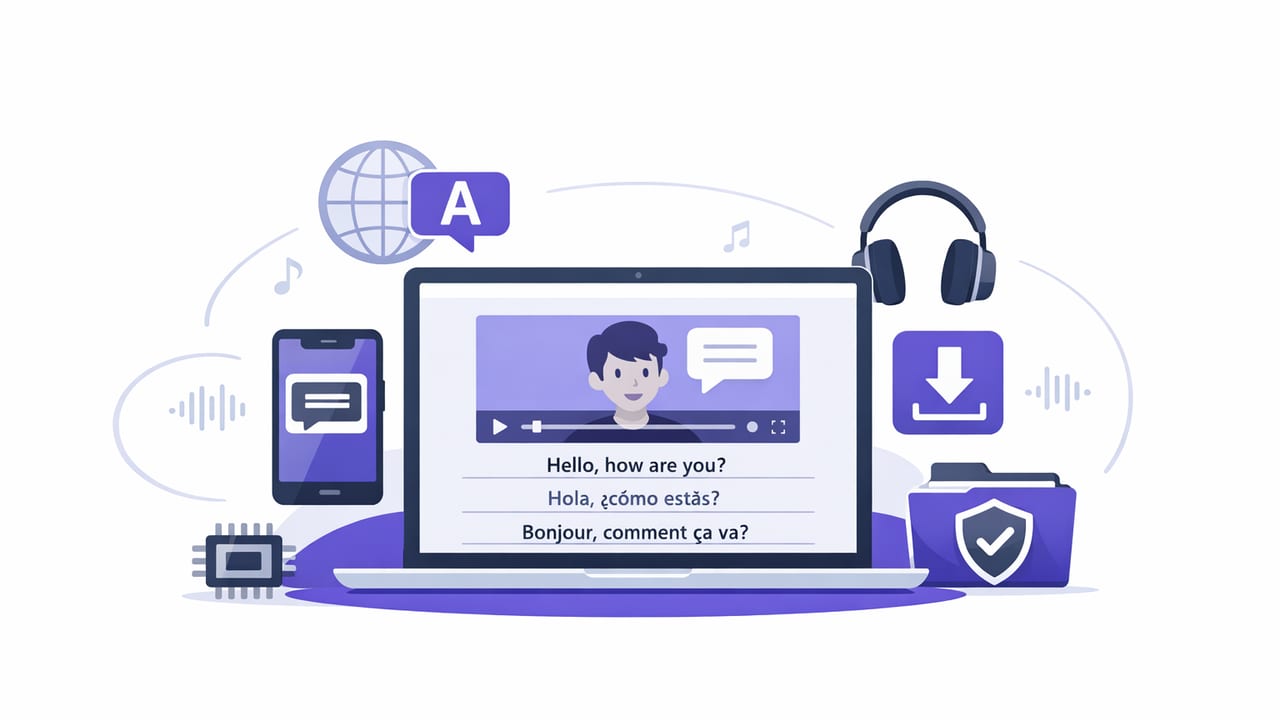
Subtitles aren’t just for accessibility anymore—they’re a growth lever. If you publish to TikTok, Instagram Reels, YouTube Shorts, or long-form YouTube, captions help viewers understand you with the sound off, improve retention, and make your content usable for a global audience. The challenge is speed and privacy: creators want a workflow that’s fast, consistent, and doesn’t require uploading drafts to the cloud.
This guide shows a practical, repeatable way to add subtitles in multiple languages offline on an iPhone—without sacrificing accuracy, formatting, or creator momentum. You’ll learn what to prepare, how to structure your script for better captions, how to handle multilingual output, and how to export cleanly for different platforms.
Why multilingual subtitles matter (and why offline is a big deal)
Adding subtitles in more than one language can expand your reach dramatically, especially if your niche has strong communities in multiple regions (fitness, language learning, gaming, business education, beauty, travel). But many captioning workflows rely on online services that require uploads, accounts, and waiting. An offline approach has several advantages:
- Privacy: drafts, client scripts, and unreleased videos stay on your device.
- Speed: no upload time, no queue, no network dependency.
- Consistency: you can build a repeatable creator workflow that works anywhere (studio, car, hotel Wi‑Fi, airplane mode).
- Control: you decide style, placement, line breaks, and what gets corrected.
What you need before you start
You can create multilingual subtitles entirely on an iPhone, but your results improve if you prep a few basics:
- Clean audio: captions are only as accurate as your audio. If possible, use an external mic or record in a quiet space.
- A script (even a loose one): scripts reduce filler words and make timings more predictable.
- A consistent speaking pace: avoids captions that flash too quickly.
- A target platform list: vertical vs. horizontal affects caption placement and safe areas.
Optional but helpful: write with captions in mind
When your goal is multilingual subtitles, small writing choices make translation and readability easier:
- Prefer short sentences over long, nested clauses.
- Avoid heavy slang unless it’s core to your brand (slang is harder to translate well).
- Say numbers clearly (e.g., “twenty-five percent” instead of “like, 25-ish”).
- Repeat key terms consistently (your captions and translations will look more professional).
The offline workflow: record → caption → duplicate languages → export
Different apps implement offline subtitles differently, but the workflow is broadly the same. Here’s a creator-friendly sequence you can reuse every time.
Step 1: Record with stable framing and a readable “caption safe” zone
Leave some breathing room at the bottom of the frame. Many platforms overlay UI elements (captions, buttons, usernames). A good rule: keep your face and key visuals in the center 70% of the frame. If you plan to use large subtitles, avoid tight crops.
Pro tip: If you read from a script (teleprompter-style), keep your eyes near the lens so your delivery looks natural. This reduces retakes and gives your subtitle generator a cleaner, continuous audio track.
Step 2: Generate captions offline in your source language
Start by creating accurate captions in the language you spoke. Offline captioning tools typically run speech recognition on-device and produce a timed subtitle track. Before you jump to translations, do a quick correction pass on the source language:
- Fix names, brand terms, product names, and acronyms.
- Correct homophones (e.g., “their/there/they’re”).
- Remove repeated filler (e.g., “um,” “you know”) if it distracts.
Why first? Because translations often inherit timing and segmentation. A clean source track makes multilingual output more stable and less frustrating.
Step 3: Split lines for readability (before adding more languages)
Readable subtitles are usually one to two lines, with natural breaks. If your caption tool lets you adjust line breaks, aim for:
- Line length: roughly 32–42 characters per line (varies by font and platform).
- Duration: ideally 1.2–3.5 seconds per subtitle card, depending on speech speed.
- Break at meaning: split after punctuation or between phrases, not mid-word or mid-idea.
Step 4: Duplicate the subtitle track and translate for each target language
To add subtitles in multiple languages offline, you typically want one caption track per language. If your tool supports multiple subtitle layers, create separate tracks (e.g., English, Spanish, French). If it only supports “burned-in” captions, you’ll export multiple versions of the video—one per language.
When translating, prioritize meaning over word-for-word accuracy. Different languages expand or shrink text length. German can run longer; Japanese can be shorter; Arabic changes directionality and spacing. Expect to adjust line breaks per language.
Step 5: Adjust timing for languages that read differently
Even if the spoken audio is the same, translated captions sometimes need timing changes so viewers can read them comfortably. Watch the video with your translated captions and check:
- Does any subtitle appear for less than ~1 second?
- Do long words force awkward line breaks?
- Are important terms getting cut off too quickly?
If your tool allows it, slightly extend subtitle durations during pauses or reduce text density by rephrasing.
Step 6: Style captions for platform and accessibility
Clean styling makes subtitles feel intentional rather than auto-generated. General best practices:
- High contrast: white text with a dark shadow or semi-opaque background.
- Consistent font size: large enough for mobile viewing, not so large it blocks your face.
- Avoid the bottom-most edge: keep captions above platform UI overlays.
- Speaker emphasis: use italics sparingly; avoid excessive ALL CAPS.
Accessibility note: Subtitles help deaf and hard-of-hearing viewers, non-native speakers, and anyone watching on mute. Prioritize readability over flashy effects.
Two output options: burned-in captions vs. caption files
Your best export method depends on where you publish and how much control you want.
Option A: Burned-in subtitles (hardcoded)
These captions are rendered into the video pixels. They’ll look the same everywhere and are ideal for short-form platforms where you want consistent styling.
- Pros: consistent look, no upload steps, works on any platform.
- Cons: can’t be turned off, harder to edit later, multiple languages require multiple exports.
Option B: Export subtitle files (SRT/VTT) when possible
For YouTube and some players, uploading subtitle files can be better. You can attach multiple language tracks without exporting multiple video versions.
- Pros: viewers can select language, searchable text, easier updates.
- Cons: platform-dependent, styling control is limited, extra upload steps.
Sample SRT structure (useful for troubleshooting)
If you ever need to inspect or lightly edit an SRT file, here’s the basic format:
1
00:00:00,500 --> 00:00:03,200
Today I’ll show you a fast workflow.

2
00:00:03,200 --> 00:00:06,500
We’ll add subtitles in multiple languages offline.
Tip: Keep each caption card short. If a translated line becomes too long, split it into two cards rather than shrinking the font.
Multilingual subtitle checklist (quick reference)
| Stage | What to check | Why it matters |
|---|---|---|
| Recording | Clean audio, minimal background noise, steady framing | Higher transcription accuracy and fewer corrections |
| Source captions | Correct names/terms, remove obvious errors, add punctuation | Translations inherit structure and timing |
| Line breaks | 1–2 lines, break at meaning, avoid long lines | Improves readability on mobile screens |
| Translation | Translate for meaning, localize idioms, shorten where needed | Prevents awkward or overly literal captions |
| Timing | Subtitle duration long enough to read, avoid rapid flashes | Retention and comprehension |
| Styling | Contrast, safe placement, consistent font size | Professional look and accessibility |
| Export | Correct aspect ratio, bitrate, and caption method per platform | Prevents cropping and preserves clarity |
Common issues when you add subtitles in multiple languages offline
1) “My translations don’t fit on screen”
This is normal. Solutions:
- Rewrite the translation shorter (aim for natural local phrasing).
- Split into two subtitle cards.
- Reduce font size slightly (last resort—readability first).
2) “Captions overlap important on-screen text or UI”
Move captions higher, or add a semi-opaque background box. For vertical videos, keep captions above the bottom UI zone.
3) “Offline captions have a few wrong words”
Fix the source language first, then re-translate if needed. Proper nouns are the most common failure point—add them manually. If you frequently say a niche term, consider keeping a note with the correct spelling to copy/paste.
4) “My multilingual versions feel inconsistent”
Consistency comes from a simple style guide:
- Decide whether you’ll translate brand terms or keep them in the original language.
- Choose one punctuation style (e.g., use commas and periods, or keep it minimal for short-form).
- Use the same font, size, and placement across languages.
Platform tips: short-form vs. long-form
Short-form (Reels/Shorts/TikTok)
- Burned-in captions are often easiest.
- Use bigger text, fewer words per card.
- Keep captions away from the bottom UI and the right-side button stack.
Long-form (YouTube)
- Consider uploading multiple subtitle files so viewers can choose languages.
- Keep speaker labels only when necessary (interviews, multiple voices).
- Prioritize accuracy and punctuation more than flashy styling.
Putting it all together: a repeatable creator workflow
Here’s a simple routine you can reuse for every video:
- Script lightly (bullet points are fine) and record clean audio.
- Generate offline captions in the original language.
- Correct key terms and fix obvious transcription mistakes.
- Duplicate the track for each target language and translate for meaning.
- Adjust line breaks and timing per language for readability.
- Export per platform (aspect ratio, safe zones, and caption method).
Once you’ve done this a few times, you’ll be able to add subtitles in multiple languages offline in minutes rather than hours—without handing your drafts to third-party servers.
Final note: choose tools that respect your privacy
If privacy is part of your creator workflow, look for apps that generate subtitles on-device, keep scripts local, and don’t require account creation just to test a draft. For example, CueCam is an iPhone teleprompter and video workflow app that supports on-device subtitles in many languages, which can be helpful if you want a private, offline-first setup.
