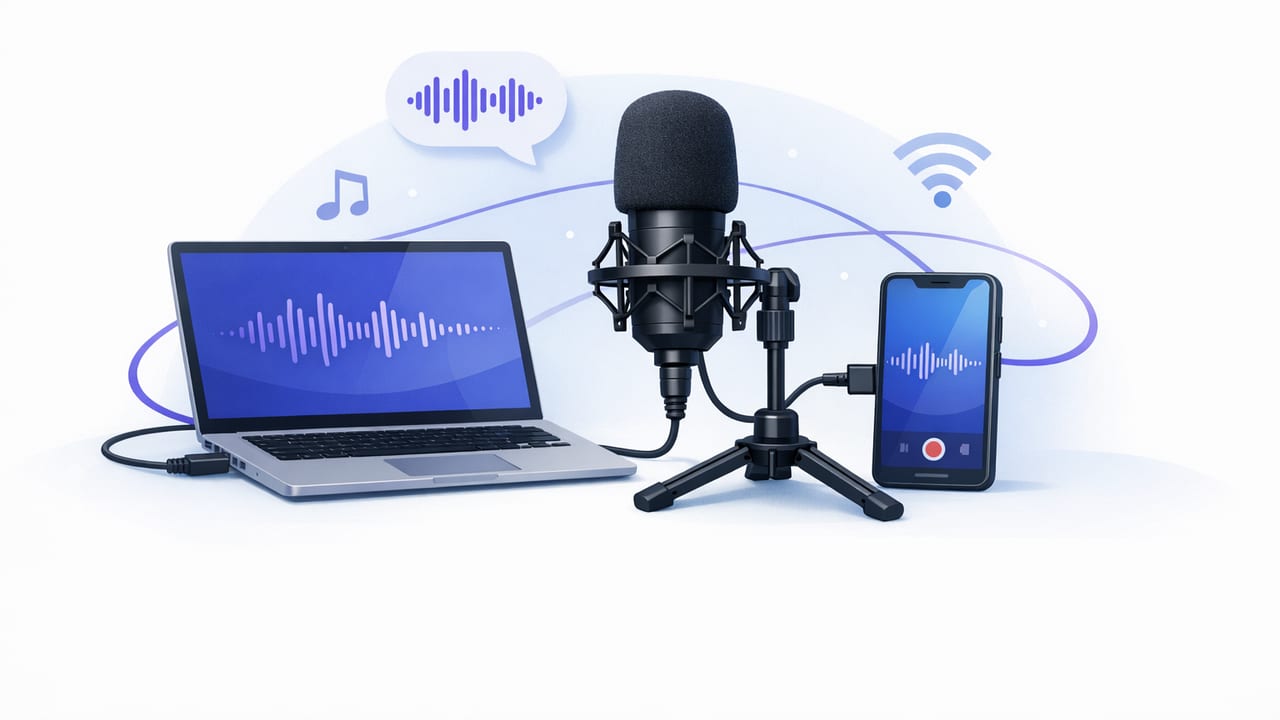
Great video can survive imperfect lighting. Bad audio is harder to forgive. If you record scripted content (tutorials, reviews, talking-head clips, interviews, UGC), getting reliable external mic support on iPhone is one of the fastest upgrades you can make—often more impactful than a new lens or gimbal.
This guide breaks down how external microphones work with iPhone, what to buy, how to connect it (USB-C, Lightning, TRRS), how to confirm the mic is actually being used, and the most common troubleshooting steps. It’s written for a creator workflow where you may also be reading a script, recording in 4K, and adding subtitles—without turning your setup into a science project.
Why external mic support matters (even with a great iPhone mic)
iPhone’s built-in mics are impressive, but they’re limited by distance. When the mic is 2–6 feet away, your voice competes with room echo, HVAC noise, keyboard clicks, and street sound. External mics help by:
- Reducing room echo (closer mic = more direct voice)
- Improving clarity for dialogue and voiceover
- Lowering background noise without aggressive noise reduction
- Making captions/subtitles more accurate (clean speech improves transcription)
Rule of thumb: Moving the mic closer improves audio quality more than buying a pricier mic far away.
External mic support basics: how iPhone recognizes microphones
There are three common ways to feed audio into an iPhone:
- Digital USB mics (USB-C or Lightning via adapter). These often provide the most reliable external mic support because the mic has its own digital conversion.
- Analog 3.5mm mics (TRRS or TRS), typically connected via an Apple adapter. These can sound great, but adapters and compatibility matter.
- Wireless systems (receiver plugs into USB-C/Lightning or 3.5mm). Great for mobility and talking-head content.
TRS vs TRRS (the small detail that breaks setups)
If you use 3.5mm:
- TRS (2 rings): standard stereo headphones, many camera mics
- TRRS (3 rings): headset standard used by phones (mic input + headphones)
Many “camera” shotgun mics output TRS and need a TRS-to-TRRS adapter to work as a phone mic. If your iPhone “doesn’t see” the mic, this is often the culprit.
Connector guide: USB-C vs Lightning vs 3.5mm
Depending on your iPhone model and accessories, your cleanest path to external mic support can differ. Use this table to choose a compatible route.
| Connection Type | Best For | What You Need | Common Pitfall |
|---|---|---|---|
| USB-C (digital) | Modern USB mics, wireless receivers, powered adapters | USB-C mic/receiver or USB-C hub | Some hubs don’t pass audio reliably |
| Lightning (digital) | Older iPhones, many creator mic kits | Lightning mic/receiver or Apple Lightning-to-USB adapter | Cheap adapters can cause dropouts |
| 3.5mm (analog) | Lavalier mics, camera mics via adapter | Apple Lightning-to-3.5mm (or USB-C-to-3.5mm) + correct TRRS/TRS adapter | Wrong TRS/TRRS standard = no mic input |
Step-by-step: set up external mic support on iPhone
1) Choose the right mic for your shoot style
- Lavalier (wired or wireless): best for talking head, tutorials, demos. Consistent voice level.
- Shotgun (on a small boom/stand): great if you don’t want a mic visible, but placement is critical.
- Handheld dynamic mic (USB): excellent for podcasts or desk recordings; very resistant to room noise.
2) Connect it (and simplify the chain)
Every extra adapter is a new failure point. Aim for:
- Mic/receiver → iPhone (direct USB-C/Lightning), or
- Mic → Apple audio adapter → iPhone
If you must use a hub (charging + mic + storage), test it before a real shoot. Not all hubs handle audio consistently.
3) Confirm the iPhone is actually using the external mic
iOS doesn’t always make it obvious. Use these practical checks:
- Unplug test: record 5 seconds, unplug the mic, record 5 more seconds—listen for an obvious change.
- Rub test: gently rub or tap the lav mic capsule (lightly) and see if the recorded audio responds.
- Distance test: speak quietly from 3–6 feet away. If you still sound close and clear, the external mic is likely active.
4) Set levels (avoid clipping)
Clipping (distortion) is permanent. If your app allows manual gain, target peaks around -12 dB to -6 dB. If not, create distance and speak at performance volume during a test take.
5) Monitor when possible
Monitoring helps catch cable crackle, wireless interference, or a dead battery. Options:
- Wireless systems with headphone monitoring on the receiver
- USB audio interfaces (more complex, but powerful)
- App-based monitoring (latency varies—test before relying on it)
Best practices for creator workflows (scripted video, 4K, subtitles)
Mic placement that works on camera
- Lavalier: place 6–8 inches below the chin, slightly off-center to reduce plosives.
- Shotgun: point at the sternum, not the mouth, and keep it as close as framing allows.
- Handheld: keep distance consistent; 2–4 inches is typical for dynamic mics.
Record room tone (10 seconds)
Before you start, record 10 seconds of silence in the room. This helps later if you use clean-up tools, and it can smooth edits between cuts.
Plan audio for vertical framing
In vertical video, the mic often sits farther away because creators frame wider for hand gestures. Compensate with:
- a lav mic, or
- a shotgun on a small boom just out of frame above your head
Audio improves subtitles accuracy
If you generate subtitles on-device or in an editing app, clearer speech reduces misheard words—especially names, technical terms, and accented speech. External mic support isn’t just about sounding “pro”; it speeds up your script-to-video workflow by reducing caption corrections.
Troubleshooting external mic support: common problems and fixes
Problem: The iPhone keeps using the internal mic
- Fix: confirm TRRS compatibility (many mics need TRS→TRRS).
- Fix: use an Apple-branded audio adapter; some third-party ones fail to negotiate input properly.
- Fix: reconnect in this order: open the camera/recording app after plugging in the mic (some apps lock the input on launch).
Problem: No sound or extremely low level
- Fix: check if the mic needs power (some shotguns require plug-in power; some wireless receivers need charging).
- Fix: if using a lav with an inline battery pack, replace the battery.
- Fix: verify the mic isn’t a headphone-only device (some headsets route mic differently depending on adapter).
Problem: Crackling, dropouts, or digital glitches
- Fix: swap the cable first—most “mystery” audio issues are cable-related.
- Fix: avoid stacking adapters (e.g., USB-C hub + USB-A adapter + mic). Go direct.
- Fix: for wireless, change channels or move the receiver away from the phone’s antennas; keep line-of-sight when possible.
Problem: Audio is out of sync
Some processing (especially Bluetooth audio) adds delay. For video recording, prefer wired or dedicated wireless receivers designed for cameras/phones. If you must sync later, use a simple slate:
- Hit record
- Clap once on camera
- Align the spike in the audio waveform during editing
Problem: Wind noise outdoors
- Fix: use a foam windscreen indoors and a furry windscreen outdoors.
- Fix: move to a sheltered spot; wind hitting the mic body is the enemy.
Recommended “simple” setups (reliable and fast)
Setup A: Talking head at a desk
- USB dynamic mic → iPhone (USB-C/Lightning adapter if needed)
- Mic 2–4 inches from mouth, off-axis
- Record in 4K if you plan to crop for shorts
Setup B: Standing presentation (scripted)
- Wireless lav system → iPhone
- Do a 10-second test and a quick walk test for dropouts
- Keep a consistent speaking volume for smoother takes
Setup C: “Invisible mic” look
- Small shotgun on boom → iPhone via proper adapter
- Place just out of frame above your forehead line
- Add light noise reduction only if needed (avoid over-processing)
Quick checklist before you hit record
- Mic connected directly (minimal adapters)
- External mic support confirmed with a 5-second test clip
- Levels not clipping on loud words
- Wireless battery checked (transmitter + receiver)
- Windscreen on (if any air movement)
- 10 seconds of room tone captured
Privacy note: keep your audio workflow on-device when possible
Many creators prefer editing and captioning without uploading raw footage to a server—especially if the script includes client details, unreleased product info, or personal stories. An on-device workflow can pair well with external mic support: you get cleaner source audio and keep more of your process private.
Putting it together
External mic support on iPhone is less about chasing “studio sound” and more about repeatable, low-friction recording. Choose the mic that fits your format, keep the connection chain simple, confirm the input before every shoot, and you’ll spend less time fixing audio—and more time shipping videos.
If you also record scripted takes and want a streamlined script-to-video flow (teleprompter + recording + subtitles) that stays on-device, an iPhone app like CueCam can fit neatly into that workflow.
