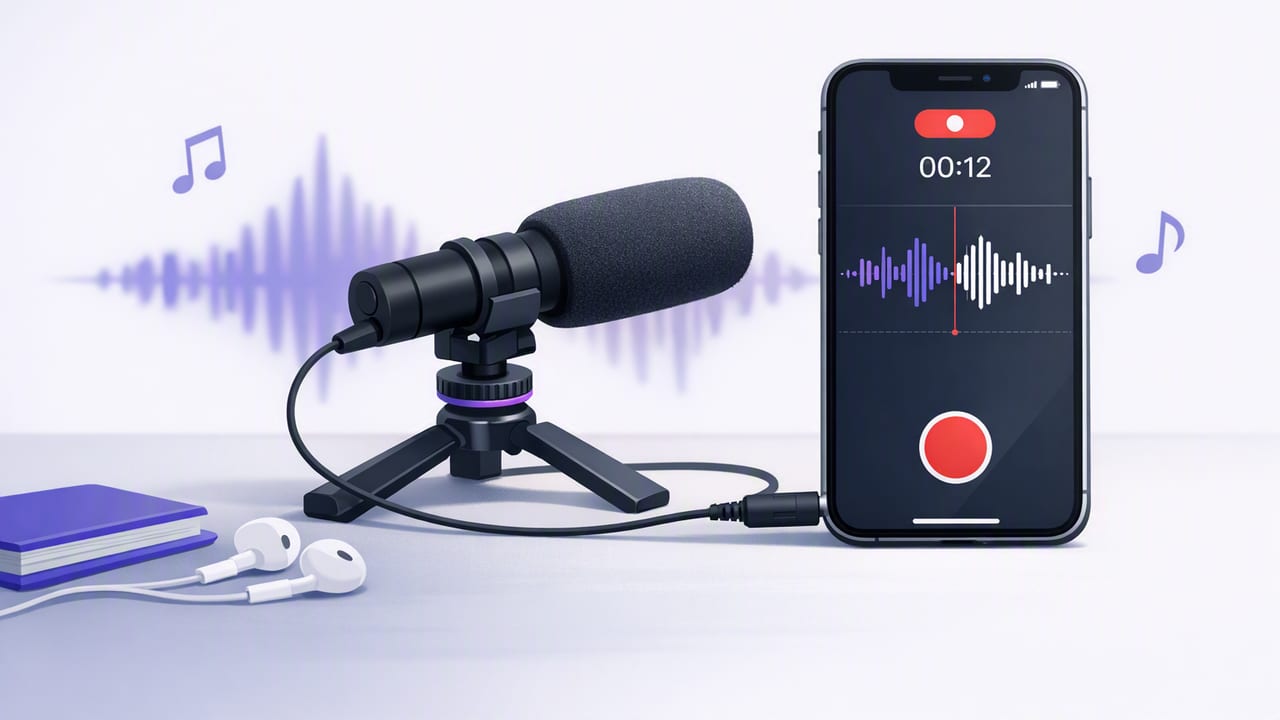
Viewers will forgive a slightly imperfect shot. They rarely forgive hard-to-understand audio. If you’re filming talking-head content, tutorials, reviews, or short-form clips, upgrading your sound is often the fastest way to make your videos feel “pro.” This guide focuses on external mic recording iPhone workflows: what microphones work best, how to connect them reliably, which settings matter, and how to integrate clean audio into a script-to-video creator process.
Why external mics matter more than you think
The built-in iPhone microphone is impressive for casual capture, but it’s still a compromise. Distance, room echo, wind, and handling noise quickly degrade clarity. An external microphone lets you:
- Get closer to the source (lav mics) and reduce room reverb.
- Control directionality (shotgun mics) to reject background noise.
- Improve consistency across takes, locations, and outfits.
- Record cleaner speech that edits faster and subtitles more accurately.
Choose the right mic for your content
Start with where you film and how you move. The “best” mic is the one that fits your setup without friction.
Quick comparison table
| Mic type | Best for | Pros | Cons |
|---|---|---|---|
| Wired lavalier (TRRS/adapter) | Talking-head, interviews, tutorials | Consistent voice level, inexpensive, easy to hide | Cable management, clothing rustle |
| Wireless lav system | Standing, moving, vlogs | No cable, freedom of movement, quick setup | Battery management, potential RF interference |
| On-camera shotgun | Desk demos, run-and-gun, B-roll + narration | Directional pickup, simple placement | Less consistent if you turn your head; still hears room |
| USB-C/Lightning mic (digital) | Podcasts, voiceovers, studio setup | Clean digital signal, often includes monitoring | Less portable; may require power |
| Audio interface + XLR mic | Highest-quality studio sound | Best preamps, pro mics, fine control | Bulky; more points of failure |
Rules of thumb (that save time)
- If you’re on-camera and speaking: start with a lav mic (wired or wireless).
- If you’re filming outdoors: prioritize wind protection (foam + deadcat/windscreen) over everything else.
- If you hate troubleshooting: a simple wired lav + correct adapter is often the most reliable.
How to connect an external mic to iPhone (without surprises)
Connection problems are the #1 reason creators think “my mic doesn’t work.” Most issues come down to plug type, adapters, and power.
1) Identify your connector: TRRS vs TRS vs USB
- TRRS (4-pole): common on smartphone lav mics. Designed for headset mic inputs.
- TRS (3-pole): common on cameras/recorders. Often needs a TRS→TRRS adapter for iPhone.
- USB-C/Lightning (digital): plugs in directly and is usually recognized as an input device.
2) Use the right adapter (and keep a spare)
If your iPhone requires an adapter (Lightning or USB-C), choose a reputable one and treat it as part of your audio kit. Many failures are simply worn connectors or loose dongles—especially when the phone is mounted on a tripod.
3) Consider power and monitoring needs
- Wireless receivers may need their own battery and sometimes draw power from the phone.
- USB mics/interfaces may require extra power (or a hub) depending on model.
- Monitoring is easiest if your setup supports headphone monitoring; otherwise do short test recordings.
External mic recording iPhone setup checklist (repeatable workflow)
Run this checklist before every shoot. It takes two minutes and prevents the most painful mistake: recording an entire take on the wrong mic.
- Connect the mic (lav/receiver/USB mic) before opening your recording app.
- Confirm input switching: look for an on-screen audio meter reacting to your voice.
- Set levels (gain staging): speak at your loudest “on-camera” volume and ensure peaks aren’t clipping.
- Do a 10-second test: record, play back, listen for hum, distortion, or rustle.
- Stabilize the physical setup: secure cables, avoid dangling connectors, and reduce handling noise.
- Enable airplane mode (optional): reduces interruption risk and some RF noise scenarios.
Practical target: Aim for clean, consistent speech first. You can always make audio louder in editing; fixing clipping and heavy echo is much harder.
Settings that actually affect your audio quality
Different apps expose different controls, but the concepts are the same.
Sample rate: 48 kHz is the video standard
If you can choose, record at 48 kHz. It’s the common standard for video and tends to avoid sync quirks when exporting or editing.
Input gain: avoid clipping, avoid whisper levels
Clipping (distortion) is usually irreversible. Set gain so your loudest words don’t slam the meter. At the same time, don’t record too quietly—raising volume later can amplify hiss.
Noise reduction: use lightly during recording (if at all)
Some apps apply heavy noise reduction in real time. This can create “watery” artifacts or pump your background. A better strategy is:
- Record clean audio (good mic placement + stable gain).
- Apply gentle cleanup in editing (noise reduction + EQ + compression).
Mic placement: the biggest lever you control
- Lavalier: place around mid-chest, 6–8 inches from mouth, slightly off-center to reduce plosives.
- Shotgun: keep it as close as possible, aimed at the mouth, just out of frame.
- Wind protection: outdoors, always. Indoors, optional but still helpful.
Integrate audio into a script-to-video workflow
Many creators use an iPhone teleprompter to maintain eye contact, stay on-message, and record faster. Adding an external mic makes that workflow feel “studio-like,” but you need to plan for sound while writing and delivering your script.
Write for breath and emphasis (your mic will hear it)
External mics capture detail: breaths, mouth clicks, and clothing noise. Simple script formatting reduces retakes:
- Use short paragraphs (1–2 sentences).
- Add intentional pauses for natural pacing and easier edits.
- Mark emphasis words instead of shouting them.
Example: a teleprompter-friendly script format
[HOOK]
Today I’ll show you a simple external mic setup for iPhone.

[POINT 1]
Put the lav mic mid-chest and do a 10-second test.

[PAUSE]

[POINT 2]
Set gain so loud words don’t clip.

[CTA]
If you want, I can share my exact checklist for your filming style.
Record with confidence: monitoring and “one-change-at-a-time”
If your setup supports monitoring, use it—especially for interviews. If not, adopt a strict rule: change only one variable at a time (mic position or gain or location). That way, if something sounds wrong, you know what caused it.
Troubleshooting common external mic issues on iPhone
Here are the problems creators run into most, plus quick fixes.
Problem: the iPhone records from the built-in mic
- Reconnect the mic before launching the recording app.
- Check whether the mic requires a TRS↔TRRS adapter.
- Try a different dongle/adapter (a frequent failure point).
Problem: buzzing or hum
- Move cables away from power sources and cheap LED lights.
- Lower input gain and move the mic closer to your mouth.
- For interfaces, verify proper shielding and stable power.
Problem: distortion/clipping on loud words
- Reduce input gain and re-test at your loudest delivery.
- Increase mic distance slightly (or angle the mic off-axis).
- If your wireless system has gain on both transmitter and receiver, set them so neither stage clips.
Problem: clothing rustle with a lav mic
- Reposition the mic where fabric doesn’t move.
- Use a clip and cable loop to reduce tugging.
- Choose a different outfit fabric when possible (soft cotton is easier than stiff jackets).
From clean audio to clean edits: subtitles, trimming, and export
Once your external mic audio is solid, everything downstream gets easier:
- Faster edits: clear speech is easier to cut without weird audio jumps.
- Better subtitles: transcription accuracy improves when the voice is clean and consistent.
- More platform flexibility: you can repurpose the same take for vertical, square, or widescreen.
Editing tips that keep audio natural
- Trim room tone carefully: don’t hard-cut to silence; it sounds unnatural.
- Use gentle compression: it evens out volume without sounding “processed.”
- Apply light noise reduction: remove constant hiss, not your entire room ambience.
Privacy note: on-device workflows are simpler than they sound
If you’re reading scripts, capturing interviews, or filming client work, you may prefer tools that keep scripts and media on your phone. An on-device workflow can reduce upload time, minimize accounts/sign-ins, and help you stay in control of your raw footage and captions—especially when you’re recording frequently.
Putting it all together: a repeatable creator workflow
- Prepare your script (short paragraphs, clear pauses).
- Mount your iPhone and connect your external mic.
- Run the 2-minute checklist (meters, levels, 10-second test).
- Record in 4K if you need reframing, but prioritize lighting and audio first.
- Edit quickly: trim mistakes, apply light audio cleanup, add subtitles.
- Export for your platform (vertical for TikTok/Reels, widescreen for YouTube).
If you’re looking for an iPhone teleprompter-style recording workflow that also supports pro capture and on-device subtitles, an app like CueCam can fit naturally into the process—after you’ve nailed the external mic fundamentals above.
