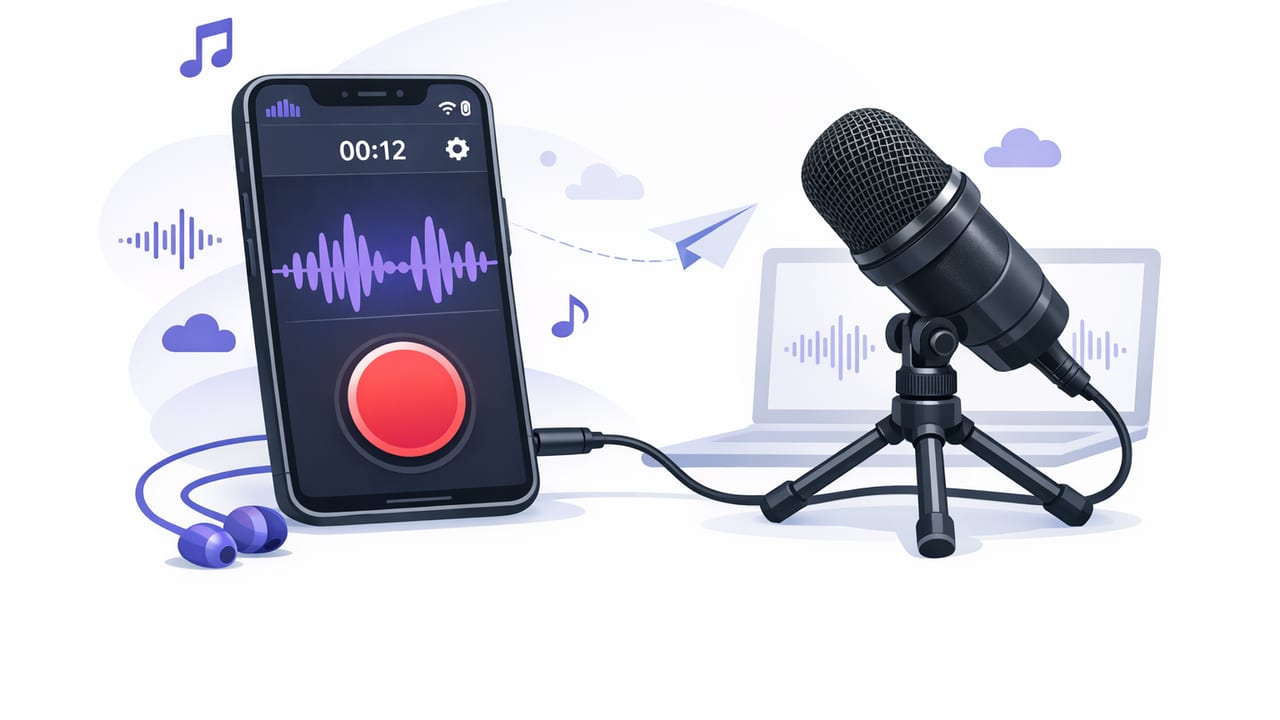
If you’ve ever filmed a great take on your iPhone only to hear room echo, wind rumble, or tiny, distant voice, you’ve already discovered the real rule of video: audio quality decides whether people keep watching. The good news is that a solid external mic recording app workflow on iPhone is simpler than most creators think—if you set it up deliberately.
This guide walks through a practical, repeatable system for recording clean speech with an external microphone on iPhone, especially for scripted videos where pacing, eye contact, and post-production speed matter. You’ll get a mic checklist, level targets, monitoring tips, sync strategies, and export settings for short-form and long-form platforms.
Why external mics beat the iPhone’s built-in mic (most of the time)
The iPhone’s microphones are excellent for what they are, but they have one big limitation: distance. Even the best phone mic can’t compete with a mic that’s closer to your mouth. External mics also help you:
- Reduce room noise by capturing more voice and less environment.
- Control tone (less harshness, more warmth) depending on mic type and placement.
- Record consistently across locations, which makes editing and captioning easier.
- Monitor audio (when supported) so you catch issues on set, not in post.
Pick the right external microphone for your iPhone
The “best” mic depends on your filming style: seated talking head, walking vlog, interviews, or voiceover. Use the table below to match mic type to use case.
| Mic type | Best for | Pros | Watch-outs |
|---|---|---|---|
| Lavalier (wired or wireless) | Talking head, tutorials, presenters | Consistent volume, close to mouth, discreet | Clothing rustle; wireless needs gain staging |
| Shotgun (small on-camera) | Run-and-gun, quick setup | Directional pickup, reduces side noise | Still not “close” if the phone is far away |
| Handheld dynamic | Street interviews, podcasts on the go | Rejects background noise, durable | Needs you to hold it; may need an interface |
| USB-C / Lightning digital mic | Simple, direct-to-iPhone setup | Clean signal, fewer adapters | Compatibility varies; power draw considerations |
Connection options (and why they matter)
- Direct digital connection (USB-C/Lightning): usually the cleanest and easiest.
- 3.5mm TRRS/adapter: works well, but adapters can introduce compatibility quirks.
- Wireless receiver into iPhone: great for mobility, but you must manage transmitter/receiver levels to avoid distortion or hiss.
Pre-record checklist: the 90 seconds that prevent ruined takes
Before you hit record, run this quick checklist. It’s boring, and it saves shoots.
- Battery check: phone, wireless transmitter/receiver, any audio interface.
- Correct input selected: confirm the app is actually using the external mic (not the built-in).
- Airplane mode (optional): reduces interruptions and some RF issues.
- Room scan: listen for AC vents, refrigerators, street noise, and buzzing lights.
- Mic placement:
- Lavalier: 6–8 inches below the mouth; secure cable to reduce rustle.
- Shotgun: aim at upper chest/mouth area; keep as close as framing allows.
- Test recording: record 10 seconds, play it back on headphones.
Set audio levels: practical targets for speech
Most clipped audio is caused by a voice getting louder mid-take—especially when you emphasize a point. Set levels so normal speech is safe, and peaks don’t slam into 0 dB.
- Target average speech: around -18 dB to -12 dB
- Target peaks (louder words): around -10 dB to -6 dB
- Avoid: hitting 0 dB (clipping)
Rule of thumb: It’s easier to make quiet audio louder than to fix clipped audio that’s already distorted.
Gain staging for wireless systems
If you use a wireless lav, you often have three level controls: the transmitter gain, receiver output, and the iPhone/app input gain. A reliable approach:
- Set transmitter gain so your voice is strong but never peaking into distortion.
- Set receiver output to a “healthy” mid setting (not max).
- Fine-tune input level in your recording app to hit the targets above.
Monitoring: the simplest way to catch problems early
Whenever possible, monitor with headphones. You’re listening for:
- Rustle (lav rubbing clothing)
- Plosives (“p” and “b” blasts) and wind hits
- RF dropouts or digital crackles (wireless issues)
- Room echo (mic too far away, hard surfaces)
If your setup makes headphone monitoring difficult, do at least two short test recordings: one at normal volume and one intentionally louder (like you’re emphasizing a key line).
Scripted video tip: audio and delivery are linked
For scripted content, mic technique and delivery matter as much as settings. If you’re reading a script while trying to keep eye contact, you’ll naturally vary volume and head position less if you:
- Stand or sit consistently (don’t drift closer/farther from the mic).
- Mark your “big emphasis” lines and lean back slightly on those words.
- Pause cleanly between thoughts—this makes edits and subtitle timing cleaner.
Sync strategies: single-system vs dual-system audio
There are two main ways to record external audio on iPhone:
Option A: Single-system (best for speed)
Your external mic feeds directly into the iPhone, and the audio is recorded into the video file. This is usually fastest for creators because:
- No syncing in post.
- Captions/subtitles are easier because audio is already aligned.
- Less chance of losing a separate audio file.
Option B: Dual-system (best for maximum control)
You record audio separately (for example, to a dedicated recorder or a second phone), then sync later in editing. This is useful if you want:
- Backup audio safety.
- Higher-end recording formats.
- More reliable wireless routing in complex setups.
Sync tip: Start every take with a clear clap (or a spoken “marker”) so your waveform has an obvious spike.
Post-processing basics: clean audio without overdoing it
Many creators ruin audio by aggressively filtering it. Aim for subtle improvements:
- Trim silence at the start/end of clips for quicker pacing.
- Light noise reduction only if needed (overuse can create watery artifacts).
- EQ gently: a small cut in muddy low-mids can help clarity.
- Limit peaks lightly to prevent occasional spikes from feeling harsh.
Advanced (optional): normalize audio for consistent loudness
If you edit on a computer and want consistent loudness across clips, you can normalize with FFmpeg. Here’s a common approach using a loudness target:
ffmpeg -i input.mp4 -af loudnorm=I=-16:TP=-1.5:LRA=11 -c:v copy output.mp4Notes: -16 LUFS is a common target for online speech. If you’re mastering for different platforms, adjust to your workflow and avoid audible pumping.
Export settings: protect speech clarity on social platforms
Even great audio can degrade on export if settings are too low. For spoken-word content, prioritize a decent audio bitrate.
- Audio codec: AAC (widely compatible)
- Audio bitrate: 192–320 kbps (when available)
- Sample rate: 48 kHz (common for video)
Also consider frame rate and resolution for your audience. If you’re recording 4K for reframing or stabilization, keep your audio chain consistent so your voice matches the “pro” look.
Common problems (and quick fixes)
1) Audio sounds thin or distant
- Move the mic closer (distance is everything).
- Switch from shotgun-on-phone to a lav for talking head.
- Add soft furnishings to reduce reflections (rug, curtains, couch).
2) Audio is distorted on loud words
- Lower input gain and retest with your loudest line.
- Reduce transmitter gain on wireless systems.
- Use a limiter if your app provides one (lightly).
3) Buzzing or intermittent crackles
- Check adapters/cables first (most common culprit).
- Reposition wireless receiver away from the phone if possible.
- Try a different port/cable and retest.
4) Captions are inaccurate
- Improve mic placement (clearer speech = better transcription).
- Reduce background noise and echo.
- Speak with clean pauses between sentences.
A fast “script-to-video” workflow that stays private
If your content is scripted, the fastest workflow usually looks like this:
- Write and format your script with short sentences and natural pauses.
- Record video with your external mic in a single-system setup whenever possible.
- Do a quick trim to remove mistakes and tighten pacing.
- Add subtitles (ideally generated on-device if you want a privacy-first process).
- Export versions per platform (vertical for short-form, horizontal for YouTube).
This approach minimizes retakes, avoids time-consuming sync steps, and keeps your scripts and footage under your control—especially important if you prefer on-device processing and no mandatory accounts.
Key takeaways
- External mic + correct levels beats fancy editing every time.
- Monitor when you can; otherwise run two short test recordings.
- Single-system audio is the fastest creator workflow; dual-system is for maximum control.
- Clean speech improves subtitles, editing speed, and viewer retention.
If you’re looking for an iPhone workflow that combines script reading, pro camera capture, and on-device subtitles while supporting external microphones, an app like CueCam can streamline the process without turning your setup into a complex production.
