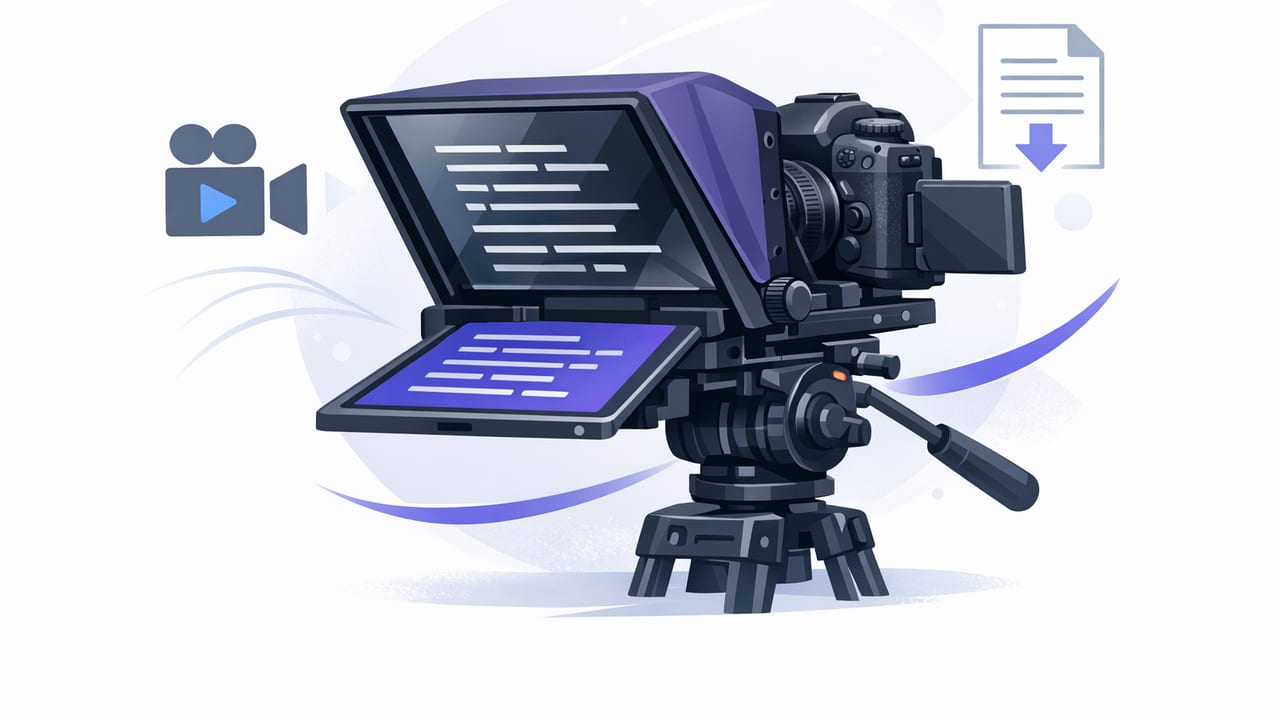
A camera teleprompter is one of the fastest ways to improve scripted videos—because it solves the two problems viewers notice immediately: wandering eyes and uneven pacing. With an iPhone, you can run a teleprompter workflow that keeps your gaze near the lens, maintains a natural cadence, and still records high-quality footage (including 4K) without turning your setup into a complicated studio.
This guide walks through practical, creator-friendly ways to use an iPhone as a camera teleprompter—whether you’re filming talking-head YouTube videos, TikToks/Reels, courses, demos, or client deliverables.
What “camera teleprompter” means (and why it works)
A camera teleprompter places your script as close to the camera lens as possible. Traditional rigs use beamsplitter glass so the text appears in front of the lens. On iPhone, most creators use one of these approaches:
- On-screen teleprompter: text scrolls on the same device that records, near the camera module.
- Off-camera teleprompter: script runs on a second screen (iPad/phone/laptop) positioned just above or beside the lens.
- Glass-based rig: the iPhone records through teleprompter glass while another device displays the mirrored script.
All three can work. The key is minimizing the distance between your eye line and the lens while controlling scroll speed so your delivery stays conversational.
Choose the right setup: three options
Option 1: Single iPhone (fastest)
Best for: solo creators, quick updates, UGC, short-form scripts.
- Run a teleprompter app on your iPhone that can also record.
- Place the scrolling text near the camera area (often top of the screen).
- Use a tripod and shoot in your usual orientation (vertical for Reels/TikTok, horizontal for YouTube).
Tradeoff: you’re reading slightly below/near the lens rather than perfectly through it, but the speed and simplicity often outweigh perfection.
Option 2: Two-device (most flexible)
Best for: longer scripts, interviews, demos, precise framing.
- Record on the iPhone camera.
- Run the teleprompter on an iPad or second phone positioned directly above the iPhone lens.
- Use larger text, more spacing, and easier control of scrolling.
Tradeoff: slightly more setup time and gear.
Option 3: Glass-based teleprompter rig (closest to “broadcast”)
Best for: ultra-polished talking-heads, client work, course modules, daily show-style delivery.
- Mount the iPhone behind the beamsplitter glass.
- Display the mirrored script on a second device below the glass.
- Your eyes align almost perfectly with the lens.
Tradeoff: more equipment and a slightly longer setup process.
Scroll modes: which one gives the most natural delivery?
Most teleprompter apps offer multiple scrolling behaviors. Choosing the right one affects how “read” your delivery feels.
| Mode | How it works | Best for | Watch out for |
|---|---|---|---|
| Fixed-speed scrolling | Text moves at a constant speed | Short scripts with consistent pacing | If you pause, the text keeps going |
| Voice-following | Text advances based on your speech | Conversational delivery, variable pacing | Needs clear audio and good mic placement |
| Timed / segment-based | Scrolls by set durations or per “beat” | Presentations, course lessons, strict timing | Can feel rigid if you ad-lib |
If your goal is natural eye contact, voice-following tends to look the least “teleprompted” because it accommodates micro-pauses, emphasis, and breath. Fixed-speed is great once you’ve rehearsed and know your rhythm.
Script formatting that prevents the “reading” look
Most awkward on-camera reads happen because scripts are written like essays. Format your script for speech.
Use “breath lines” and emphasis
- Short lines (1–2 clauses) reduce eye travel.
- Intentional line breaks cue natural pauses.
- Bold or italics highlight key words so you don’t over-focus on every word.
Write for the ear, not the page
- Prefer contractions (you’re, we’ll) if that’s how you speak.
- Replace long sentences with two short ones.
- Keep numbers simple (say “about 20” instead of “19.7”).
Example: teleprompter-friendly rewrite
Original: “In this video, we are going to discuss the primary reasons why creators struggle to maintain eye contact while reading scripts and how to solve that problem with a workflow that reduces retakes.”
Rewrite:
“In this video, I’ll show you why eye contact breaks when you read a script.
And a simple workflow to fix it—so you get fewer retakes.”
Camera and audio settings: get “pro” results on iPhone
A camera teleprompter is only half the equation. If your footage looks sharp but sounds hollow (or your exposure shifts mid-take), the video won’t feel polished.
Video basics
- Resolution: 4K is great for flexibility (cropping, reframing), especially for talking-heads.
- Frame rate: 24/30 fps for a standard look; 60 fps if you want smoother motion (and don’t mind larger files).
- Stabilization: Use a tripod first; stabilization helps, but stable framing looks most professional.
- Lock exposure/focus: Prevent brightness pumping when you move your hands or shift slightly.
Audio basics (biggest perceived quality upgrade)
- Use an external mic (wired lav, wireless lav, or small shotgun).
- Mic placement: 6–10 inches from your mouth is often ideal for voice clarity.
- Room sound: Soft furnishings reduce echo. A blanket off-camera can do more than an expensive light.
Where to place the text so your eyes look “on lens”
Even without glass, you can get surprisingly good eye contact by controlling eye travel.
- Keep text close to the lens: move the text area upward (or position your second device above the camera).
- Increase font size: larger text means less scanning left-to-right.
- Narrow the column width: shorter line length reduces side-to-side eye movement.
- Use more line breaks: you’ll glance down less often.
If you’re still seeing noticeable darting, reduce the amount of text on screen (fewer lines) so your eyes stay within a smaller area.
Workflow: from script to finished video (repeatable)
Here’s a simple creator workflow you can reuse every time:
- Draft the script in short, spoken sentences.
- Format for the teleprompter: line breaks, bold key phrases, remove filler paragraphs.
- Do a “pace pass”: read aloud once to find tongue-twisters and long clauses.
- Set your scroll mode: fixed-speed (rehearsed) or voice-following (conversational).
- Record in sections: hook, main points, CTA. Don’t force a perfect 4-minute take.
- Quick edit: trim mistakes, tighten gaps, add jump cuts if needed.
- Add subtitles: captions improve retention (especially on mobile).
- Export per platform: 9:16, 16:9, or 1:1 with safe margins for UI overlays.
Subtitles: how to make them look intentional (not auto-generated)
Subtitles are part of the camera teleprompter workflow because they reduce re-records: you can keep a great take even if you stumble once, then tighten the edit and let captions carry clarity.
Caption styling tips
- Two lines max to avoid covering your face and to improve readability.
- Highlight keywords occasionally (sparingly) for emphasis.
- Respect safe areas (especially on TikTok/Instagram where UI overlays hide lower text).
- Fix proper nouns (product names, acronyms) manually if needed.
Privacy and offline considerations
If your scripts include client details, pricing, internal plans, or unreleased product info, your teleprompter workflow should be privacy-aware. Look for tools that can:
- Keep scripts and recordings on-device (no required uploads).
- Generate subtitles offline when possible.
- Work without accounts if you’re producing sensitive content.
This matters not just for security, but also for speed: an on-device workflow avoids waiting on uploads, processing queues, or spotty connections.
Troubleshooting: common camera teleprompter problems
“My eyes still look like I’m reading.”
- Increase font size and reduce line width.
- Move the text block closer to the camera area.
- Rewrite with shorter lines and more breaks.
“I sound monotone.”
- Add performance cues into the script (e.g., pause, smile, slower).
- Record standing up (often improves energy and breath).
- Use voice-following so you can naturally pause.
“I keep losing my place.”
- Break the script into sections with headings.
- Use larger spacing between paragraphs.
- Prefer scroll modes that don’t punish pauses (voice-following or tap-to-advance).
“My video quality looks soft or noisy.”
- Add more light (face toward a window, or use a soft key light).
- Clean the lens (it matters more than most settings).
- Avoid digital zoom; move the tripod closer.
Quick pre-record checklist
- Script formatted for speech (short lines, bold keywords)
- Text positioned close to the lens
- Exposure/focus locked
- External mic connected and tested
- Scroll mode selected and tested for 10 seconds
- Record a 5-second sample and review eye line + audio
Closing thought: aim for “present,” not “perfect”
The best camera teleprompter workflow isn’t the one with the most gear—it’s the one that helps you show up consistently with a calm, confident delivery. If you can keep your eyes near the lens, control your pacing, and capture clean audio, you’ll reduce retakes dramatically and spend more time publishing.
If you’re looking for an iPhone teleprompter that combines script reading with recording, editing, and offline subtitles in a privacy-first workflow, you can explore CueCam as one option.
