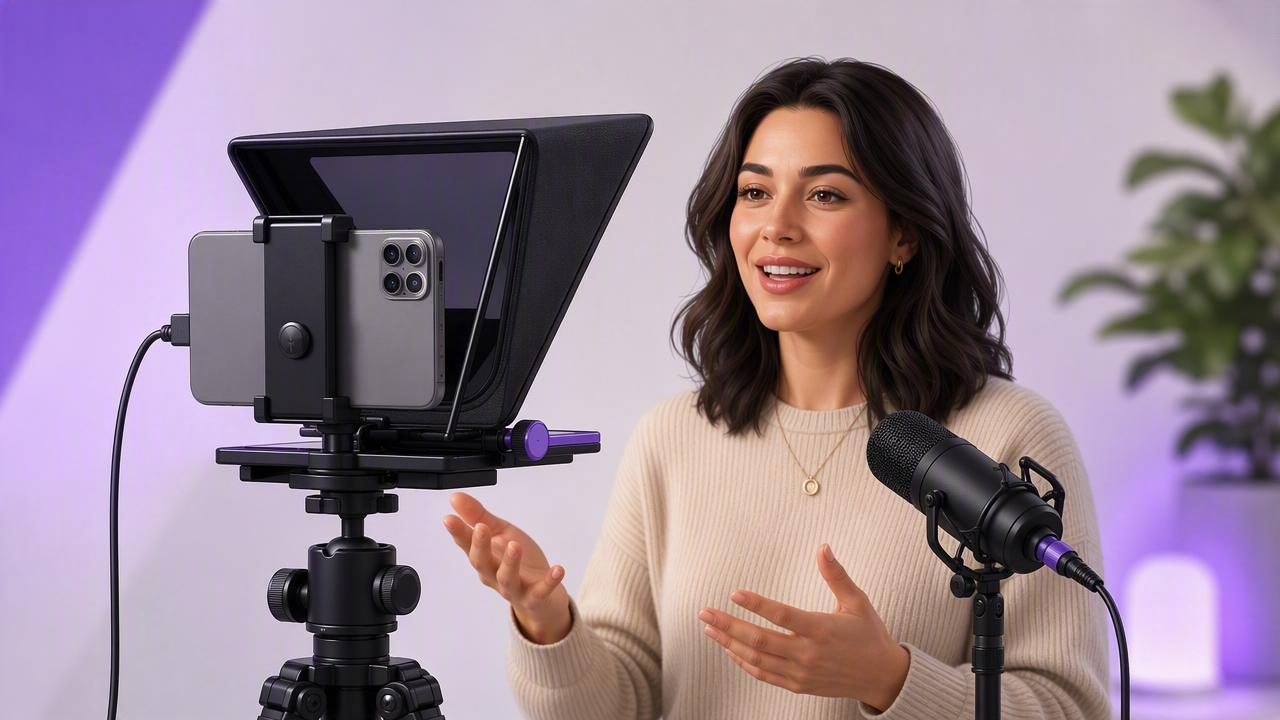
Finding the best video teleprompter to record with an external microphone is about more than displaying a script. For creators, coaches, marketers, educators, and business owners, a polished video needs two things at once: natural eye contact and clean audio. If either is missing, even a well-written message can feel less professional.
An iPhone teleprompter app can make script-to-video production much faster, especially when it supports external microphones, high-quality recording, and flexible scrolling controls. However, not every teleprompter workflow handles audio accessories the same way. The right choice depends on your microphone type, shooting environment, recording format, and how you prefer to deliver a script.
This guide explains what to look for, how to set up an external mic with a teleprompter, and how to avoid common recording problems before they affect an important take.
Why External Microphone Support Matters for Teleprompter Videos
Your iPhone has capable built-in microphones, but they are not always the best option for creator content. They can pick up room echo, traffic, air conditioning, handling noise, and the sound of a phone positioned farther away than ideal. An external microphone lets you capture a more direct, consistent voice recording while keeping the phone in the best position for framing and eye contact.
This is especially helpful for videos such as:
- Educational lessons and online course modules
- YouTube explainers and product reviews
- Talking-head Instagram Reels and TikTok videos
- Sales videos, client updates, and internal communications
- Podcast-style video interviews
- Real estate walkthroughs and field reporting
A teleprompter helps you stay on message, while an external mic helps your audience hear the message clearly. Together, they reduce retakes and make a one-person recording setup feel much more professional.
What Makes the Best Video Teleprompter for External Mic Recording?
When comparing teleprompter apps, prioritize the recording workflow rather than focusing only on script scrolling. A large script editor is useful, but it will not solve an audio-routing issue or help you recover from a poorly recorded voice track.
1. Reliable External Audio Input Selection
The app should work with the audio input recognized by iPhone. Depending on your setup, that might be a wired lavalier microphone, a USB-C microphone, a Lightning-compatible mic, or a wireless microphone receiver connected to the phone.
Before a serious recording session, connect the microphone and record a short test clip. Listen back with headphones to confirm that the video is using your external microphone rather than the iPhone’s internal mic. This simple check prevents one of the most common creator mistakes: completing a full take only to discover that the audio sounds distant or echoey.
2. High-Quality Video Recording Options
Audio quality matters, but it should fit into a capable video workflow. Look for an iPhone teleprompter that supports the resolution and frame rate you need, including 4K recording when your content requires detailed footage or room for cropping in post-production.
For many talking-head videos, 4K at 24 or 30 frames per second is a practical choice. If you want a smoother look for movement or plan to create slow-motion cutaways, 60 frames per second may be useful. Keep in mind that higher-quality recording creates larger files, so make sure your iPhone has enough available storage before filming.
3. Flexible Script Scrolling
Natural delivery requires a scrolling mode that matches your speaking style. The best teleprompter experience should let you choose among fixed-speed scrolling, timed scrolling, and voice-following tracking.
| Scrolling mode | Best for | Key benefit |
|---|---|---|
| Fixed speed | Short, rehearsed scripts | Simple and predictable pacing |
| Timed scrolling | Videos with a strict runtime | Helps fit a script into a target duration |
| Voice-following | Conversational or variable delivery | Script follows your pace when you pause or improvise |
Voice-following can be particularly helpful when using an external microphone because it supports a more relaxed, human rhythm. You can pause for emphasis, restart a sentence, or adjust your delivery without manually chasing the text.
4. Monitoring and Audio Cleanup Tools
Good audio starts at recording, but light editing can improve a usable take. Helpful features include trimming, volume adjustment, and clean-audio processing that can reduce steady background noise. These tools should not replace a quiet room or good microphone placement, but they can make the final edit faster.
For critical work, monitor with headphones when possible. Some wireless microphone systems also offer direct headphone monitoring through their receiver. Monitoring lets you catch interference, low battery warnings, clipping, or clothing rustle while there is still time to fix the problem.
External Microphone Types for iPhone Teleprompter Recording
The best microphone is not necessarily the most expensive one. It is the one that fits your environment and makes your voice clear without complicating your workflow.
- Wired lavalier mic: A small clip-on microphone that keeps the capsule close to your mouth. It is a strong option for seated talking-head videos and controlled indoor recordings.
- Wireless lavalier system: Ideal when you need to move, stand, demonstrate products, or shoot farther from the phone. Check battery levels and receiver compatibility before filming.
- Shotgun microphone: Useful for desk setups when placed just outside the frame and aimed toward the speaker. It can sound excellent in a quiet, treated room.
- USB-C microphone: A convenient option for newer iPhones with USB-C, particularly for desktop videos, voiceovers, or close-range recording.
In most creator workflows, a lavalier microphone is the easiest choice because it maintains a consistent distance from your mouth even when you turn slightly or gesture. Position it approximately six to eight inches below your chin, avoiding necklaces, scarves, zippers, and loose fabric that may rub against the mic.
How to Set Up Your iPhone Teleprompter and External Mic
- Write for speech, not reading. Use short sentences, contractions, and clear transitions. Add line breaks where you naturally want to breathe or pause.
- Connect the microphone first. Attach your wired mic, adapter, or wireless receiver before opening the recording screen. This gives iPhone the best chance to identify the correct audio source.
- Open your teleprompter and load the script. Increase the text size until you can read comfortably without squinting. Keep the script area close to the camera lens to reduce visible eye movement.
- Set your camera format. Choose a resolution, frame rate, orientation, and lens that suit the destination platform. Vertical video works well for Shorts, Reels, and TikTok; horizontal framing remains useful for standard YouTube videos and courses.
- Record a ten-second test. Speak at your real presentation volume. Review both video framing and audio clarity before starting the full recording.
- Adjust the scroll speed. Begin slightly slower than you think you need. It is easier to increase speed than to recover from rushed delivery.
- Record in sections. For longer videos, capture one paragraph or topic at a time. This reduces pressure and makes trimming mistakes easier later.
Common Problems and How to Fix Them
The iPhone recorded from the wrong microphone
Disconnect and reconnect the external microphone, then make another short test recording. If you use an adapter, verify that it supports audio input rather than charging only. Wireless systems should be powered on and paired before you open the camera or teleprompter app.
Your voice sounds distorted
Distortion usually means the recording level is too high, the mic is too close, or the speaker is talking louder than normal. Move the microphone slightly farther away, lower gain on the transmitter if available, and avoid speaking directly into the capsule.
Wireless audio has dropouts or interference
Keep the transmitter and receiver within their recommended range and maintain a clear path where possible. Avoid placing the receiver next to other wireless devices. Recharge batteries fully, and record a longer test if you are filming in a new location.
The script speed feels unnatural
Do not try to match a rigid scroll speed if it makes you sound rushed. Use voice-following mode, add more line breaks, or divide the script into smaller sections. A conversational pace is usually more engaging than a perfectly continuous take.
Improve the Final Video With Captions and Simple Editing
Once the recording is complete, trim false starts and long pauses first. Then add subtitles. Captions improve accessibility, help viewers watch without sound, and make fast-paced social videos easier to follow. On-device subtitles can also be a practical privacy-conscious choice when your script or footage contains sensitive business information.
Keep captions readable by using high contrast, limiting line length, and placing them where they do not cover your face or important on-screen details. For vertical video, check the platform’s interface-safe zones so captions are not hidden behind buttons or descriptions.
A streamlined script-to-video workflow combines preparation, teleprompter delivery, external audio, recording, captions, and export in a single sequence. Rather than chasing perfection in one take, focus on making every stage repeatable.
Final Checklist Before You Press Record
- External microphone connected and powered on
- Audio test recorded and reviewed with headphones
- Script formatted with natural pauses and short paragraphs
- Teleprompter text positioned close to the camera lens
- Correct resolution, frame rate, and video orientation selected
- Quiet room, soft lighting, and enough iPhone storage available
- Captions and export format planned for the destination platform
The best video teleprompter to record with an external microphone is one that supports a dependable, low-friction workflow: clear script visibility, natural pacing, reliable audio input, and quality video capture. If you want to keep scripting, 4K recording, on-device subtitles, and privacy-focused editing in one iPhone workflow, CueCam is one option to explore.
