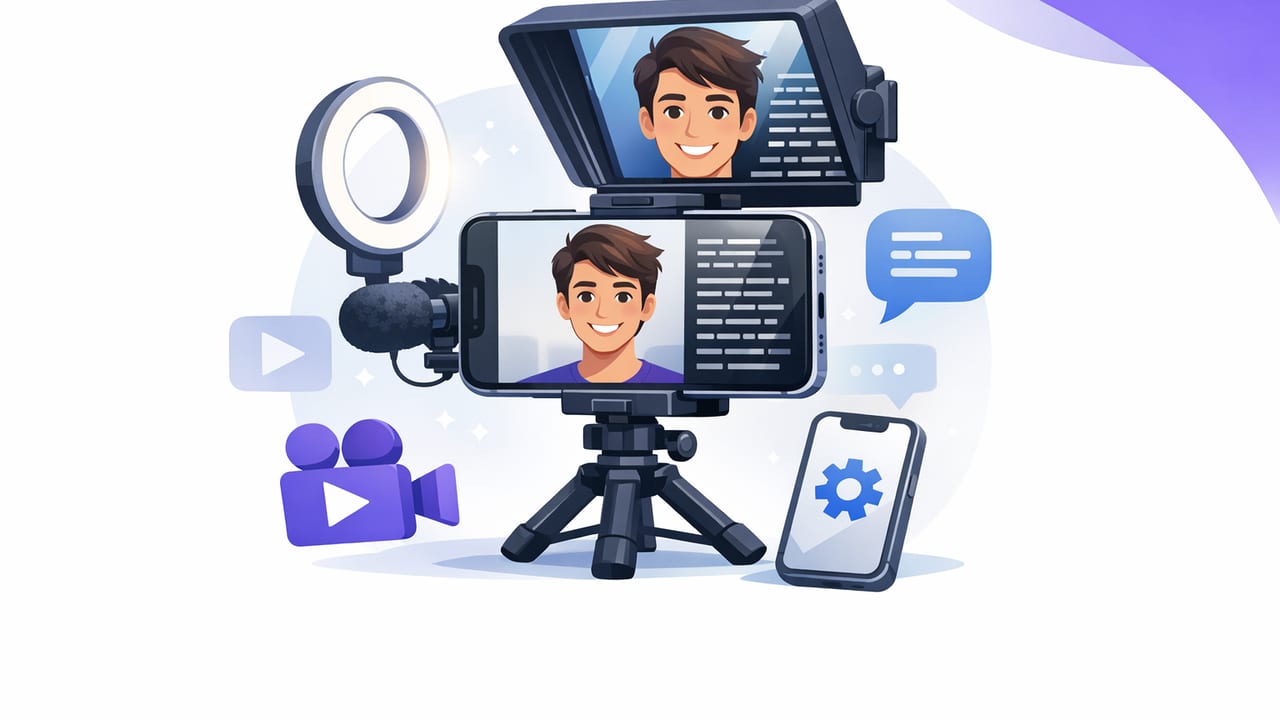
Selfie videos are deceptively hard. You’re close to the lens, every pause feels louder, and the moment you glance away to remember a line, the connection drops. That’s why creators increasingly rely on an iphone teleprompter app for selfie videos: it lets you read a script while still looking straight into the camera.
This guide walks through a practical, repeatable workflow—from writing a script that sounds natural, to choosing the right scrolling mode, to recording clean 4K footage, and finishing with subtitles and exports optimized for short-form platforms. Use it as a system you can refine over time.
Why selfie videos benefit from a teleprompter workflow
A teleprompter isn’t just for “talking head” content. In selfie videos, it solves three common problems:
- Eye contact: Your eyes stay near the lens instead of darting to notes.
- Pacing: A script prevents rambling and makes edits easier.
- Consistency: Repeating a format (hook → value → CTA) becomes simple.
Even if you like an improvised style, a light script (bullet beats, not word-for-word) can keep you on track without sounding robotic.
Step 1: Write a script that sounds like you (not like a document)
The fastest way to make teleprompter reading feel natural is to write for speech. Aim for short sentences, simple words, and intentional pauses.
A script structure that works for most selfie videos
- Hook (0–2 seconds): Call out the outcome or pain point.
- Credibility (optional): One quick line that establishes trust.
- 3 key points: Keep each point to 1–2 sentences.
- Close: Summarize and give one clear next step.
Use “breath marks” and emphasis
Most teleprompter apps support text formatting. Even if they don’t, you can insert visual cues that help your delivery.
[HOOK]
If your selfie videos feel awkward, it’s usually ONE thing: your eyes.

[PAUSE]
Here’s the fix:

(1) Move the script closer to the lens.
(2) Slow down your scrolling speed.
(3) Record in short sections.

[CTA]
Try this on your next take and watch retention improve.
Tip: Write numbers as words (“one,” “two”) so you don’t stumble while reading.
Step 2: Set up your iPhone for natural eye contact
Great teleprompter results come down to lens proximity and framing.
Positioning checklist
- Keep the text near the lens: The closer your reading line is to the camera, the more “direct” your gaze looks.
- Use the rear camera when possible: Better quality and focus stability; pair it with a mirror/teleprompter interface if your app supports it.
- Frame with headroom: For vertical video, keep your eyes around the upper third of the frame.
- Lock exposure/focus: Prevents brightness pumping mid-take.
Lighting that flatters selfie videos
You don’t need a studio, but you do need consistency:
- Face a window for soft, even light.
- Avoid overhead-only lighting (it creates under-eye shadows).
- Use a small fill light if you film at night.
Step 3: Choose the right teleprompter scrolling mode
Most iPhone teleprompter apps offer a few ways to move text. Choosing the right mode is the difference between “stiff reading” and “confident delivery.”
| Mode | Best for | Pros | Watch-outs |
|---|---|---|---|
| Voice-following (voice tracking) | Conversational delivery, variable pacing | Scroll adapts to you; fewer re-takes | Needs clean audio; may struggle with background noise |
| Fixed-speed scrolling | Memorized scripts, consistent pacing | Simple and predictable | Too fast = rushed; too slow = awkward pauses |
| Timed scrolling | Exact duration formats (ads, VO, brand scripts) | Easy to hit time targets | Less forgiving if you miss a line |
Practical starting settings
- Font size: Large enough to read without eye strain, but not so large that your eyes travel far left/right.
- Line spacing: Slightly increased spacing reduces “line hopping.”
- Scroll speed: Start slower than you think; you can always tighten in post by cutting pauses.
When in doubt, slow the scroll. Viewers forgive pauses more than they forgive rushed, breathless delivery.
Step 4: Record in sections (and make editing painless)
Instead of trying to nail a 60–90 second take, record in small chunks. This reduces pressure and gives you cleaner cuts.
A simple “sectioning” method
- Split your script into 3–6 blocks (one block per key point).
- Record each block until it feels clean.
- Leave a tiny pause before and after each block (makes trimming easier).
If your teleprompter app supports it, you can also insert a visual marker like --- between sections to remind yourself to pause.
Step 5: Capture clean audio (the real retention driver)
In selfie videos, audio quality often matters more than camera specs. A teleprompter workflow helps here too, because you can keep your mouth position and distance consistent.
Recommended audio options
- Wired lav mic: Reliable and usually the best value.
- Wireless mic: Great for standing shots or movement; monitor for interference.
- Shotgun mic (on small stand): Good for desk setups if positioned close.
Quick test: Record 10 seconds, then listen for room echo, clothing rustle, and background noise (AC, fridge, traffic). Fixing those before filming saves time later.
Step 6: Use 4K recording wisely (quality vs workflow)
Many creators default to 4K/60fps, but the best setting depends on how you edit and where you publish.
When to use 4K/60
- You want flexibility to crop or reframe without losing sharpness.
- You film motion (hand gestures, walking) and want smoother movement.
- Your phone storage and export times can handle it.
When 4K/30 (or even 1080p) is better
- You post daily and need faster editing and smaller files.
- Your lighting isn’t great (lower frame rates often help with exposure).
- You don’t plan to crop much.
Whatever you choose, prioritize stable framing and consistent lighting—they read as “high quality” more than raw resolution.
Step 7: Add subtitles—fast, readable, and privacy-friendly
Captions increase watch time, improve accessibility, and help viewers follow along in noisy environments. If you can generate subtitles on-device, you also reduce the need to upload drafts to third-party servers—useful if your scripts include client work, unreleased ideas, or personal stories.
Subtitle styling tips for short-form
- Keep lines short: 1–2 lines max on screen.
- High contrast: White text with a subtle background or outline.
- Highlight sparingly: Emphasize only key words, not entire sentences.
- Safe margins: Avoid platform UI areas (bottom captions/buttons).
Workflow tip: If you recorded in sections, subtitle generation and corrections are easier because each clip has fewer words and fewer alignment issues.
Step 8: Export settings for crisp selfie video uploads
Exporting is where “good on my phone” can turn into “soft on the platform.” While every app differs, these principles are reliable:
- Match your timeline: Don’t export 60fps if you edited at 30fps.
- Use high bitrate: Especially for talking-head shots with text overlays.
- Vertical size: 1080×1920 is a solid baseline; 4K vertical can help but increases upload time.
- Avoid double compression: Upload the exported file directly; don’t re-save through messaging apps.
Troubleshooting: common teleprompter issues (and fixes)
“My eyes still look like they’re reading”
- Increase font size so you can read with less eye movement.
- Move the text area closer to the lens (or reposition your phone so the lens aligns with your reading line).
- Practice delivering while looking at the lens at the end of each sentence.
“I sound robotic”
- Rewrite with shorter sentences and contractions (“you’re,” “it’s”).
- Add intentional pauses and breathe points.
- Record one warm-up take before the “real” takes.
“I keep losing my place”
- Try voice-following mode (if available) or slow fixed-speed scrolling.
- Break the script into sections and record block-by-block.
- Use visual markers (---) to separate ideas.
A repeatable checklist (copy/paste)
- Script: Hook + 3 points + close; add pause marks.
- Setup: Lens aligned, eye level, stable support.
- Teleprompter: Big font, comfortable spacing, correct mode.
- Audio: External mic if possible; quick noise test.
- Video: Choose 4K/60 only if you need it; lock exposure/focus.
- Record: In blocks; leave padding pauses.
- Edit: Trim dead space; keep pace tight.
- Subtitles: On-device if you want privacy; style for readability.
- Export: High bitrate, correct fps, upload the original export.
Putting it all together
A strong selfie video isn’t about memorizing perfect lines—it’s about building a workflow that makes great delivery easy. With the right script format, a teleprompter mode that matches your speaking style, and a clean capture setup, you’ll spend less time re-recording and more time publishing.
If you’re looking for a single iPhone tool that combines teleprompter reading, pro camera recording, and on-device subtitles in a privacy-friendly workflow, CueCam is one option to consider.
