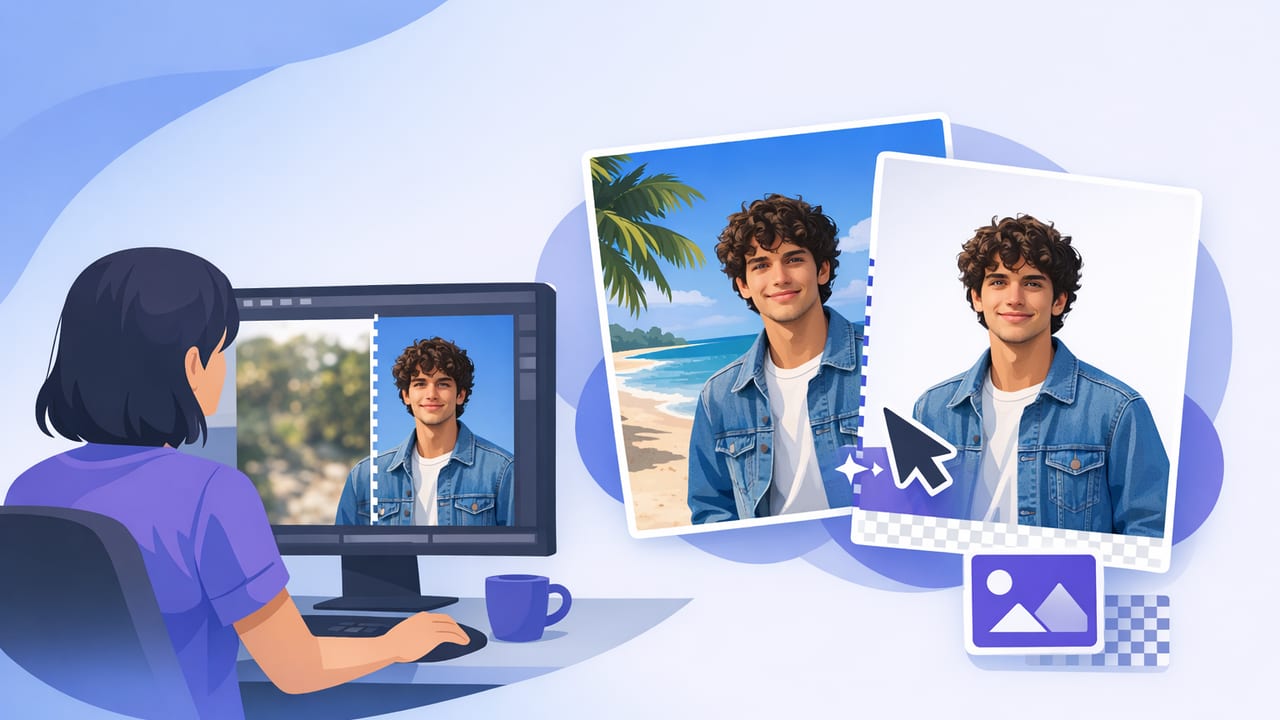
Background replacement is one of the fastest ways to make iPhone videos look intentional—whether you’re filming in a small apartment, a busy office, or anywhere you don’t control the environment. Done well, it can look like a real studio set. Done poorly, it can look like a cutout sticker floating over a blurry image.
This guide breaks down the most reliable ways to do background replacement on iPhone, the tradeoffs of each method, and a repeatable workflow that helps creators get consistent results without turning every shoot into a VFX project.
What “background replacement” actually means (and why it’s tricky)
Background replacement is the process of separating the subject (you) from the scene behind you, then swapping that background for something else—another video, a photo, a solid color, or a subtle blur. The hard part is segmentation: accurately detecting hair, glasses, hands, and edges—especially when lighting changes or your background shares similar colors with your skin/clothes.
On iPhone, background replacement usually happens in one of three ways:
- Green screen (chroma key): the most controllable and often the cleanest edges.
- AI/portrait segmentation: fastest setup, more variable results.
- Manual masking/rotoscoping: best for “fixing” difficult shots, slowest.
Rule of thumb: If you need consistent, professional edges across many takes, prioritize lighting and separation first. The app or editor matters, but your capture quality matters more.
Common use cases for creators
- Cleaner “studio” look when your real background is cluttered.
- Brand consistency (same background for every episode or series).
- Location flexibility (record anywhere, keep the same set).
- Educational content (place yourself in front of slides, screenshots, or a demo video).
- Short-form hooks (swap backgrounds to match the first line of your script).
Choose the right method: a quick comparison
| Method | Best for | Pros | Cons |
|---|---|---|---|
| Green screen (chroma key) | Highest consistency | Clean edges, predictable, great for series | Needs backdrop + lighting, takes space |
| AI segmentation (on-device) | Fast, minimal setup | No backdrop, quick turnaround, portable | Edges can wobble; hair/hands can break |
| Manual masking (rotoscoping) | Fixing problem shots | Most control | Time-consuming, not ideal for daily posting |
Capture for success: the 80% that makes background replacement look real
1) Create subject–background separation
Segmentation improves dramatically when your subject is visually distinct from the background. Try:
- Step away from the wall (ideally 3–6 feet / 1–2 meters).
- Avoid matching colors (don’t wear green on a green screen; avoid skin-tone backgrounds).
- Add a subtle rim light (a small light behind you pointed at your shoulders can help edges).
2) Light your face evenly
Uneven lighting produces noisy shadows that confuse AI and make keying look jagged. Aim for soft, frontal light:
- Face a window (diffused) or use a softbox/ring light.
- Keep brightness steady—avoid flickering indoor bulbs.
- Lock exposure if your camera app allows it (prevents pumping).
3) Record sharp, stable footage
Motion blur makes edges fall apart. For talking-head content, prioritize stability and shutter-friendly light.
- Use a tripod whenever possible.
- Record at a resolution that fits your platform (4K if you plan to crop/reframe).
- Avoid fast hand gestures near your face if your background replacement method struggles with hands.
Workflow A: Green screen background replacement (cleanest, most repeatable)
If you want consistent results for a recurring series, green screen is hard to beat—even with a simple collapsible backdrop.
Setup checklist
- Backdrop: Stretch it flat. Wrinkles create shadows that cause “dirty” keys.
- Distance: Stand far enough forward to reduce green spill on your skin/hair.
- Lighting: Light the backdrop separately if possible, aiming for even brightness.
- Wardrobe: Avoid green, reflective jewelry, and shiny fabrics.
Editing steps (generic, applies to most iPhone editors)
- Add your background (photo/video) to the timeline.
- Place your green-screen clip above it.
- Enable chroma key/green screen.
- Adjust tolerance/strength until the green disappears without eating edges.
- Refine with feathering/edge soften and spill suppression if available.
Pro tip: If your editor supports it, add a subtle shadow behind your subject (very soft, low opacity). It helps your subject feel “placed” in the scene.
Workflow B: AI background replacement (fastest for everyday creators)
AI segmentation is ideal when you’re filming on the go or don’t have space for a green screen. To make it look professional, focus on reducing edge complexity.
Make AI segmentation more reliable
- Simplify the frame: avoid busy backgrounds with lots of vertical lines (blinds, shelves).
- Control hair: tied-back hair is easier to cut cleanly than wispy flyaways.
- Keep hands in front of your torso (hands crossing the edge of your silhouette are harder).
- Choose forgiving replacement backgrounds: slight blur, low-detail gradients, or soft environments hide minor edge issues.
Best background choices (realistic vs. stylized)
- Realistic: a softly blurred office, a simple studio wall, or a subtle texture.
- Stylized: brand gradient, solid color, or lightly animated pattern.
- Educational: slide deck screenshot, product page capture, or screen recording (with you picture-in-picture).
Workflow C: Manual masking (when you need a rescue plan)
If AI or keying fails—think wind-blown hair, low light, or a background similar to your clothing—manual masking can save a clip. Many mobile editors allow you to animate a mask over time or use a “smart” mask with corrections.
Use manual masking selectively:
- Fix only the first 3–5 seconds (often the hook matters most).
- Mask the problem area (hair edge, shoulder) rather than the entire silhouette if your editor allows localized refinements.
- Combine with a slightly blurred background to hide imperfect edges.
A repeatable script-to-video workflow (so background replacement doesn’t slow you down)
Background replacement is easiest when your shoot is predictable. Here’s a simple workflow that keeps your delivery natural and your edits short:
1) Write for clean framing
Avoid big, sudden movements that increase masking complexity. Build emphasis into your voice and pacing instead of wide gestures.
# 30-second talking-head script template
HOOK: One sentence that creates curiosity.
PROBLEM: What goes wrong without this?
SOLUTION: 2-3 steps (keep gestures minimal).
CTA: One clear next action.
2) Record with consistent composition
- Lock your phone position and keep your head in the same general area of frame.
- Leave a little space above your head—cropping for vertical platforms becomes easier.
- Record two clean takes instead of ten “almost” takes.
3) Replace the background, then do captions
Captions and on-screen text should be added after background replacement so you’re not fighting layered masks. If you generate subtitles on-device, you can keep your workflow fast and privacy-friendly (especially if you’re reading unreleased scripts).
Troubleshooting: the most common background replacement problems
Problem: Jagged edges around hair
- Increase light on your face and reduce noise (better lighting beats “sharpening”).
- Use a slightly blurred replacement background.
- Reduce edge strength/tolerance and add slight feathering.
Problem: Green spill on skin or clothing
- Increase distance from the green screen.
- Use spill suppression if available.
- Dim or reposition the backdrop light so it doesn’t bounce onto you.
Problem: The cutout “wobbles” over time (AI shimmer)
- Stabilize the shot (tripod first, software stabilization second).
- Reduce fast hand movements near frame edges.
- Choose a simpler background; high-contrast patterns make wobble more noticeable.
Problem: It looks fake even with clean edges
- Match lighting direction: if your face is lit from the left, don’t use a background with light from the right.
- Match color temperature: warm face + cool background feels wrong.
- Add a subtle shadow or vignette to “seat” the subject.
Quick quality checklist (before you export)
- Edges: check hairline and shoulders at full screen size.
- Hands: scrub through any gestures; fix flicker with a blurrier background.
- Lighting match: does the subject belong in the scene?
- Crop safety: confirm your framing works for vertical and square if you repurpose.
- Text legibility: ensure subtitles contrast with the new background.
Putting it all together
The best background replacement results come from a simple principle: capture clean footage first, then choose the fastest replacement method that meets your quality bar. Green screen wins for repeatable studio results; AI segmentation wins for speed; manual masking is your backup plan.
If your workflow includes reading scripts while keeping eye contact, doing quick edits, and adding on-device subtitles, an iPhone teleprompter editor like CueCam can help keep the whole process contained on your phone—especially when you’re iterating on multiple takes.
