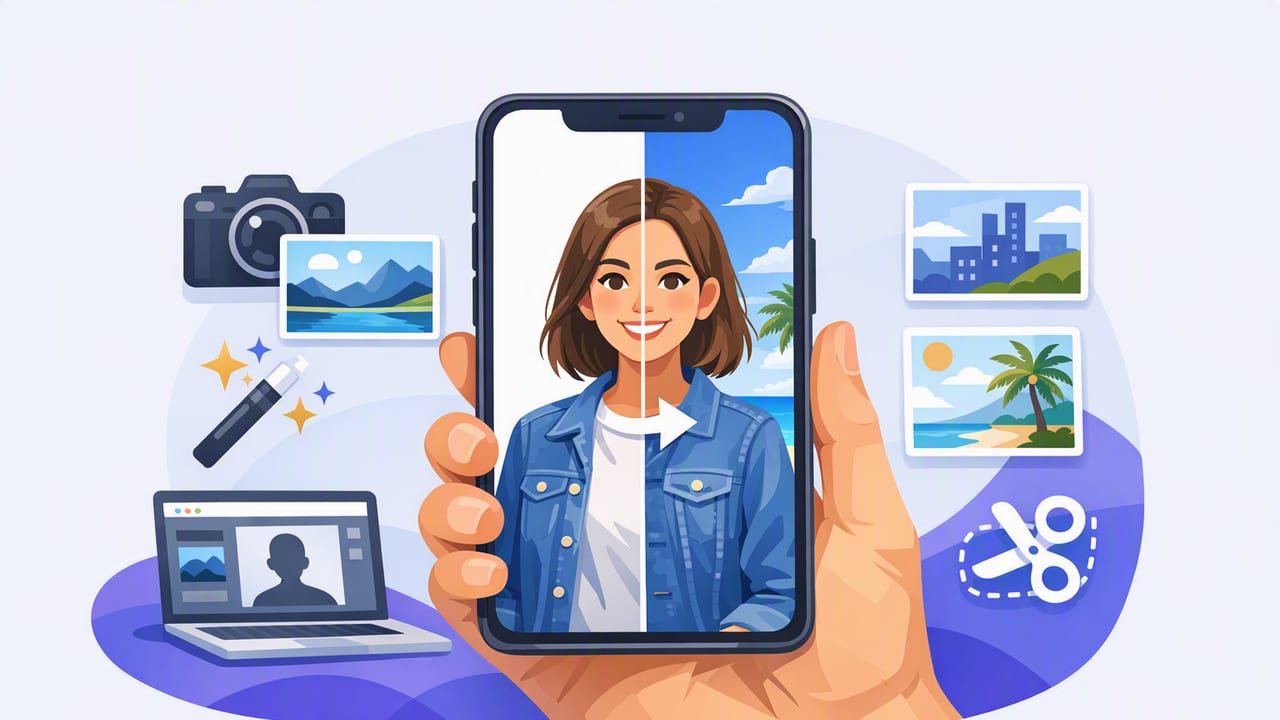
A background replacement app can turn a cramped bedroom, noisy office, or cluttered kitchen into a clean, consistent “set” for creator videos—without renting a studio or hanging a backdrop. Done well, background replacement makes your content look intentional: your subject is crisp, the background supports the message, and the overall video feels branded.
Done poorly, it looks fake: flickering edges around hair, halos on shoulders, odd blur, and a mismatch between lighting and the new background. This guide walks through how background replacement works on iPhone, what features actually matter, and how to shoot for the cleanest cutout—plus export and subtitle tips so your video is ready for TikTok, Instagram Reels, and YouTube.
What “background replacement” means (and what it doesn’t)
Background replacement is the process of isolating your subject (you) from the scene and swapping the original background for a new image, video, or blur. Most iPhone apps do this using one (or a mix) of these approaches:
- AI segmentation: The app detects the person and separates them from the background. Fast and convenient, but quality depends heavily on lighting and motion.
- Chroma key (green screen): You record against a solid color (usually green), then the app removes that color. Very clean results when set up correctly.
- Depth-based cutouts: Some workflows use depth data (when available) to help separate foreground/background. Great for blur effects; replacement quality varies.
What it doesn’t do automatically: fix poor lighting, rescue heavy motion blur, or perfectly handle complex edges (wispy hair, transparent glasses, hands moving quickly) without good input footage.
When a background replacement app is the right tool
Use background replacement when you want to:
- Standardize your look across filming locations (travel, shared spaces, coworking).
- Reduce distractions so viewers focus on your face and message.
- Create a “set” (home studio vibe, office scene, branded gradient, product backdrop).
- Improve perceived production quality for tutorials, talking-head explainers, and client deliverables.
Skip it when you’re outdoors with beautiful natural context (street interviews, vlogs) or when your subject moves a lot (fitness demos, dance) unless you can control lighting and shutter speed.
Key features to look for in a background replacement app
Many apps advertise “AI background remover,” but the experience varies dramatically. Here are the features that matter most for creator workflows:
1) Edge quality controls (matte refinement)
Look for tools like feather, shrink/expand mask, and spill suppression (especially for green screen). These help reduce halos and jagged edges.
2) Hair and fine-detail handling
Hair is the stress test. If the app offers a hair refine mode or improved segmentation for fine edges, it’s a major advantage—particularly for backlit scenes.
3) Background options: blur, image, video, and color
For most creators, a tasteful blur or subtle branded gradient beats a busy “virtual office.” A good background replacement app should support:
- Blur with adjustable intensity
- Custom images (PNG/JPG)
- Video backgrounds (short loops)
- Solid colors (great for consistency)
4) Real-time preview while recording
Seeing the replacement live helps you adjust distance, lighting, and framing. If the app only applies replacement after recording, it’s harder to catch problems early.
5) High-quality capture and export
If you’re recording talking-head content, prioritize apps that support 4K, 60fps (when you need motion smoothness), and flexible export sizes for each platform.
6) Privacy and offline processing
Background replacement often requires analyzing video frames. If you care about privacy (client scripts, internal updates, unreleased products), prefer apps that can process on-device and don’t require uploading footage to a server.
Green screen vs AI segmentation: which is better?
Both can look professional; the best choice depends on your setup. This comparison helps you decide.
| Approach | Pros | Cons | Best for |
|---|---|---|---|
| AI segmentation | No extra gear; fast; works anywhere | Can struggle with hair, motion, low light; edge flicker | Quick creator videos, travel, casual setups |
| Green screen | Clean edges; consistent; high-end look | Needs backdrop + lighting; green spill risk | Frequent filming, client work, polished tutorials |
| Depth-based blur | Natural separation; less “fake” than full replacement | Not true replacement; depth errors happen | Professional “soft background” look |
If you can spare a small setup, green screen wins on reliability. If you need speed and portability, AI segmentation is usually “good enough” with the right shooting habits.
How to film for cleaner background replacement (iPhone-friendly)
The best background replacement app can’t fix bad input footage. Use these steps to make the cutout look natural.
Step 1: Light yourself separately from the background
- Key light: Put a soft light 30–45° off-camera, slightly above eye level.
- Background light (optional): Add a small light behind you aimed at the backdrop to reduce shadows.
- Avoid backlighting: Bright windows behind you create halos and confuse segmentation.
Step 2: Create distance
Stand 3–6 feet from the background if possible. More distance reduces shadows and makes edges easier to detect.
Step 3: Choose clothing that separates from the backdrop
High contrast helps. Avoid green clothing on green screen, and avoid very reflective fabrics that pick up background color.
Step 4: Use stable framing and a faster shutter feel
Shaky footage and motion blur create “smearing” around hands and hair. Use a tripod, turn on stabilization if available, and keep gestures controlled. If your app supports it, filming at 60fps can help reduce motion artifacts, though it may require more light.
Step 5: Keep the background simple (even with AI)
AI segmentation performs best when the original background isn’t busy. A plain wall is easier than bookshelves with tiny details.
Making the replacement look believable
Most “fake” results come from mismatch: the subject looks like they were lit in one room, but the new background suggests another. Fix that with these techniques:
- Match brightness and contrast: If the new background is dark but your face is bright, it looks pasted on. Adjust exposure or choose a lighter background.
- Add subtle blur to the background: Even small blur mimics lens depth-of-field and hides minor masking errors.
- Use a soft shadow: Some editors let you add a faint drop shadow behind the subject. Keep it subtle and consistent with the background’s light direction.
- Watch for edge flicker: If edges shimmer frame-to-frame, reduce background detail, increase light on your face, or try a slightly tighter crop.
The most realistic “background replacement” often isn’t a wild scene swap—it’s a clean, consistent background that keeps attention on your delivery.
Workflow tip: script + background replacement + subtitles
For talking-head videos, creators usually need three things: a solid delivery, a clean scene, and accessible text on-screen. A practical workflow looks like this:
- Write a tight script (short sentences, conversational cadence).
- Record with eye-line consistency (use a teleprompter-style script reader if you rely on exact wording).
- Apply background replacement (blur or swap), then trim pauses.
- Generate subtitles and review names/keywords.
- Export per platform (9:16 for Reels/TikTok, 16:9 for YouTube).
If you ever need to hand off captions, it helps to know what an SRT file looks like. Here’s a tiny example:
1
00:00:00,000 --> 00:00:02,200
Today I’ll show you a cleaner iPhone setup.

2
00:00:02,200 --> 00:00:04,900
We’ll fix lighting, framing, and background replacement.
Common background replacement problems (and quick fixes)
Problem: Halo around hair or shoulders
- Increase key light on your face (cleaner edges).
- Reduce backlight from windows.
- Use matte controls: shrink mask slightly, add minimal feather.
Problem: Green spill (skin looks slightly green)
- Move farther from the green screen.
- Light the green screen separately and evenly.
- Enable spill suppression if your app has it.
Problem: Edges “crawl” or flicker during motion
- Record with better lighting (reduces motion blur).
- Use 60fps if your setup allows.
- Keep hands within the frame and avoid fast gestures near your hairline.
Problem: The new background looks too sharp
- Apply slight blur to the background layer.
- Reduce background contrast/saturation so the subject remains the focal point.
Choosing backgrounds that perform well on mobile platforms
On phones, viewers watch on small screens and often in bright environments. Backgrounds should support readability and reduce visual noise.
- Simple gradients (brand colors) are consistently strong.
- Soft-focus room scenes look natural and forgiving.
- Product or slide-style layouts work if you leave negative space for text overlays.
- Avoid tiny patterns (they can moiré after compression).
Export settings that keep the cutout clean
Even great masking can fall apart after heavy compression. To preserve quality:
- Export at the platform’s native aspect ratio (avoid re-uploads that re-compress).
- Prefer higher bitrate options when available.
- If your app offers it, keep 4K for YouTube or future-proofing; use 1080x1920 for short-form vertical if file size matters.
- Check the final video after upload—some platforms compress more aggressively than others.
A practical checklist before you hit record
- Lighting: soft key light, no harsh backlight
- Distance: 3–6 feet from background
- Framing: eyes in upper third, headroom consistent
- Stability: tripod or stable support
- Wardrobe: contrast with backdrop; avoid green on green screen
- Audio: external mic if possible; record in a quiet space
- Background choice: simple, slightly blurred, matches lighting vibe
Putting it all together
A background replacement app is most powerful when it’s part of a repeatable creator system: consistent lighting, stable framing, clean audio, and fast post-production. If you focus on input quality (light, distance, contrast) and choose tools with strong matte controls, you can get a polished look that holds up even after social-media compression.
And if your workflow combines script reading, iPhone recording, background replacement, and on-device subtitles in one place, apps like CueCam can simplify the handoff from “idea” to “publishable video” while keeping projects on your phone.
