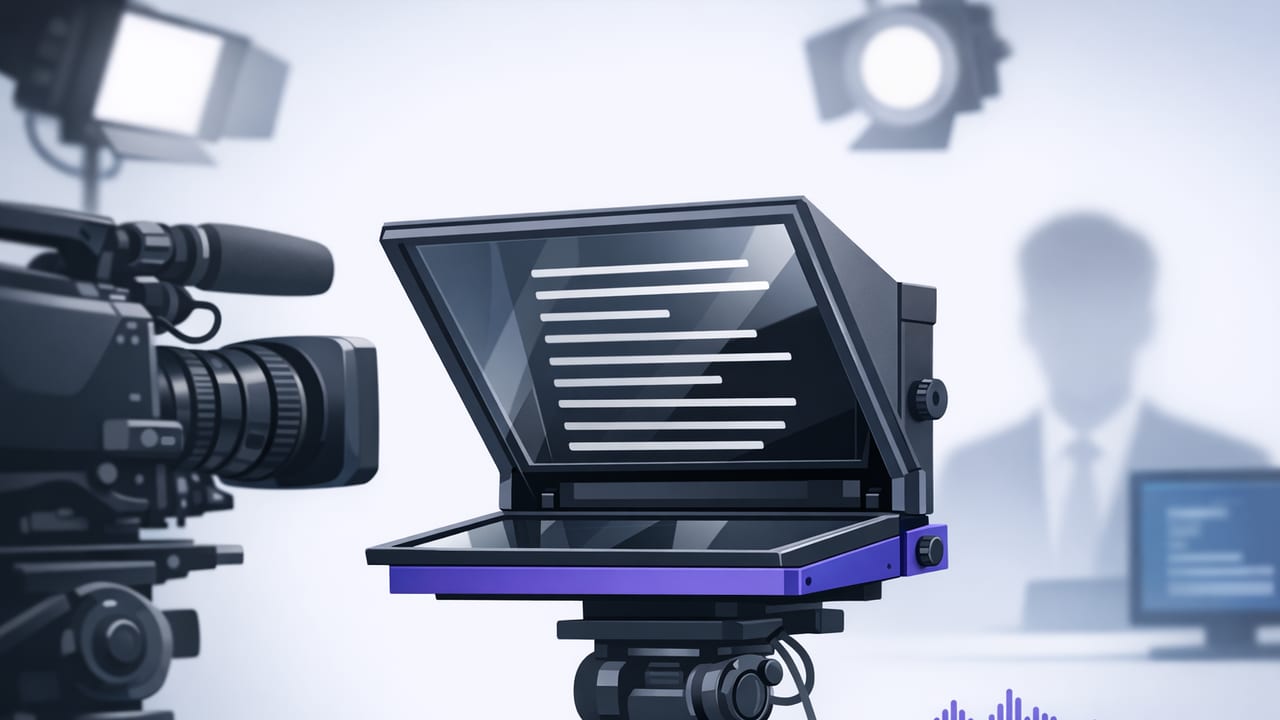
Using an autocue (teleprompter) used to mean studio gear, glass rigs, and a second person to control speed. Today, an iPhone can handle the entire script-to-video pipeline: prompting, pro-quality capture, subtitles, and quick edits—often without leaving your phone or sending your footage to the cloud.
This guide breaks down a practical, repeatable iPhone autocue workflow for creators, educators, marketers, and anyone who needs to deliver scripted lines confidently while keeping natural eye contact.
What an autocue actually solves (and what it doesn’t)
An autocue is best when your message needs precision: names, numbers, legal phrasing, product specs, step-by-step instructions, or a tight narrative. It helps you:
- Maintain eye contact instead of looking down at notes.
- Reduce retakes by keeping your wording consistent.
- Stay on time (especially for ads, intros, and training clips).
- Sound more confident because you’re not searching for words.
What it doesn’t solve: weak scripting, unclear structure, or poor audio. The best results come from pairing the autocue with a simple script format and a reliable recording setup.
Why iPhone is a strong autocue setup
An iPhone autocue workflow works well because everything is close to the lens: your script sits near the camera, your mic is easy to connect, and you can shoot in high resolution (often up to 4K) without building a complex rig. It’s also ideal for fast content cycles—shoot, subtitle, resize, and export for TikTok, Instagram, and YouTube.
Step 1: Write a script that reads like speech
The number one reason autocue videos sound “read” is the script itself. Write for the ear, not the page.
A simple spoken-script template
- Hook (1–2 lines): What problem are you solving?
- Credibility (1 line): Why you?
- 3 key points: One idea per paragraph.
- CTA (1 line): What should the viewer do next?
Formatting tips that make autocue delivery easier
- Use short lines. Break long sentences into two.
- Add breathing marks. Insert “—” where you naturally pause.
- Write contractions. “You’re” sounds more natural than “you are.”
- Emphasize sparingly. Bold only the words you must hit.
Rule of thumb: If you wouldn’t say it in a voice note, rewrite it.
Example autocue-ready script snippet
[HOOK]
If your videos sound flat, it’s usually not your camera—
it’s your delivery.

[POINT 1]
Put the script close to the lens so your eyes stay engaged.

[POINT 2]
Slow down on key phrases—
and pause before the takeaway.

[CTA]
Try one take with a prompt, then compare it to your usual method.
Step 2: Choose the right prompting mode (voice-following vs speed)
Most iPhone autocue tools offer a few ways to scroll text. Choosing the right mode reduces panic, rushing, and “searching” for your place.
| Mode | How it works | Best for | Watch out for |
|---|---|---|---|
| Voice-following | Highlights/advances words as you speak | Conversational delivery, variable pacing, beginners | Very noisy rooms can reduce accuracy |
| Fixed-speed | Scrolls at a constant rate | Short ads, rehearsed scripts, consistent pacing | If you stumble, you may “lose” your line |
| Timed | Scrolls to match a target duration | Content with strict length (e.g., 30s/60s) | Requires accurate word count and rehearsal |
Quick timing math (so your timed scroll feels natural)
A comfortable speaking pace is often around 130–160 words per minute for clear, instructional content. Use this as a starting point:
estimated_seconds = (word_count / words_per_minute) * 60If your script is 180 words and you aim for 150 wpm, you’ll land near 72 seconds. Add extra buffer if you’re including pauses for emphasis.
Step 3: Set up your iPhone for pro-looking autocue video
You don’t need a studio, but you do need consistency. Prioritize stability, light, and audio—in that order.
Gear checklist (minimal to solid)
- Tripod or stable mount: removes micro-shake and keeps framing consistent.
- External mic: a lav mic or small shotgun improves clarity drastically.
- Simple lighting: face a window or use one soft light at 45°.
- Clean background: fewer distractions; add depth by stepping away from the wall.
Camera settings that usually work
- Resolution: 4K if you plan to crop for multiple platforms; otherwise 1080p is fine.
- Frame rate: 30fps for talking head; 60fps only if you need smoother motion.
- Lens: use the main camera when possible for better quality; keep the phone at eye level.
Step 4: Position the autocue text for natural eye contact
Eye contact is the whole point. If your eyes drift, viewers feel it immediately—even if they can’t explain why. Use these adjustments:
- Keep the text close to the lens. The farther the reading area is from the camera, the more obvious the eye movement.
- Increase font size so you’re not squinting (squinting reads as uncertainty).
- Use line spacing that prevents “line jumps.”
- Anchor your gaze by occasionally looking directly at the lens on key lines.
Make it sound less “read” with delivery cues
Add delivery notes directly into your script (in brackets) so you don’t forget the performance layer:
- [smile] before your welcome line
- [pause] before a key takeaway
- [slow] on a complicated phrase
Step 5: Record in fewer takes with a repeatable process
Creators often burn time doing endless “one more take.” A better approach is a structured recording pattern.
The 3-take method
- Take 1 (practice): record anyway; it removes stiffness and reveals awkward lines.
- Take 2 (performance): your best energy + best pacing.
- Take 3 (safety): slightly slower, cleaner articulation.
Then choose the best full take or combine sections with basic trimming. This approach typically beats chasing a mythical perfect single take for 20 minutes.
Step 6: Add subtitles (without slowing down your workflow)
Subtitles aren’t optional on most platforms. They boost retention, accessibility, and watch time—especially for viewers watching muted.
Subtitles best practices
- Prioritize accuracy for names and numbers (edit those first).
- Use readable styling: high contrast, large enough for mobile.
- Keep lines short: ideally 1–2 lines on screen.
- Consider on-device generation when privacy matters or when you’re offline.
If you’re creating in multiple languages, on-device subtitle tools can speed up localization while keeping your raw footage and script private.
Step 7: Edit for each platform (without re-shooting)
One advantage of shooting in higher resolution is flexible reframing. You can record once and export multiple versions:
- 9:16 for TikTok, Reels, Shorts
- 1:1 for feed posts
- 16:9 for YouTube and courses
A fast “talking head” edit checklist
- Trim dead air at the start/end.
- Cut one long pause in the middle (keep some pauses for realism).
- Normalize or clean audio if needed.
- Add subtitles.
- Add a subtle watermark only if you want brand consistency.
Privacy and on-device workflow: when it matters
If you read scripts that include client names, internal metrics, or unreleased plans, privacy becomes part of your workflow—not an afterthought. An iPhone autocue setup can be especially strong when it lets you:
- Store scripts locally instead of in a web dashboard.
- Generate subtitles on-device without uploading audio.
- Export directly to your chosen platform from your phone.
This reduces friction and keeps sensitive drafts from spreading across tools you don’t control.
Troubleshooting: common autocue problems (and fixes)
“My eyes still look like I’m reading.”
- Increase font size and move text closer to the lens area.
- Rewrite long sentences into shorter spoken lines.
- Practice the first 2–3 lines so you start with confident eye contact.
“I’m rushing.”
- Slow the scroll speed by 10–15%.
- Add [pause] cues into the script.
- Record a “slow safety take” you can use if the fast one feels frantic.
“I keep losing my place.”
- Use larger line spacing and shorter paragraphs.
- Try voice-following if your pacing varies.
- Insert section headers like [POINT 2] so you can re-orient instantly.
A reusable iPhone autocue workflow (copy/paste)
- Draft: write hook → 3 points → CTA (spoken style).
- Format: short lines, pauses, minimal emphasis.
- Set up: tripod, mic, light, clean background.
- Prompt mode: voice-following for natural pacing; timed for strict length.
- Record: take 1 practice, take 2 performance, take 3 safety.
- Finish: trim, subtitles, resize, export.
Final thoughts
An iPhone autocue isn’t about sounding perfect—it’s about delivering a clear message with calm confidence, while keeping your audience engaged through eye contact, clean audio, and readable subtitles. Once your script format and prompting mode are dialed in, you’ll spend less time on retakes and more time publishing.
If you’re looking for an iPhone teleprompter app that supports voice-following prompting, 4K recording, and on-device subtitles with a privacy-first approach, CueCam is one option worth exploring.
